Steering head bearings
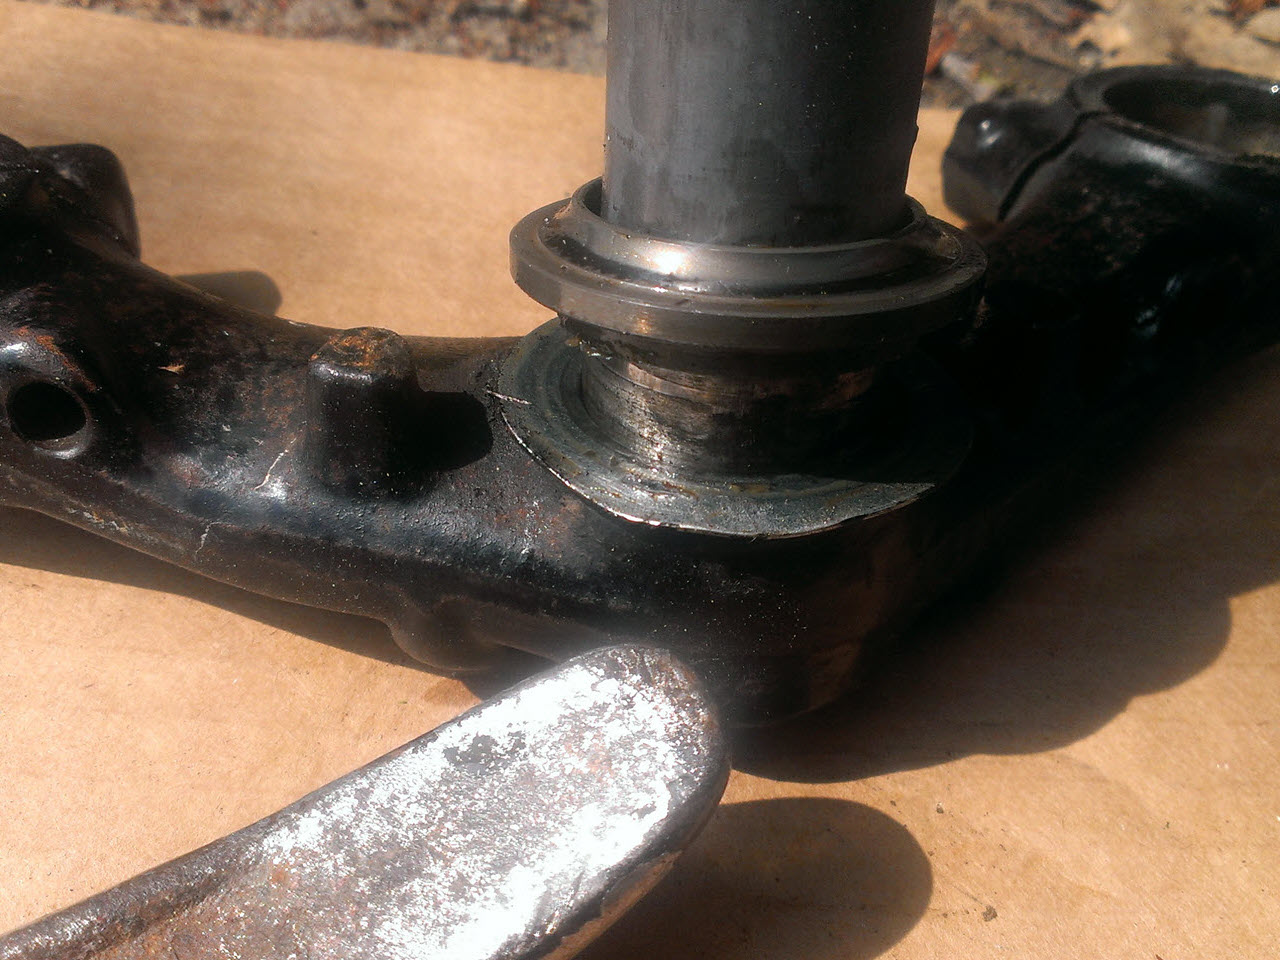
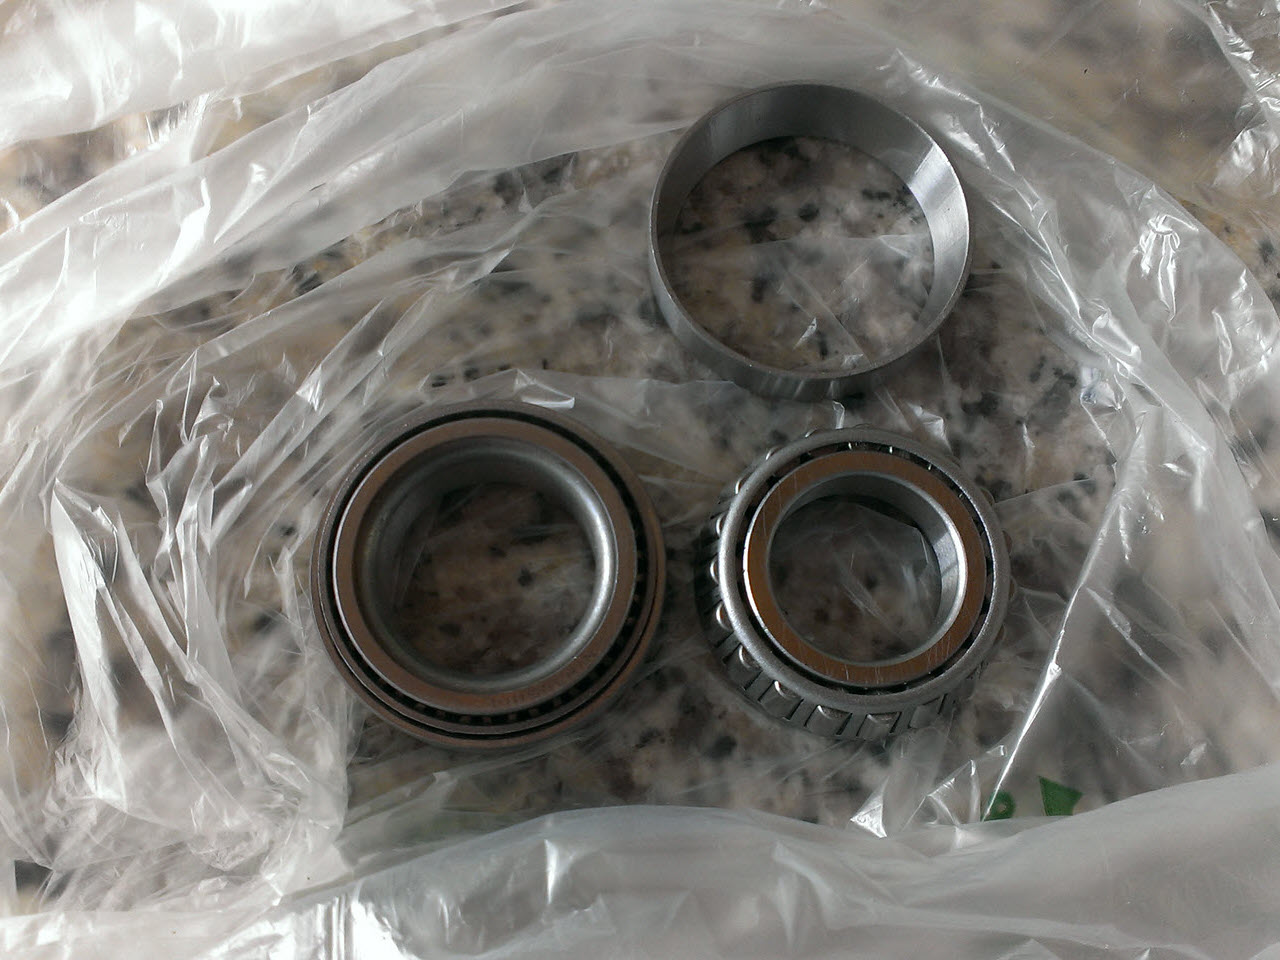
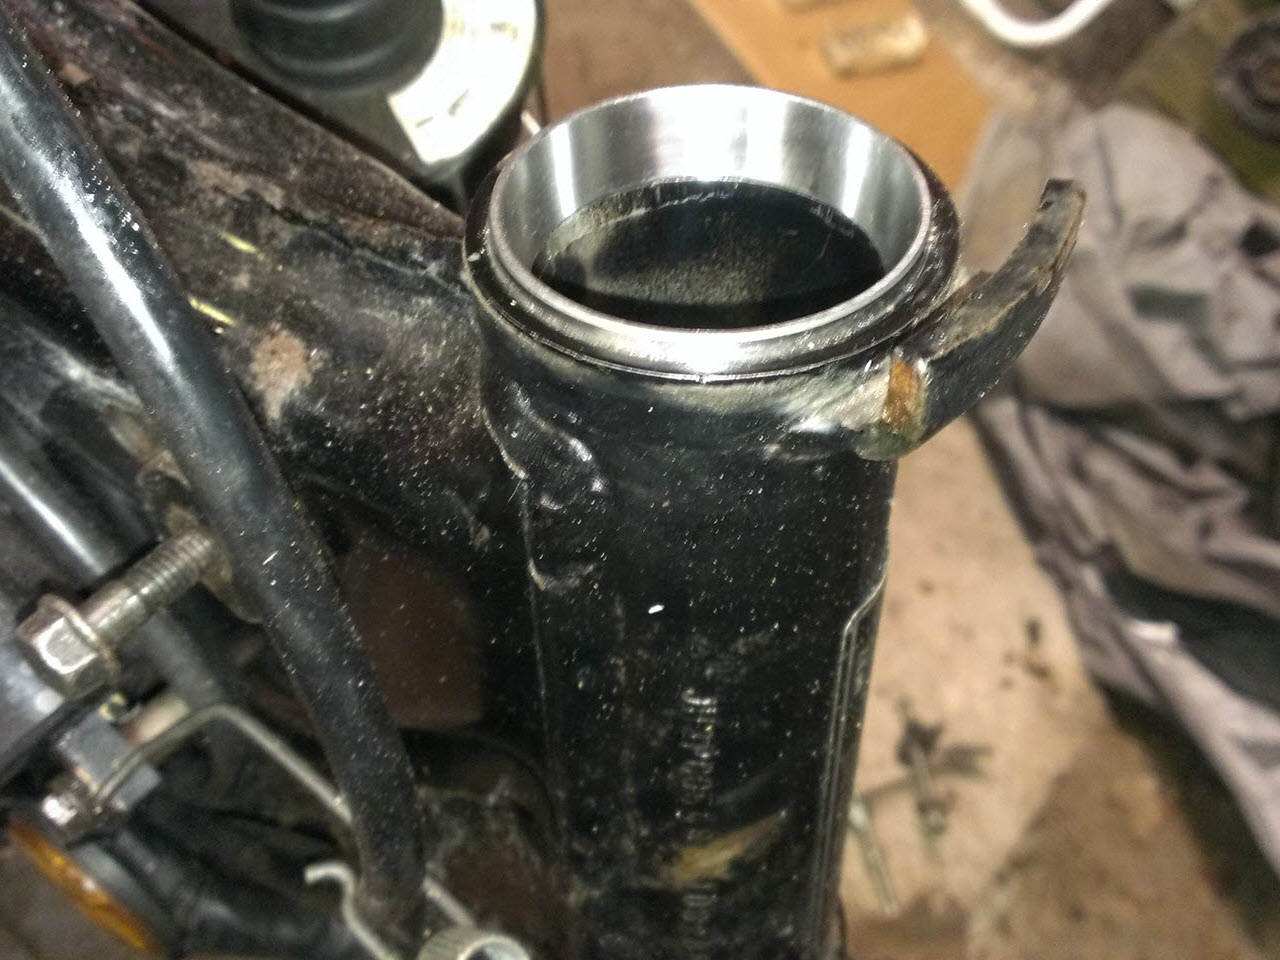
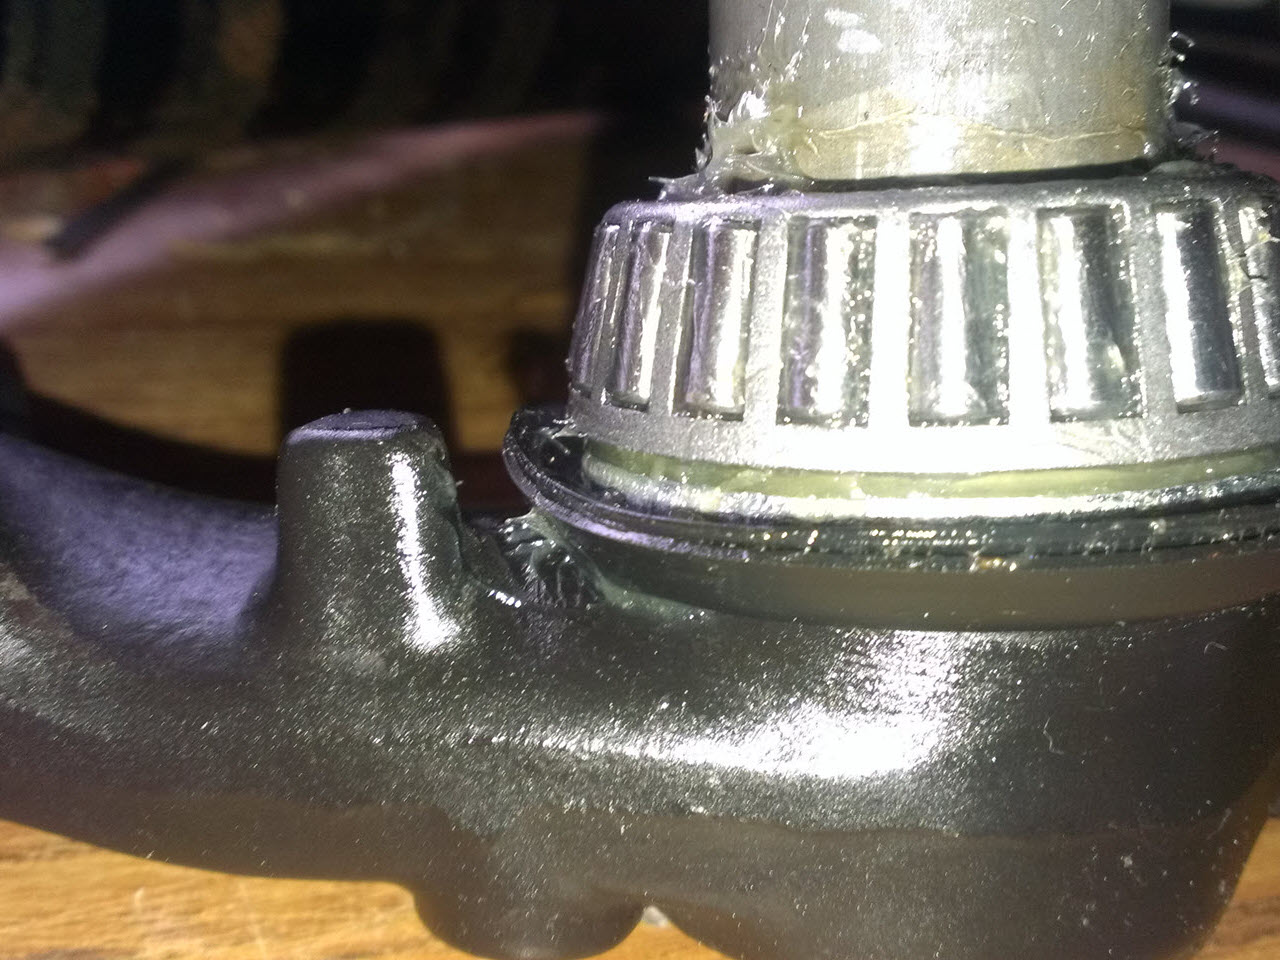
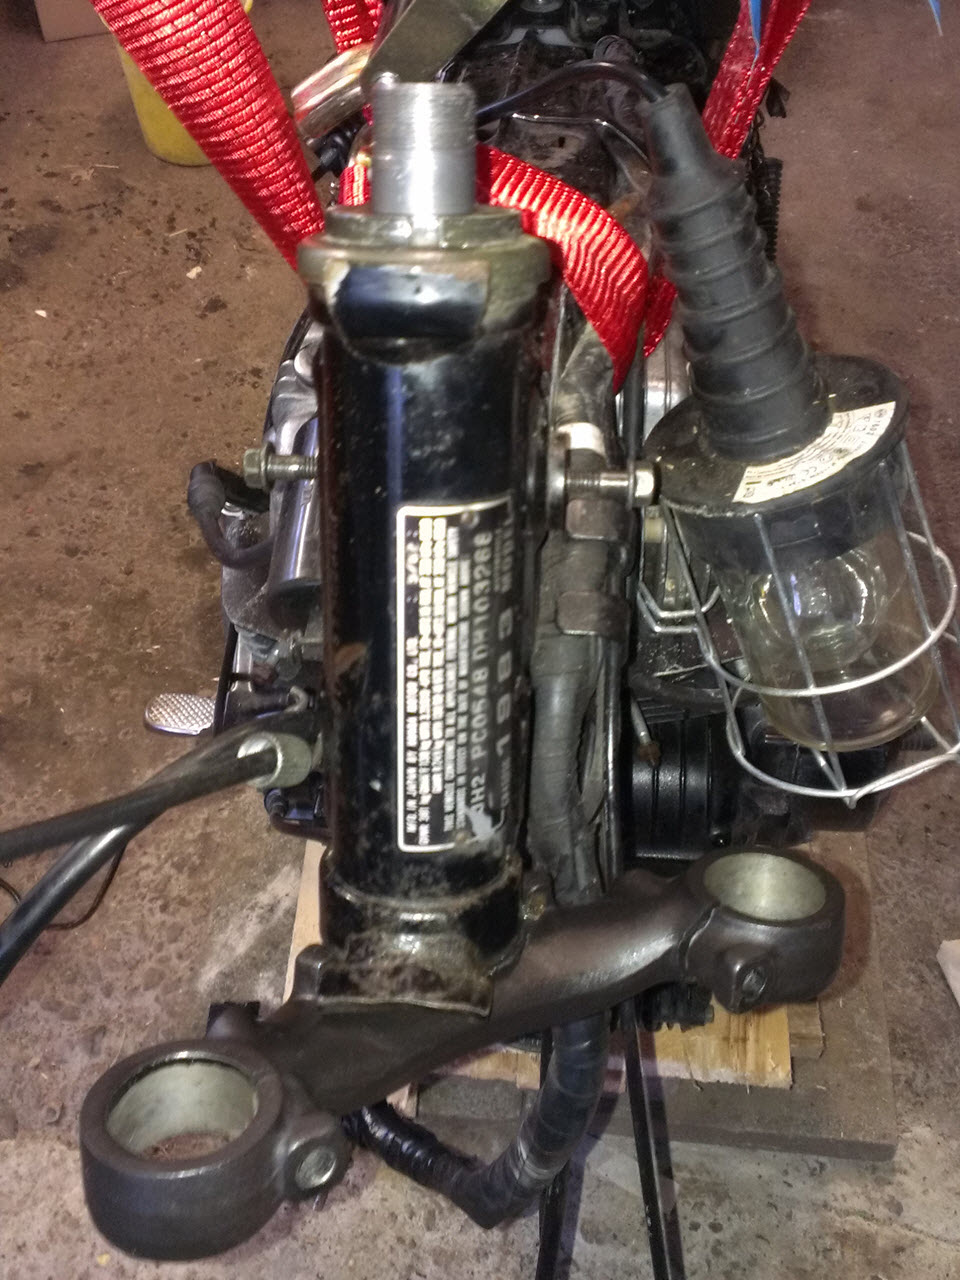
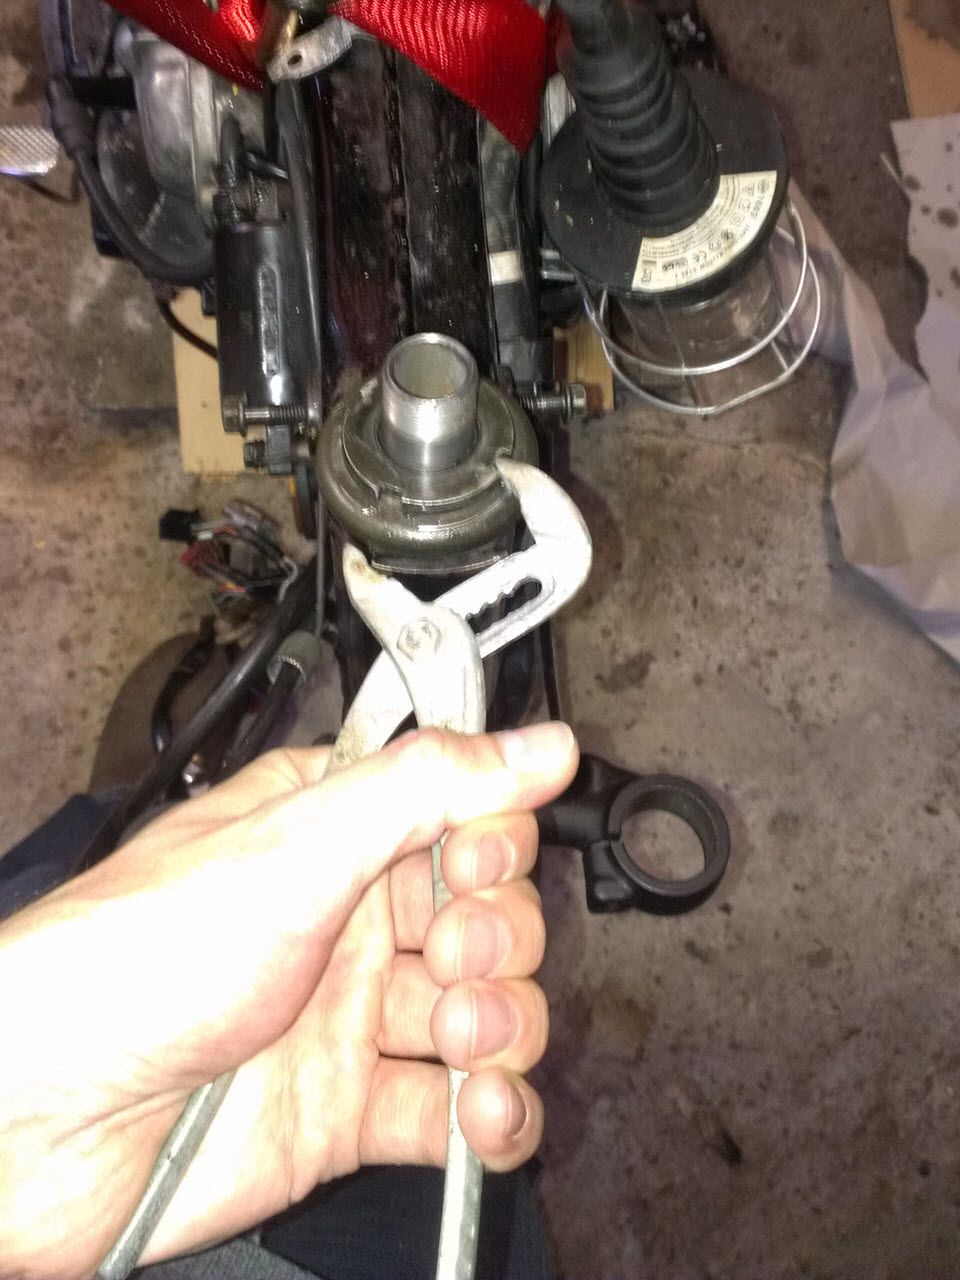
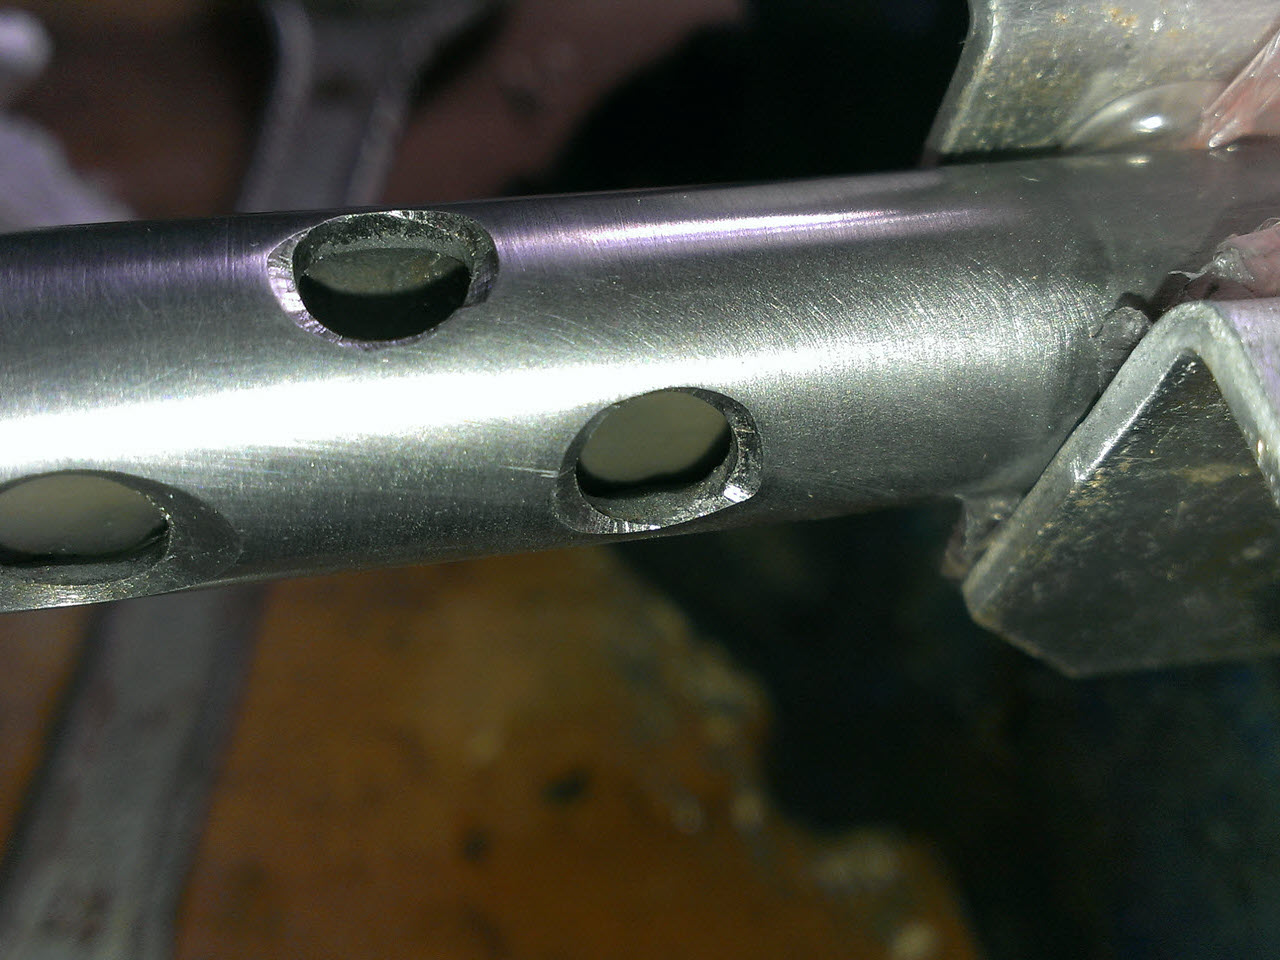
One of the most important no-brainer mods on this bike is the replacement of the default "loose ball bearing" steering head bearings with needle bearings. (Tapered roller bearings for the Brits)
Front Suspension
Initially I was not planning on doing much to the front suspension. Maybe just put enough air pressure in them. Without air, there was almost no travel left, and the bike rode like a pogo stick. With air, the suspension was a firmer, but damping was still poor.
At the same time "done cheap"was changing into "done right", the decision was made to use Racetech Emulators in the front forks to get rid of the standard damping rod setup and get the suspension seriously updated.
There several factors that affect the stiffness of the front forks. There is spring stiffness, damping and the air chamber, which acts as a second, progressive spring.
I read the "racetech suspension bible" and listened to others. Based on that, I decided I needed stiffer, linear springs, the damping rod setup had to go, and the air-assist too.
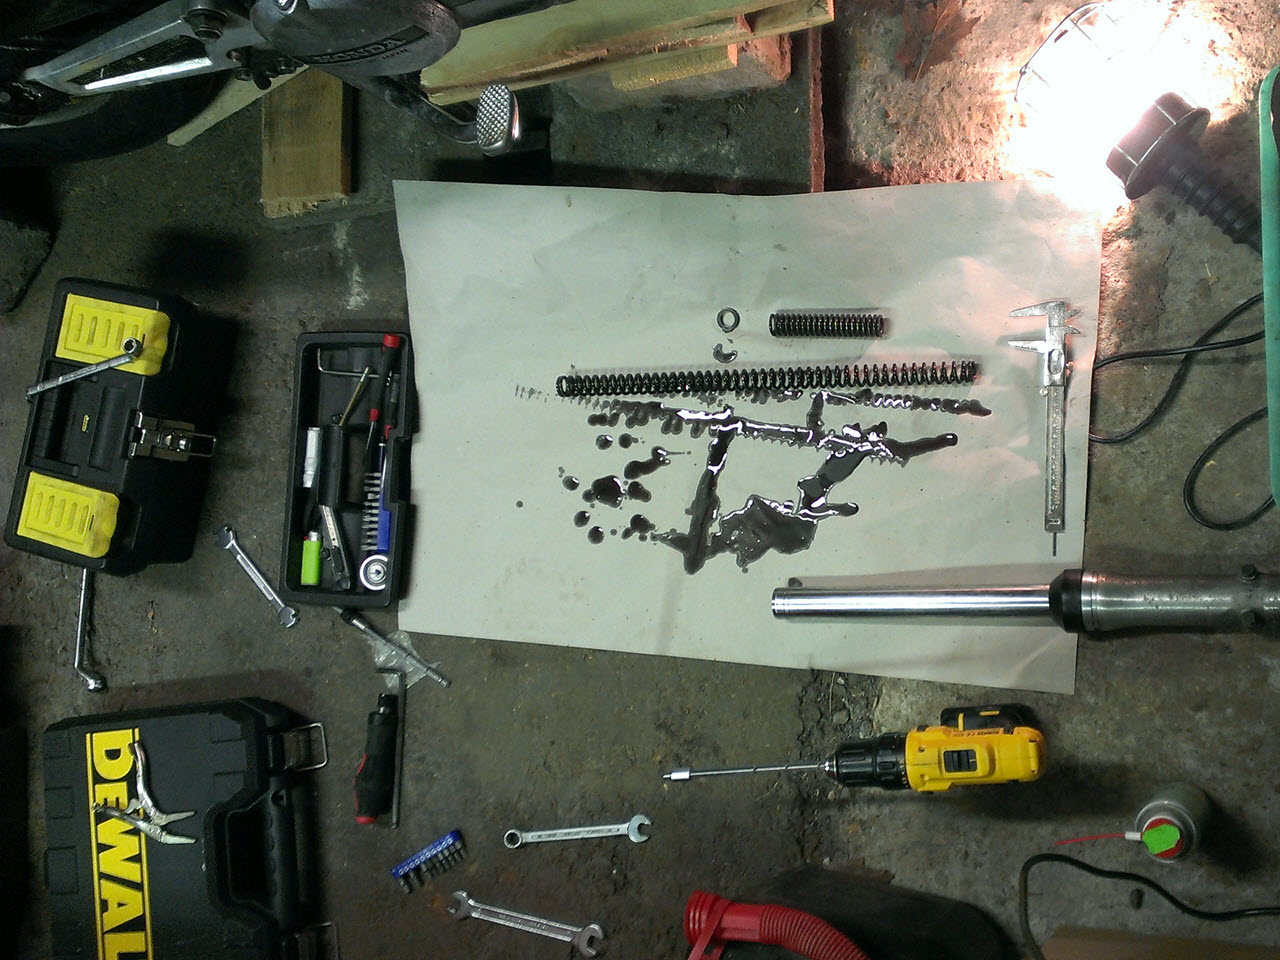
Dismantling
The dismantling itself was fairly straightforward, though a bit messy. I ran into one major issue, but you will need to check the "goofs and stupidity" section for that one.
Spring rate
Spring rate is the main influencing factor in how the forks react to the road. The goal is to make good use of as much suspension travel as possible while riding. (with a margin for unexpected situations)
The stock springs were way too soft, but I did not know how soft. It is possible to calculate the approximate spring rate needed, based on bike+rider weight. This is where Spacetiger would again help me out.
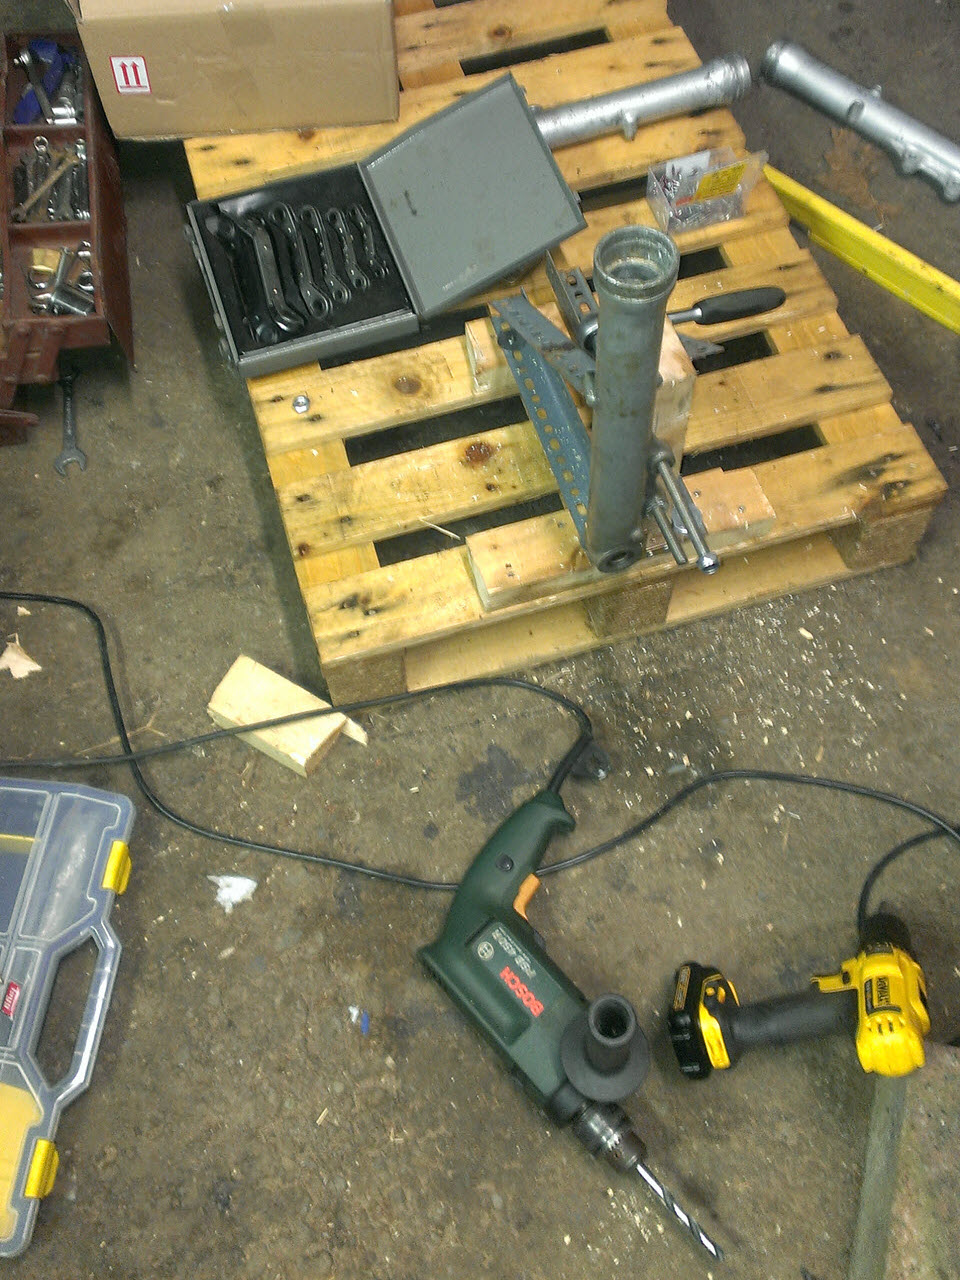
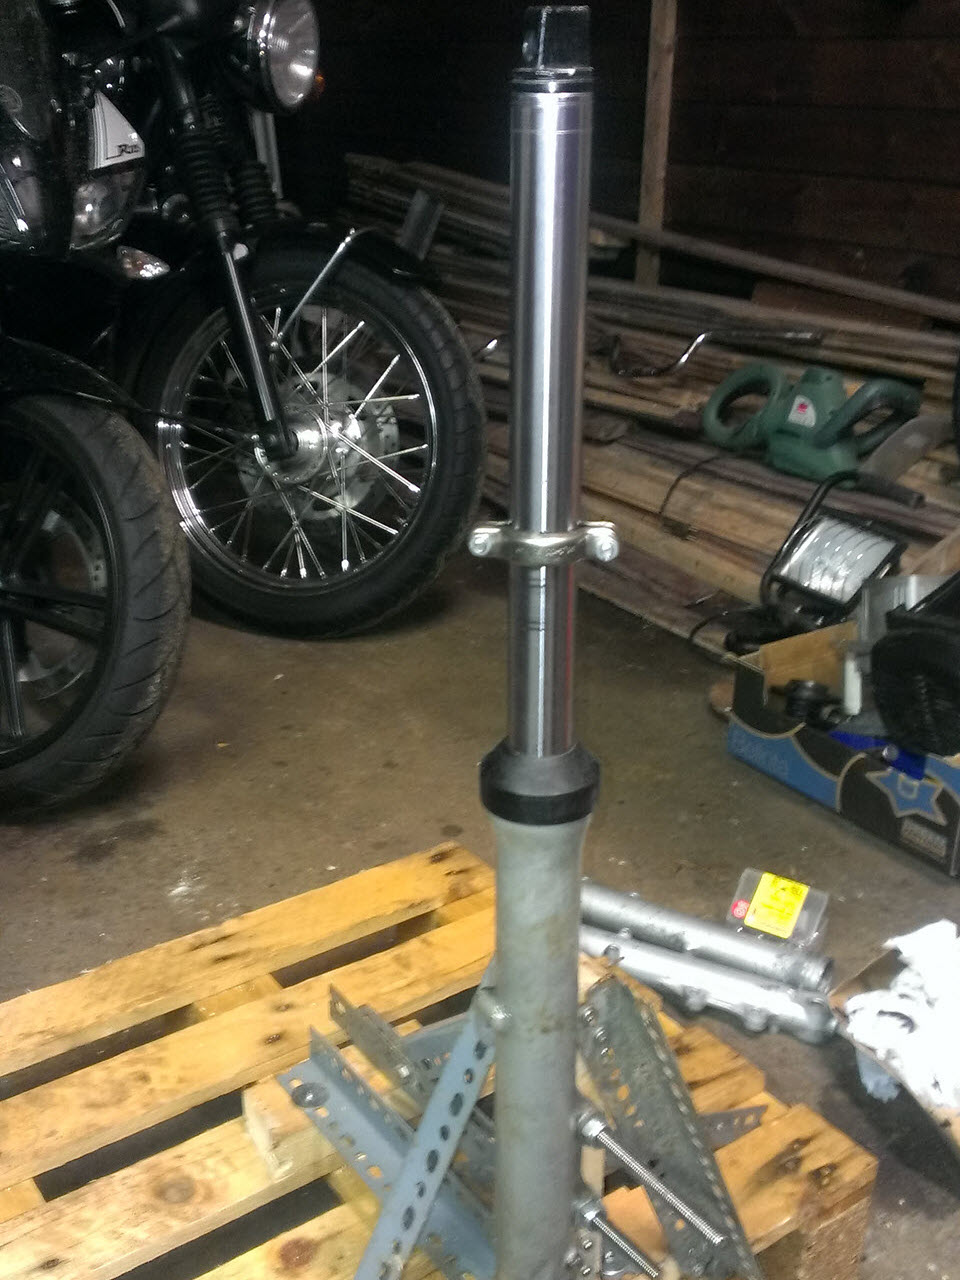
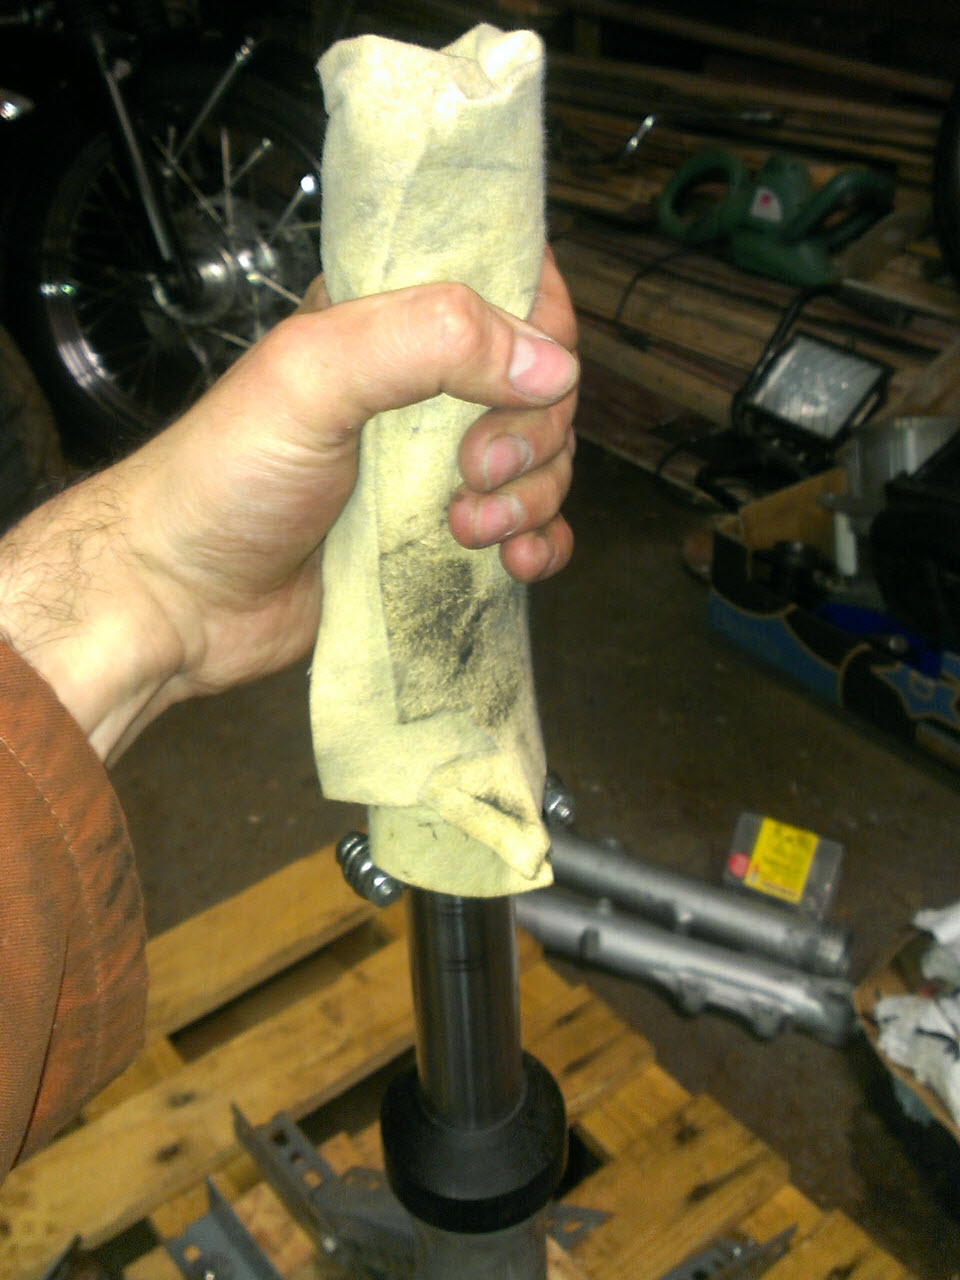
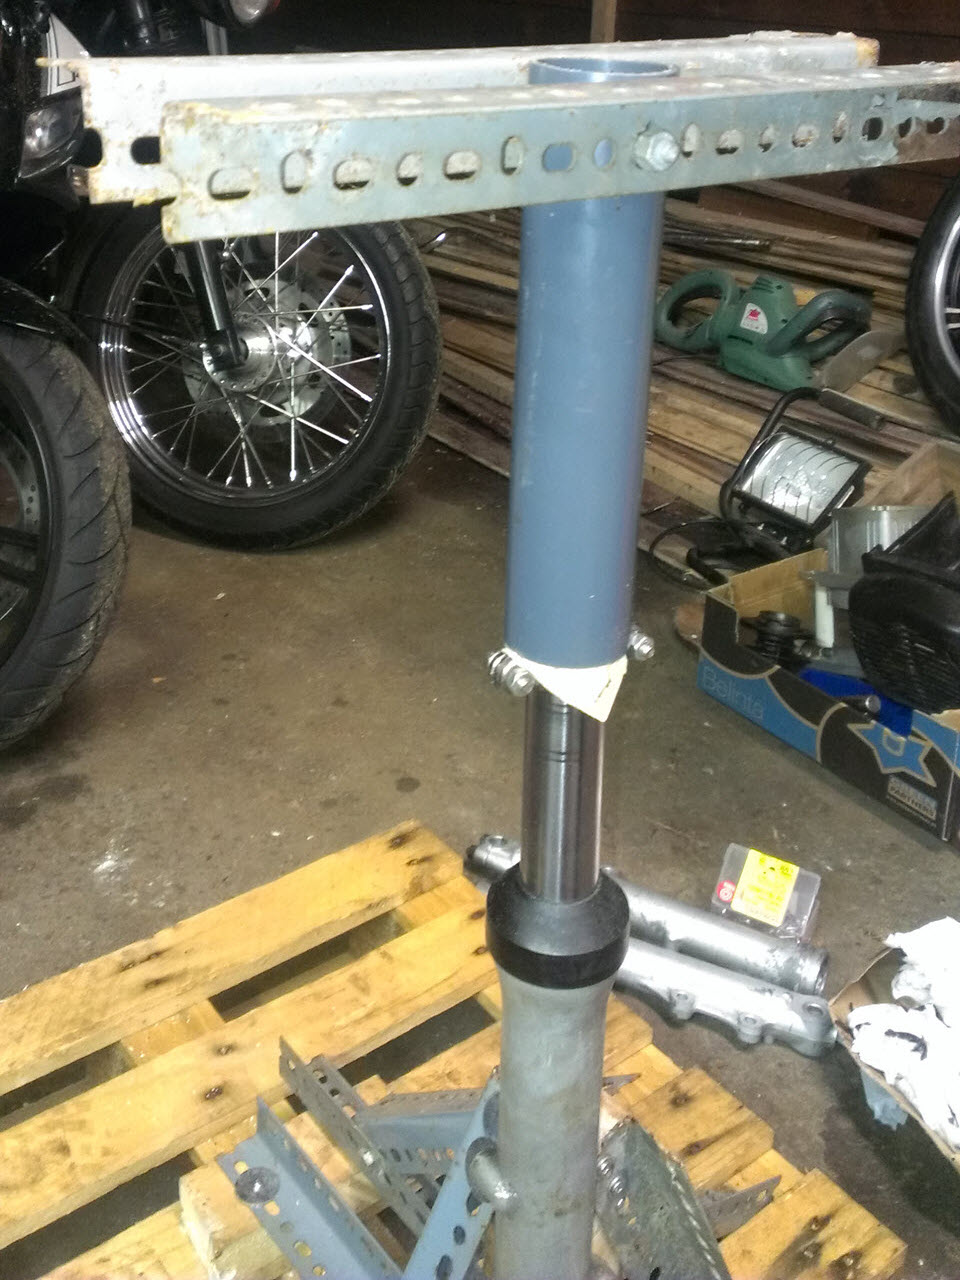
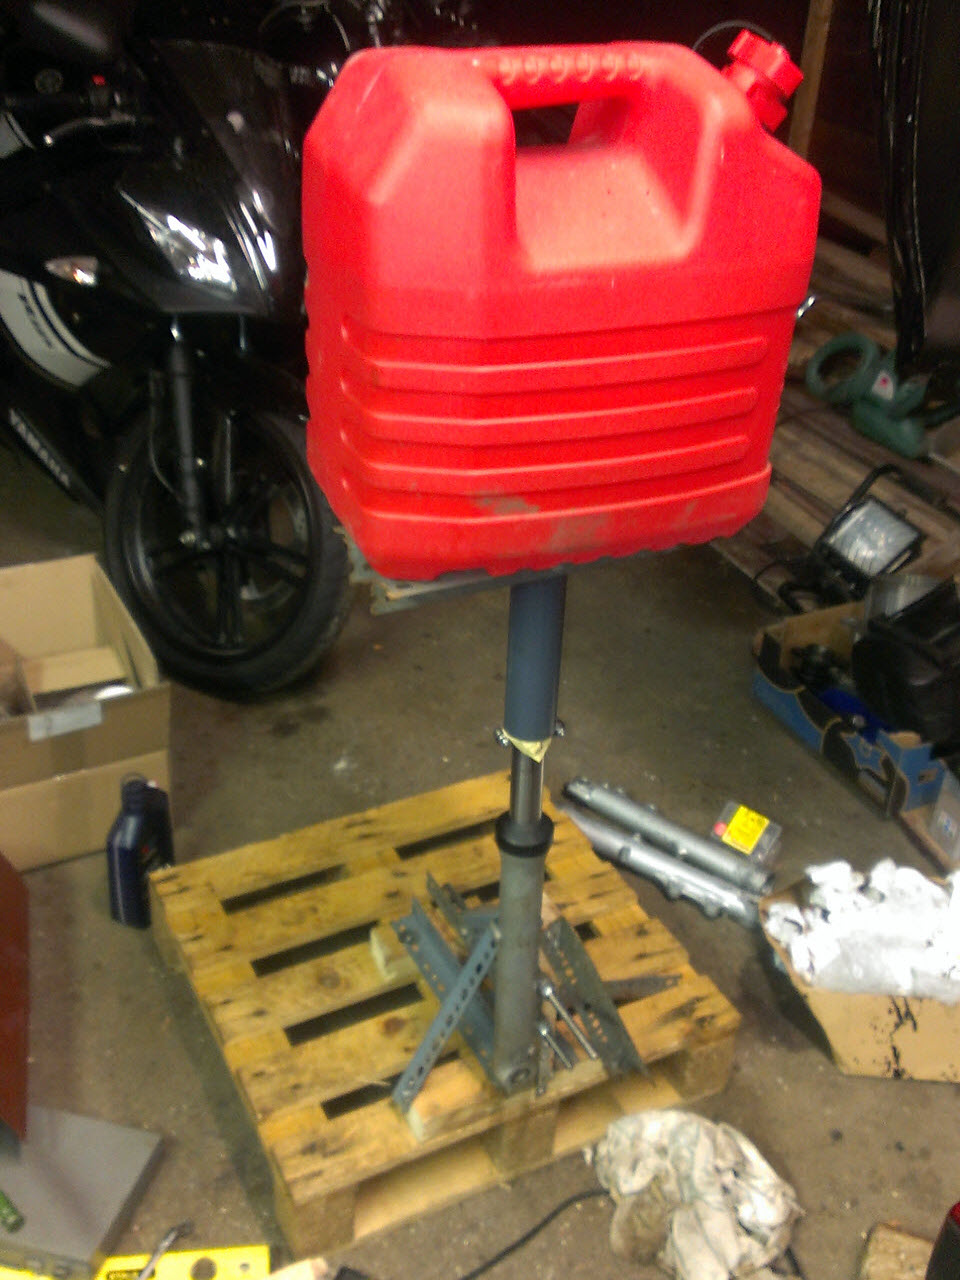
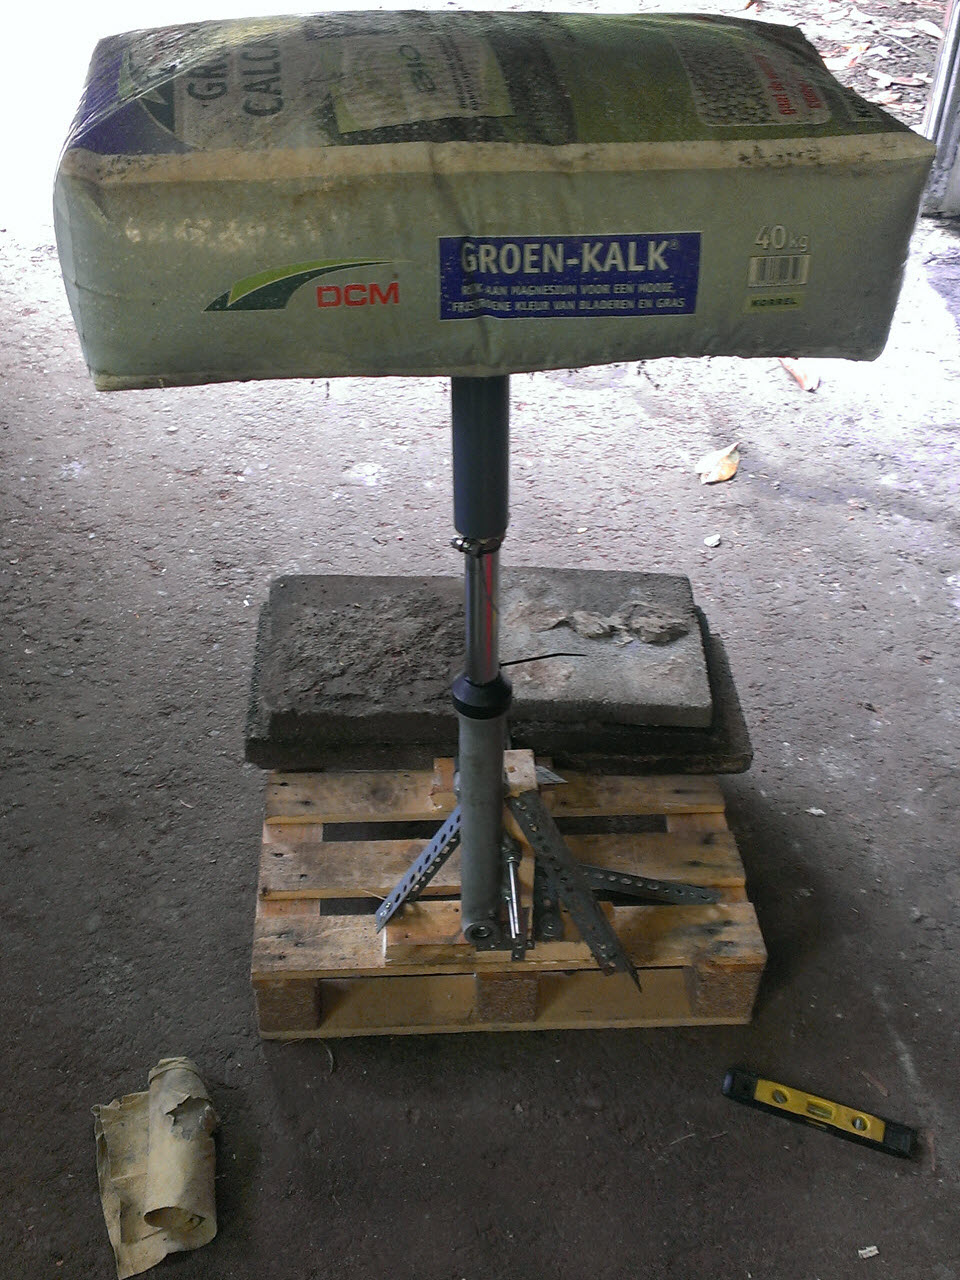
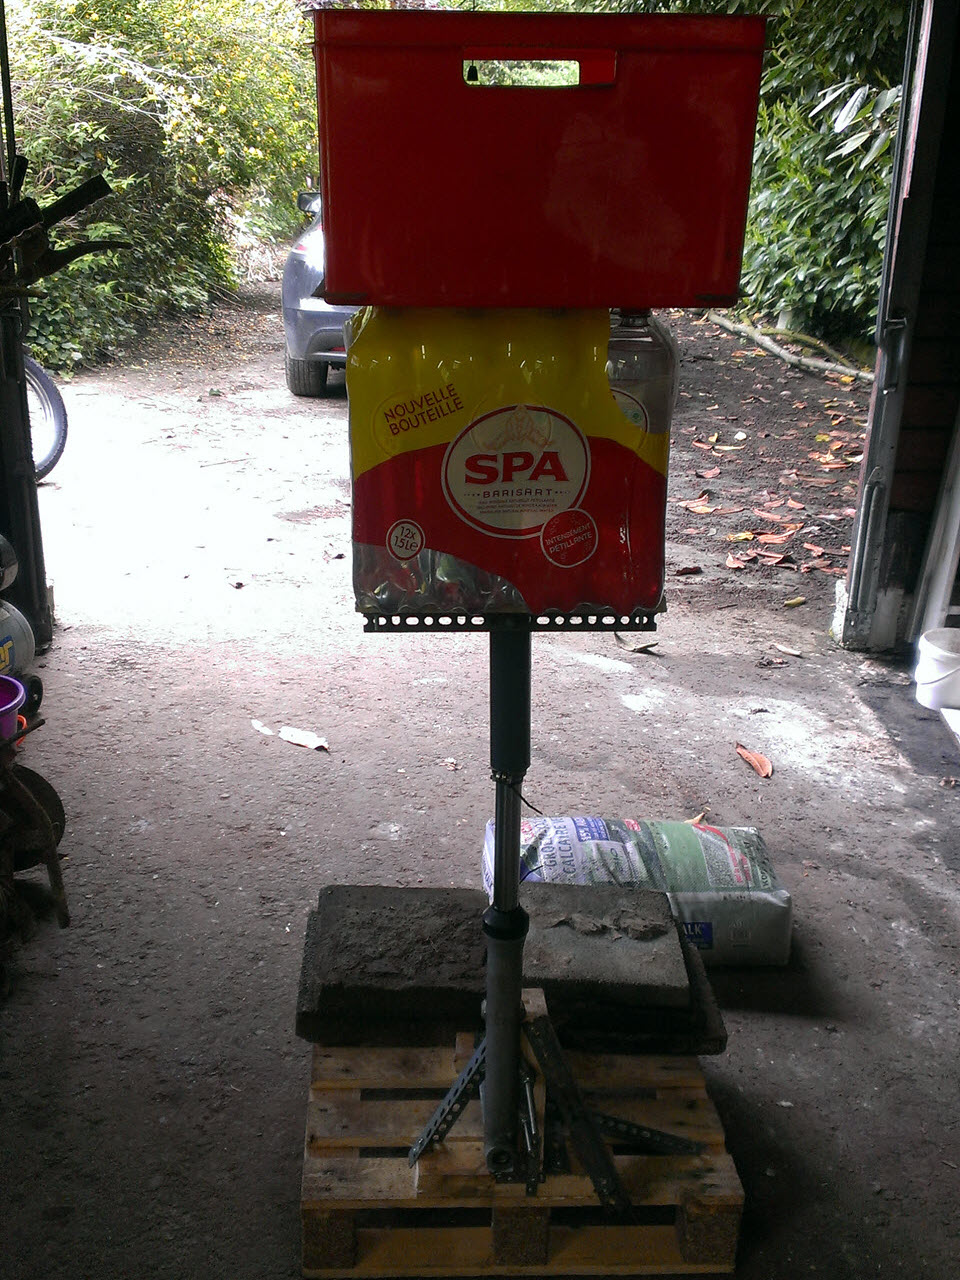
In order to know the starting point for improving the suspension, I needed to build a rig that would measure the current spring stiffness.
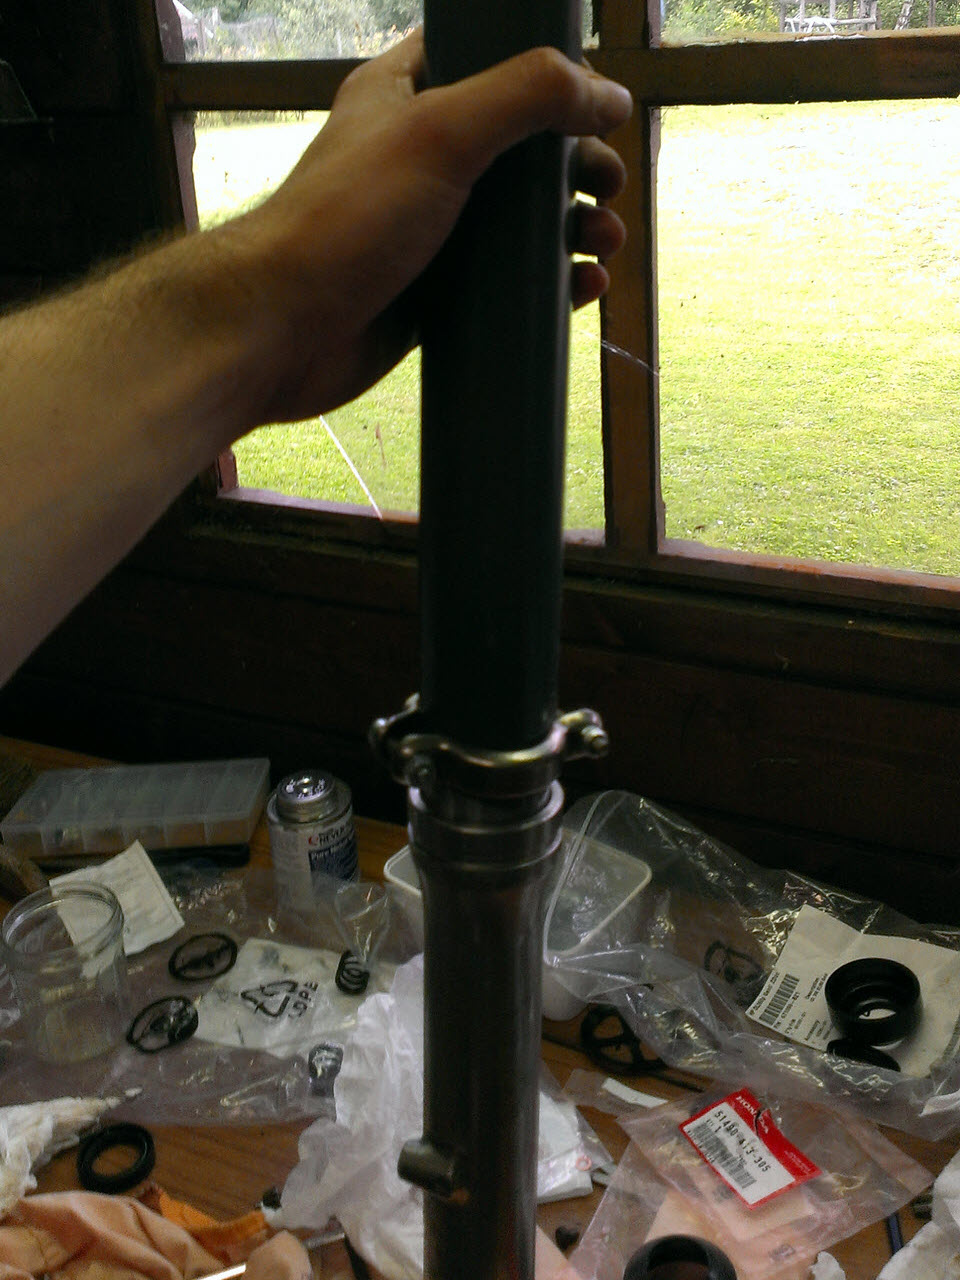
Since I had no weights, I had to resort to random stuff and add up the differences. I used zip ties around the fork stem to check the suspension travel.
These were the results.
I took a wrong measurement at #13, so I took it out
| kg | mm | kg/mm |
| 6830 | 17 | 401,7647059 |
| 11555 | 22 | 525,2272727 |
| 16280 | 30 | 542,6666667 |
| 21005 | 32 | 656,40625 |
| 25730 | 44 | 584,7727273 |
| 30455 | 52 | 585,6730769 |
| 35180 | 58 | 606,5517241 |
| 44240 | 74 | 597,8378378 |
| 49850 | 77 | 647,4025974 |
| 54575 | 85 | 642,0588235 |
| 59300 | 94 | 630,8510638 |
| 68750 | 113 | 608,4070796 |
| 73475 | 122 | 602,2540984 |
| 78200 | 125 | 625,6 |
| Average: | 589,819566 |
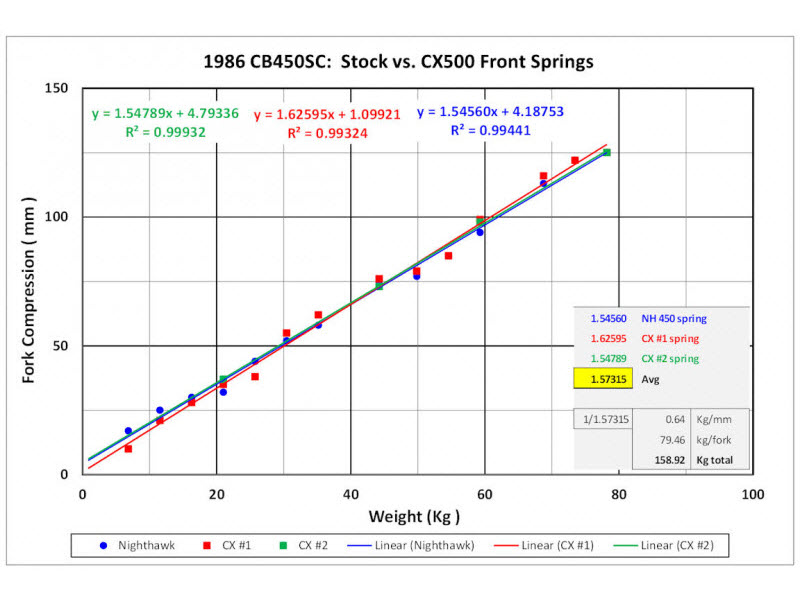
From this, Spacetiger deducted the following, and produced a graph noting the desired spring force.
All three springs appear to be linear rate springs
All three springs appear to have essentially the same rate, 0.64 kg/mm (35.6 lb/in). If I had to guess, the stock springs were probably 0.65 kg/mm
Total load a single spring can carry before bottoming out is ~80 kg or ~160 kg for both front forks.
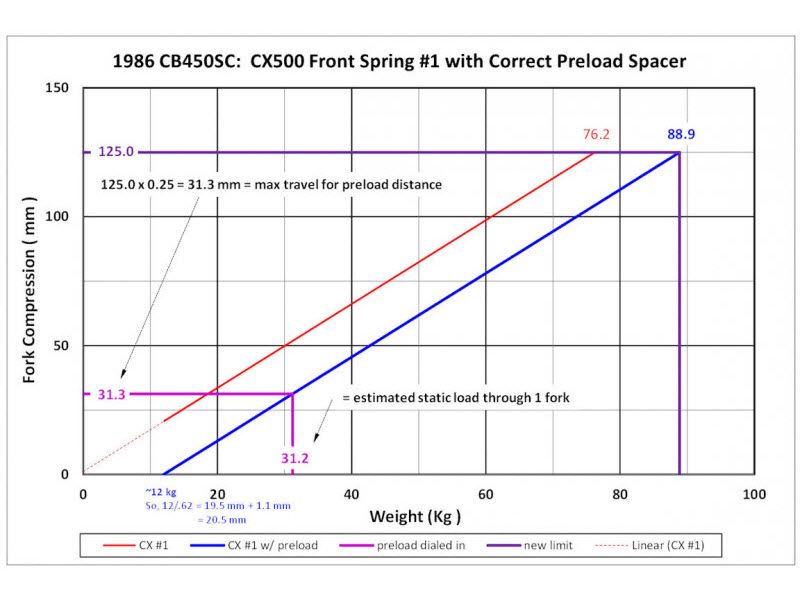
It looks like you were very close to getting zero (0) preload on the springs for each test condition; if I extend the trend line back, it does not go through 0,0 but crosses a little bit above 0,0 indicating the preload spacer is a tad short.
Your brake modifications (larger disc diameter, better HH pads, SS brake line, and perhaps lever) are going to allow you to stop quicker. The tire rubber might be a bit better than the 80's too.
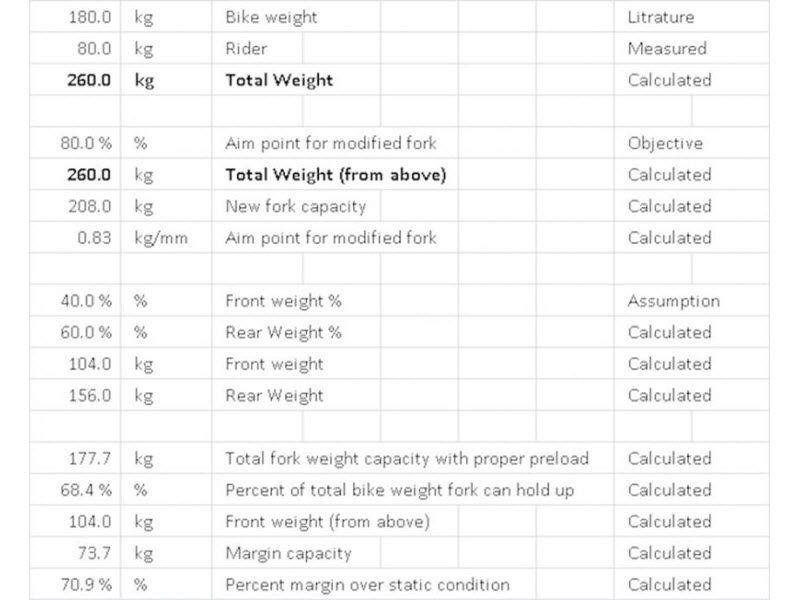
So, you will be able to put more weight loading on the front fork than the designers might have planned. I think you could put up to 80% of the bike weight through the front forks when you stop hard. Based on that, I think you should aim for no lower than 0.83 kg/mm rate springs.
If you have to round off, go with 0.85 kg/mm or 0.90 kg/mm. Remember, we all get heavier over time, so at some point the rider is going to weigh more than 80 kg....Looks like a 20.5 mm additional length to the spacer you used during testing should be the right delta length spacer to set the initial spacer. That would provide you with a little more margin on the front end (an additional ~12 kg capacity per fork.
I still think that would still be a light duty fork, but perhaps it might be okay as the initial starting point. If you don't buy a new spring, you can do this spacer length change and track (via zip ties) you much of the suspension you use. This would confirm if you need to go lighter.
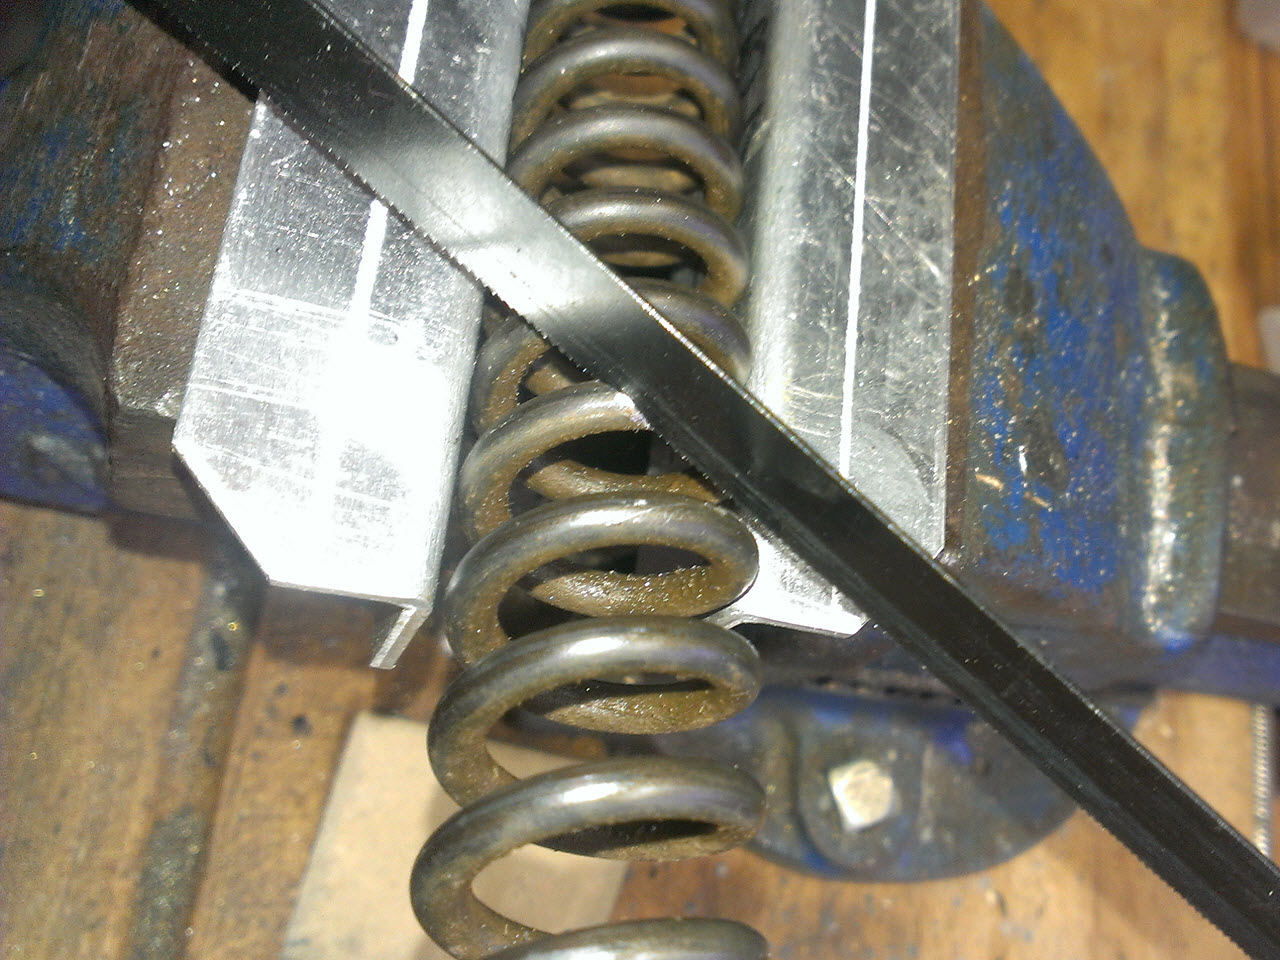
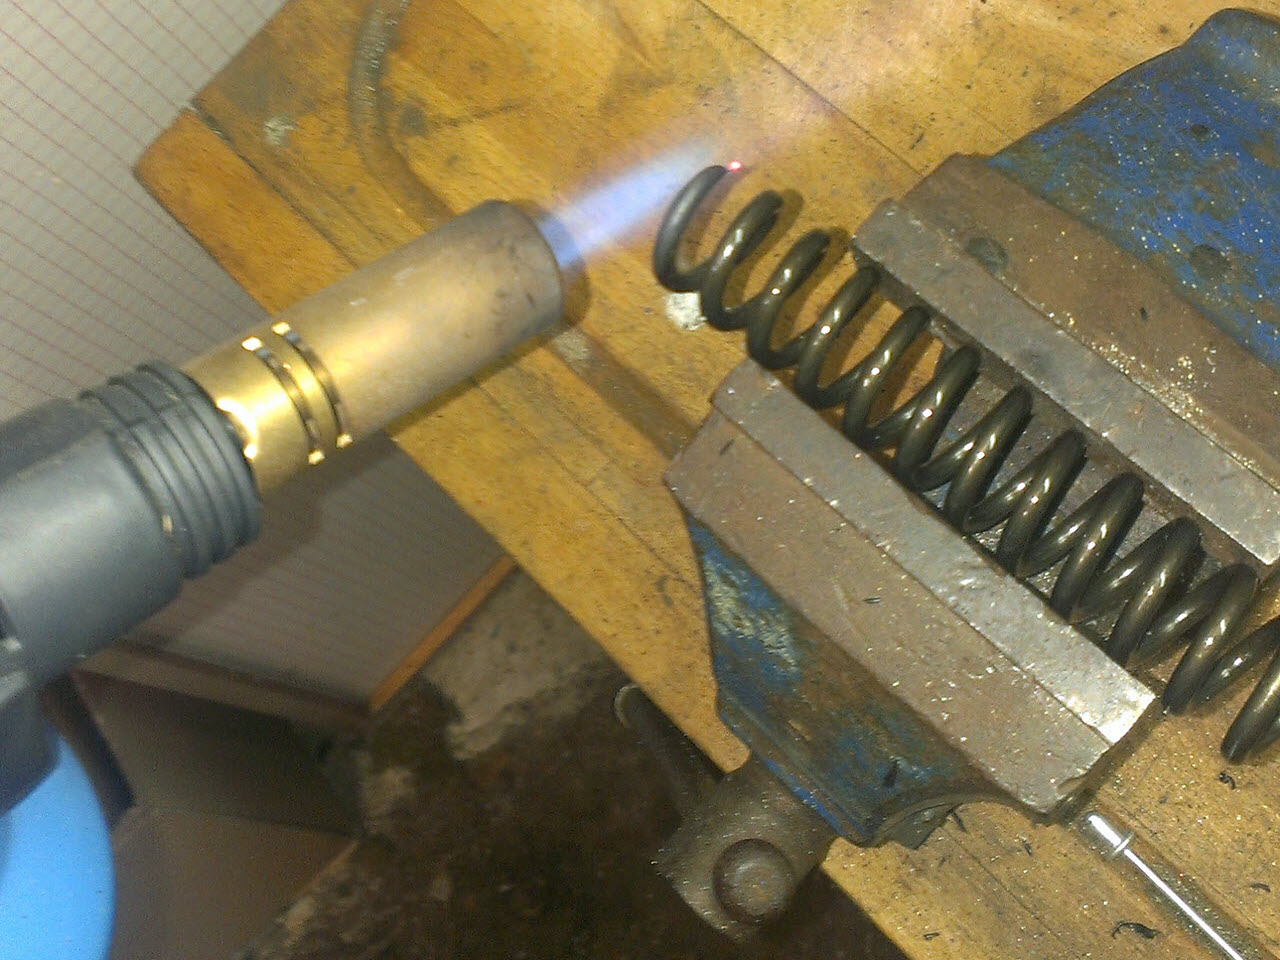
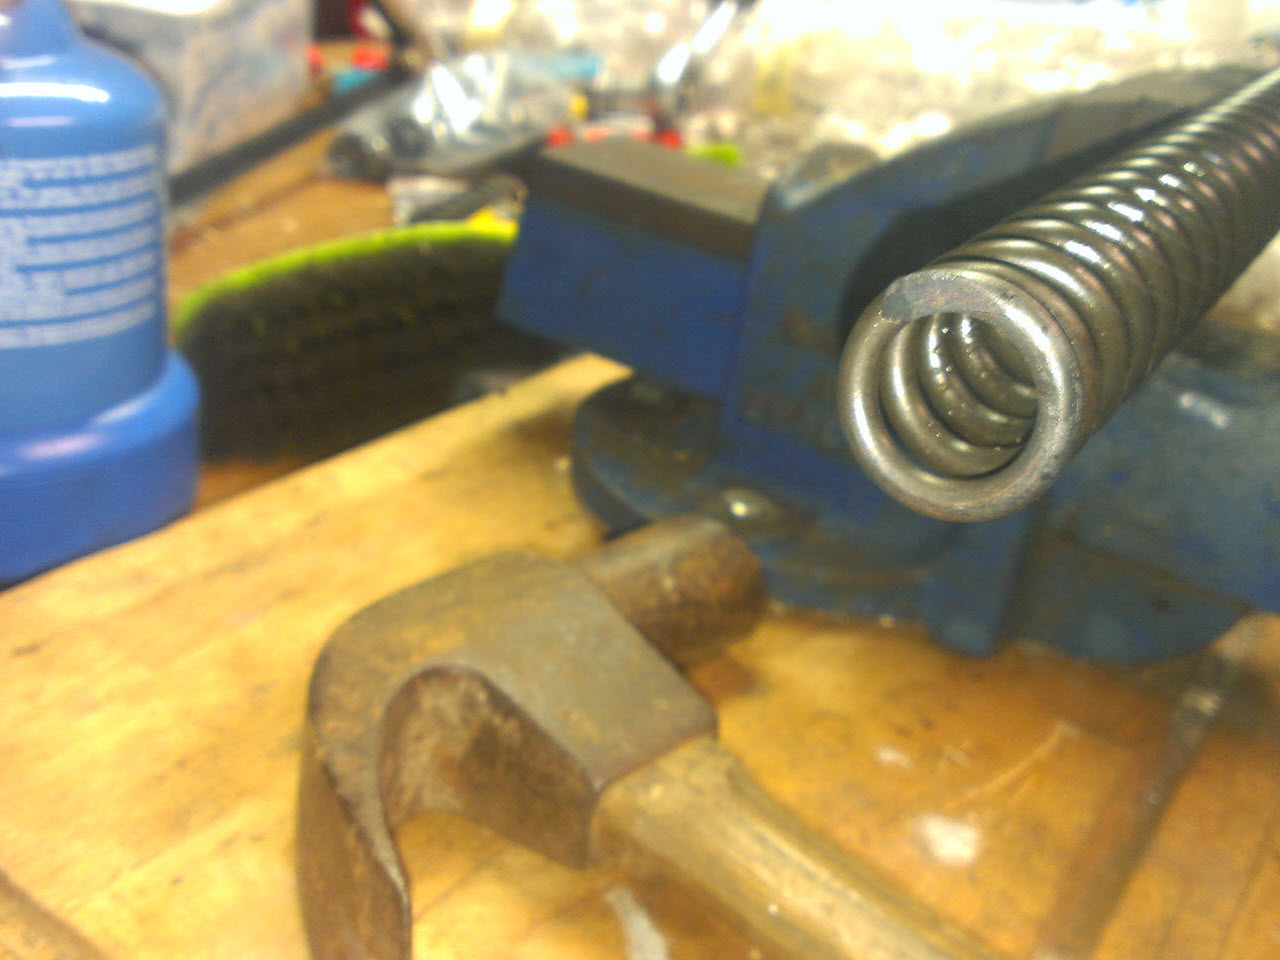
I decided to cut my springs, instead of buying new ones. This would save me money, stuff would be learned in the process. I got my inspiration from an article at dirtrider.net
Contrary to what you might think, a spring gets stiffer if you cut coils off. The quote below is an excerpt of the post:
Measure the distance D1 between two coils at any point of the spring but not at the end of it.
Count the coils of the spring. In my example it has 30 coils.
take the number of coils minus the two outer coils (in my example 30 - 2 =28) and
multiply it with D1 (for example D1 = 11,8mm, then it's 28 x 11,8mm = 330,4mm)Measure the distances D2 and D3 of the outer coils and add them to the result above (if D2 =11,5mm and D3 = 11,2mm then we have 330,4mm + 11,5mm + 11,2mm = 353,1mm in this example) - that's your spring travel.
Ok, you have a 0.47kg/mm spring for example and want to make it a 0.50kg/mm spring.
If 30 coils are 0.47 then 1 coil is 0.47 x 30 = 14.1kg/mm. Take the rate of 1 coil and divide it over the spring rate you want (14.1 / 0.50 = 28,2) that's the coils your spring must have. I prefer to calculate in 0.5 winding steps, so lets make 28 coils instead of 28.2 w.(then you will get 14.1 / 28 = 0.504kg/mm )
30 coils it has now and 28 coils you need, that means you have to cut 2 coils off of the springCaution: The spring travel must be at least 5mm + spring preload more than the fork travel, otherwise you will damage your cardridge!
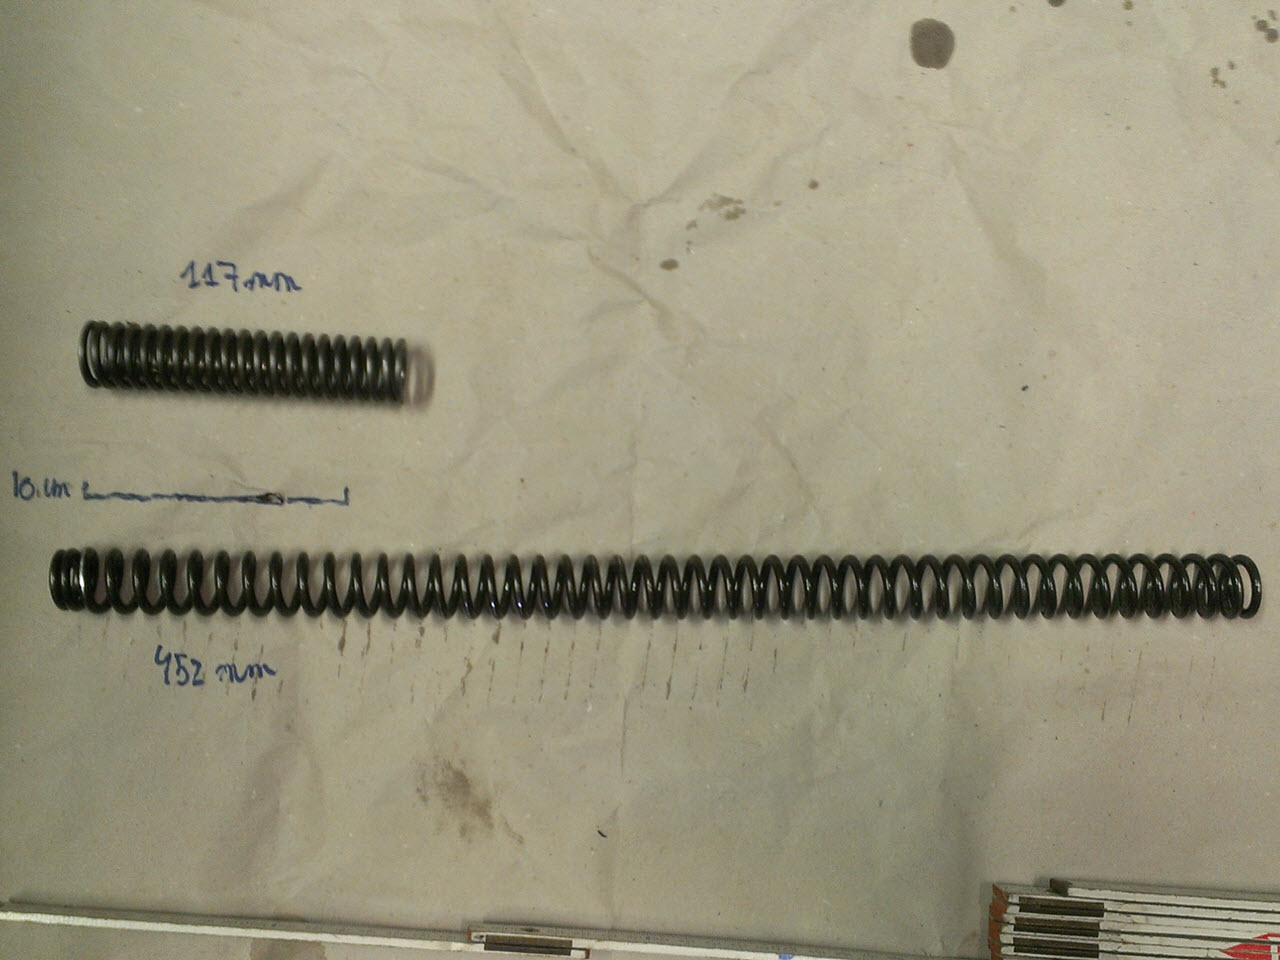
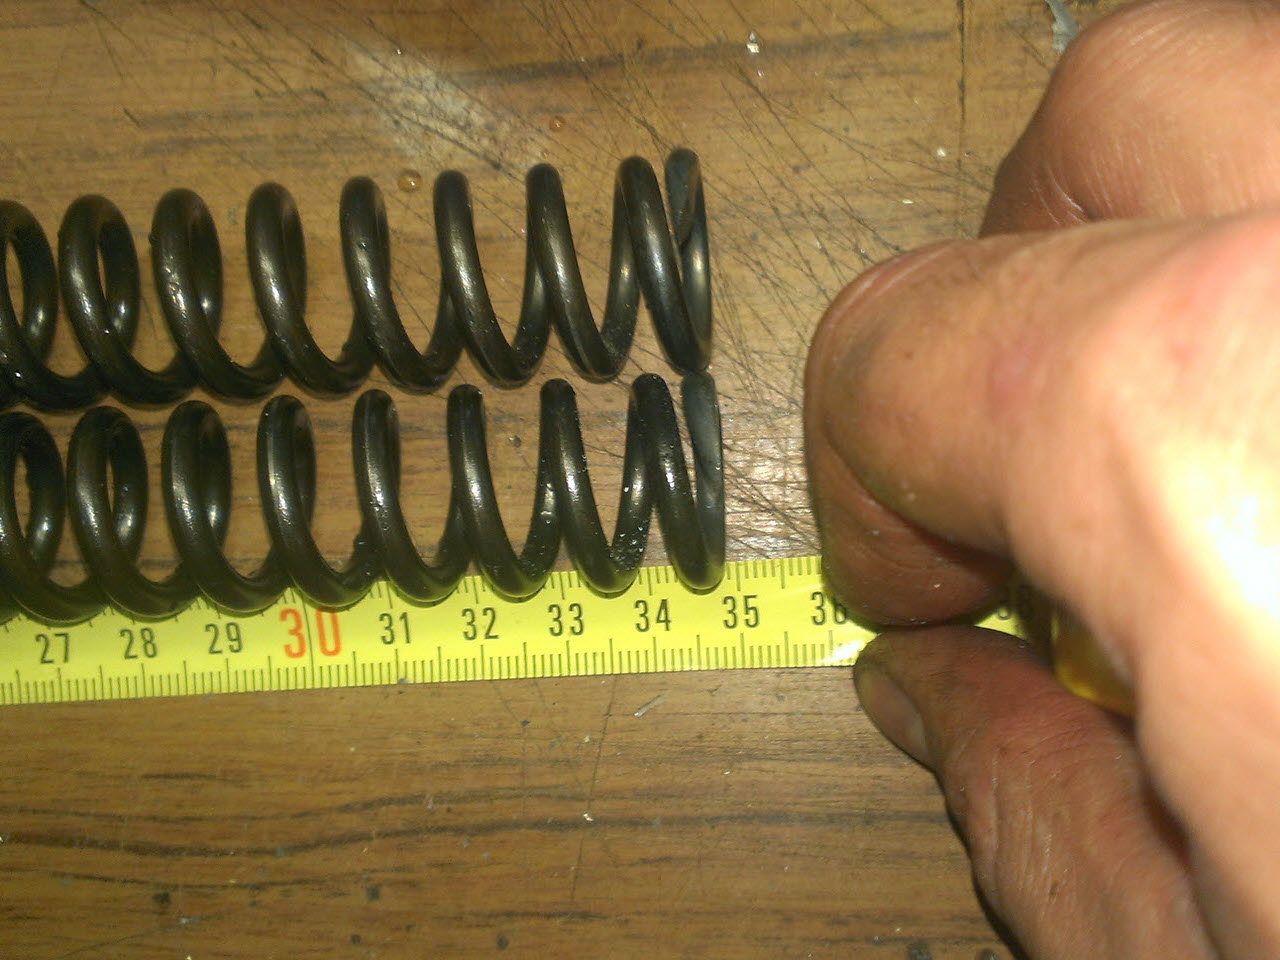
I measured the stock springs, and based off the previous calculations, decided on the length to cut.
- The stock Nighthawk spring is 452mm (rounded to 450)
- Spring rate is supposed to be 0.65kg/mm
- It has approx 45 active coils. This makes it easy, as one coil = 10mmm
So the calculations are:
- Stiffness of one coil: 0.65 * 45 = 29.25kg/mm
I decided to shoot for 0.80kg/mm, so I need: 29.25 / 0.80 = 36.5 coils. Rounded off to 35, which netted me something between 0.80 and 0.85 in theory. This meant I needed to cut the stock NH spring by about 10cm.
I like round numbers.
Damping
Next up was the damping. The stock setup are a damper-rod forks. This means the oil must flow through tiny orifices when the fork compresses or extends, limiting the speed at which either compression or extension happens.
This is not a very tunable system. Either you have harsh damping and feel every bump, or you have little damping, and the bike tends to be bouncy.
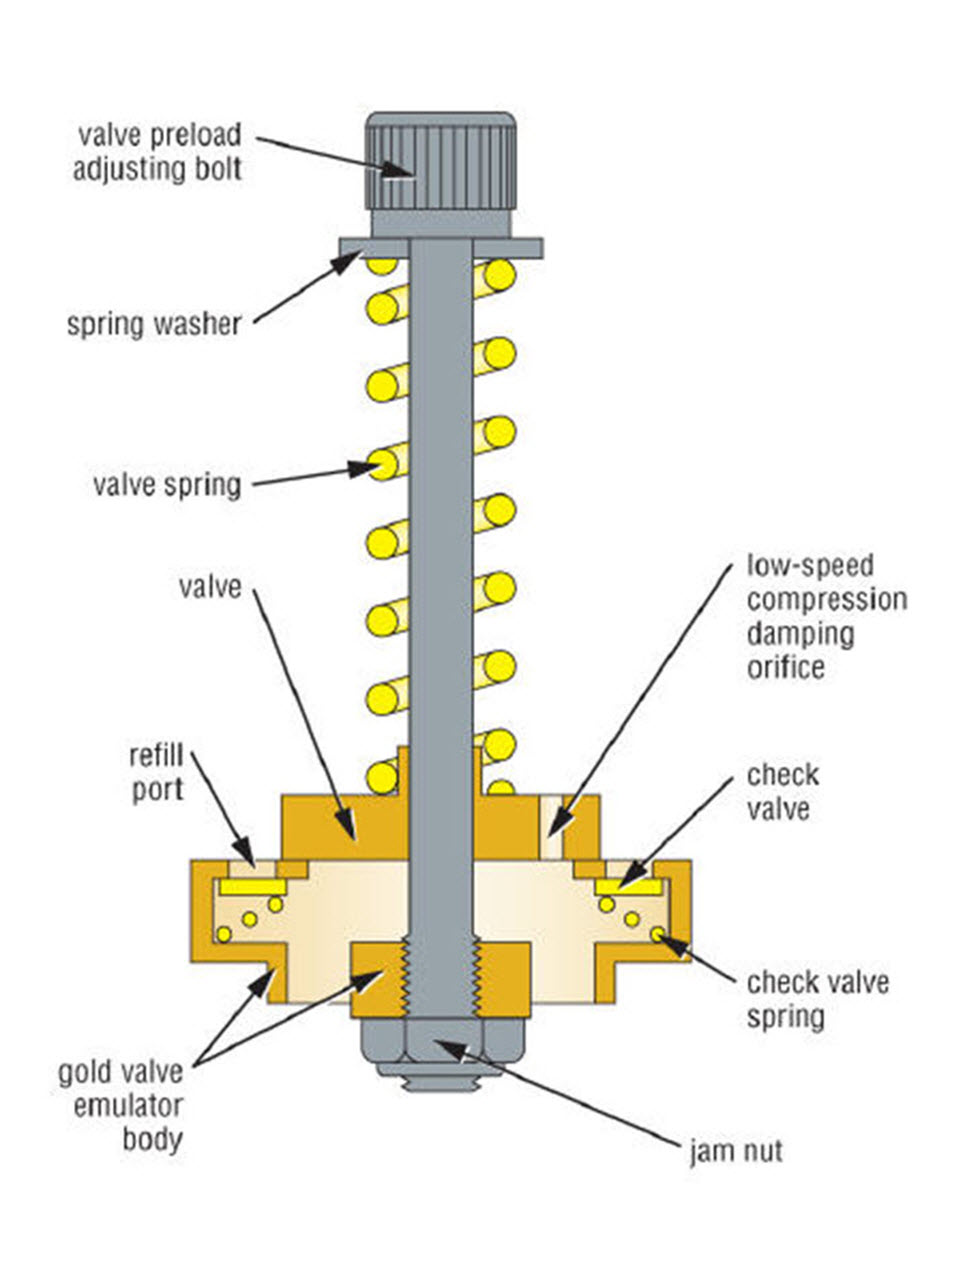
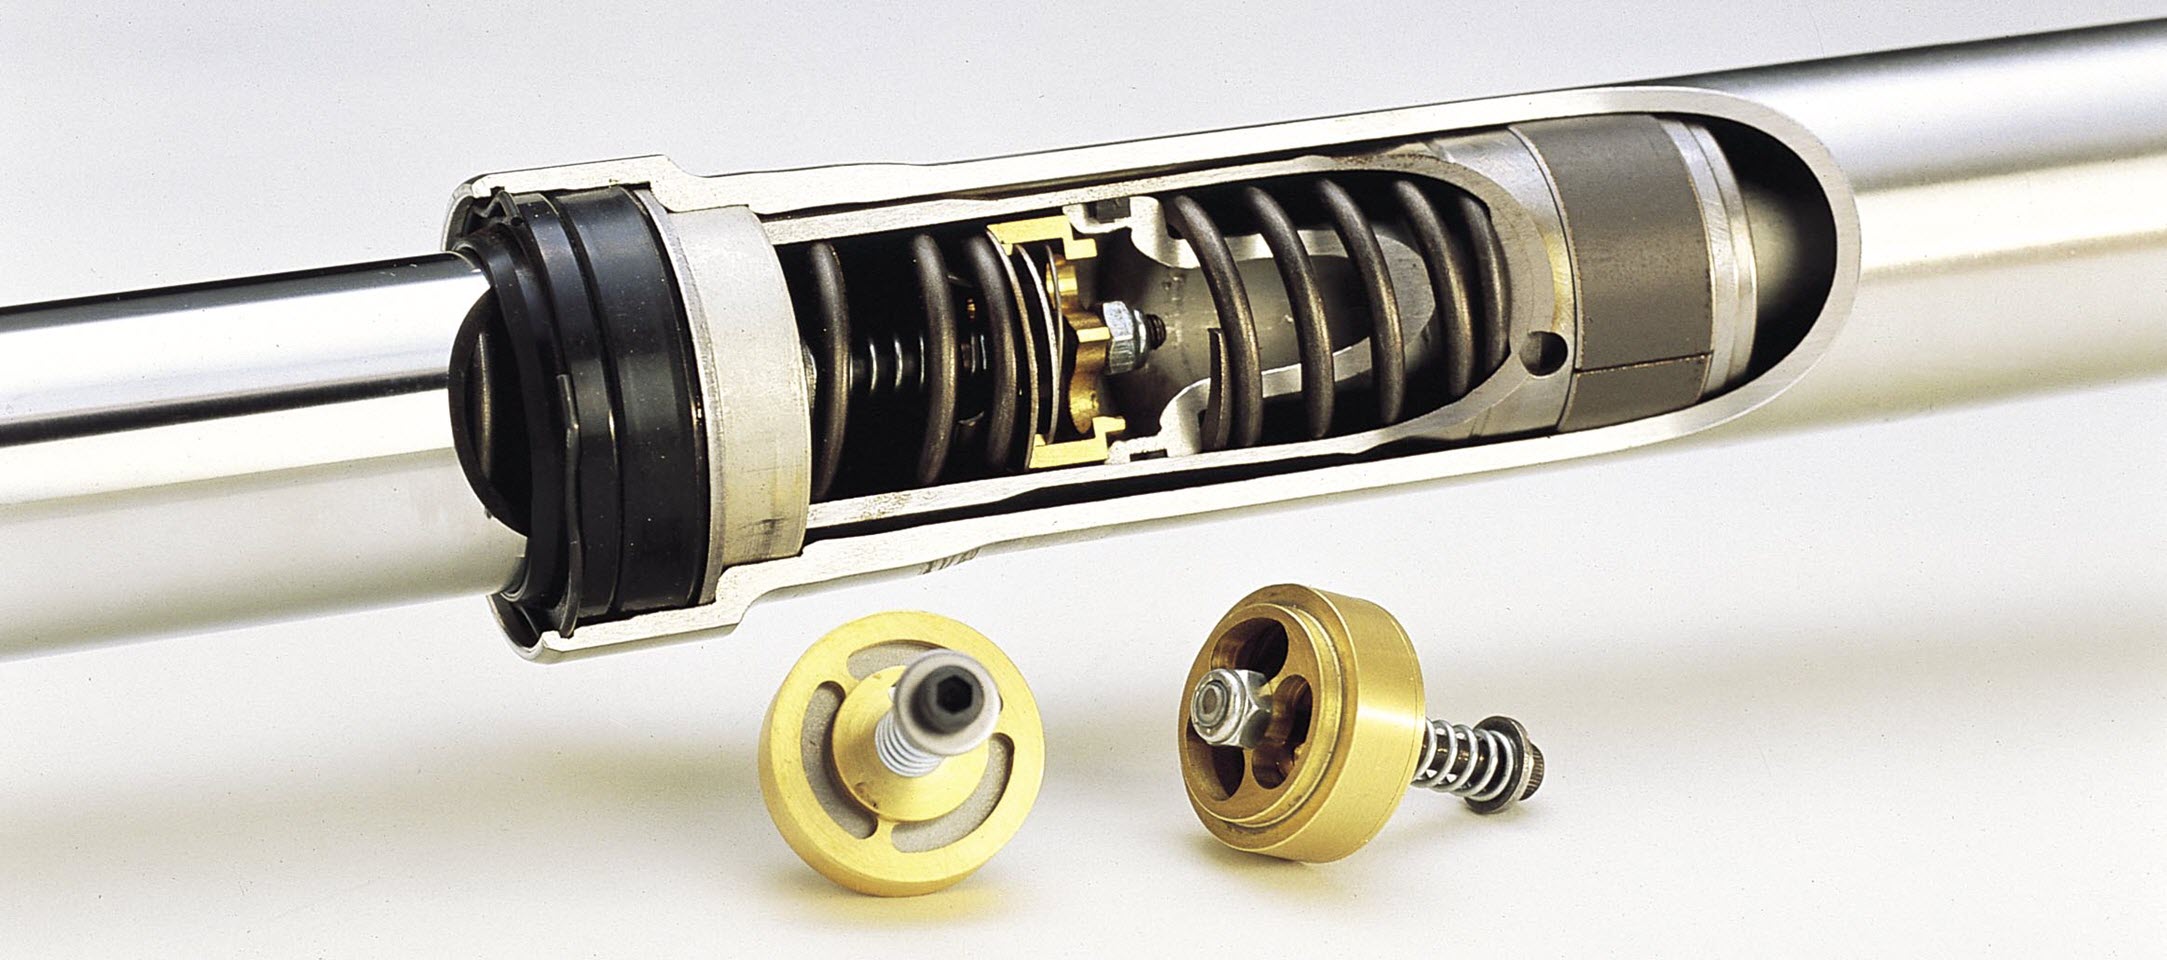
The solution is to replace the tiny orifices with a shim stack, which controls the damping on several levels. Racetech sells "gold valve emulators" which are drop-in, tunable shim stacks.
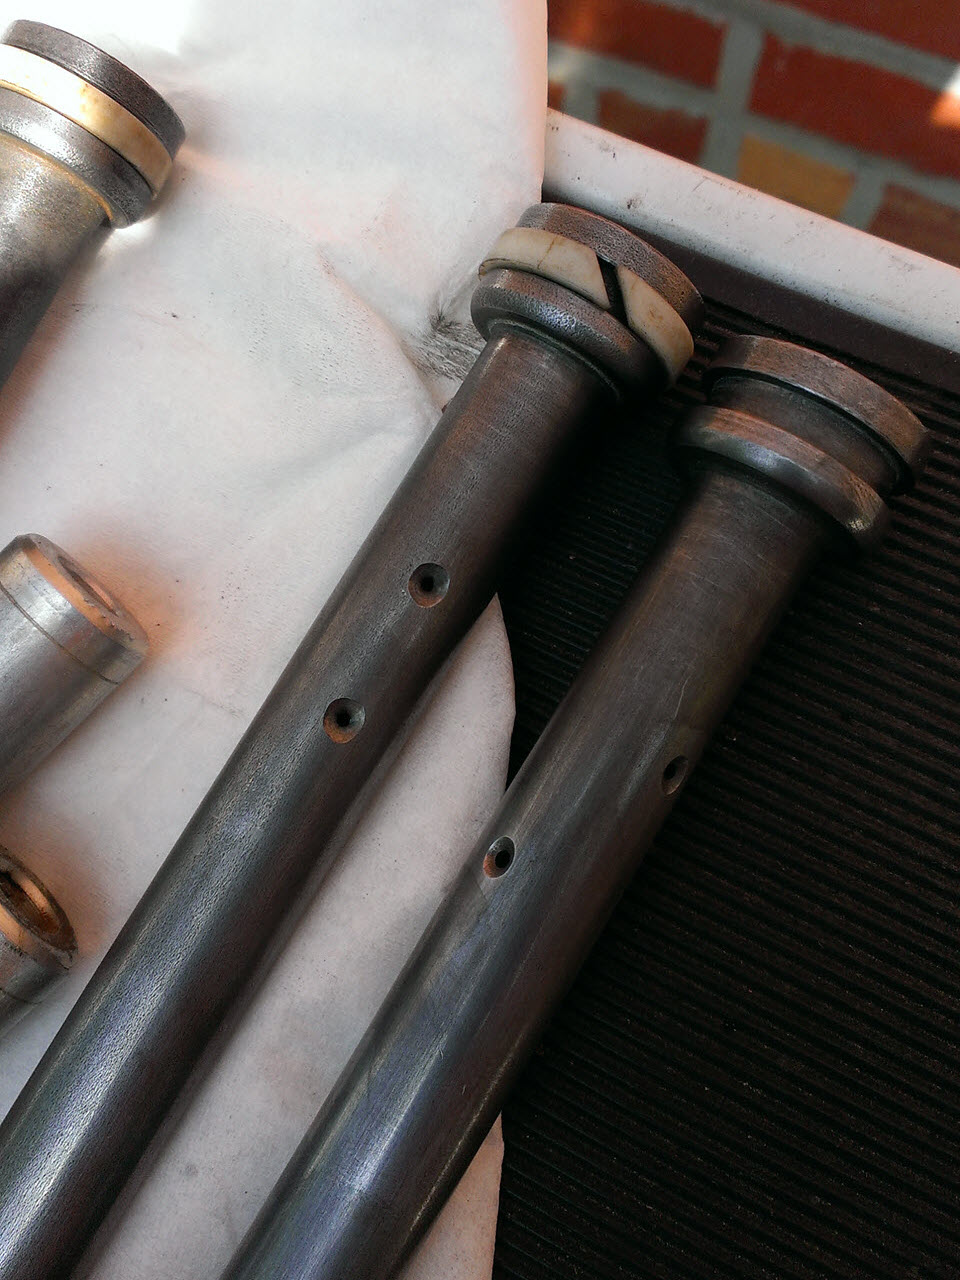
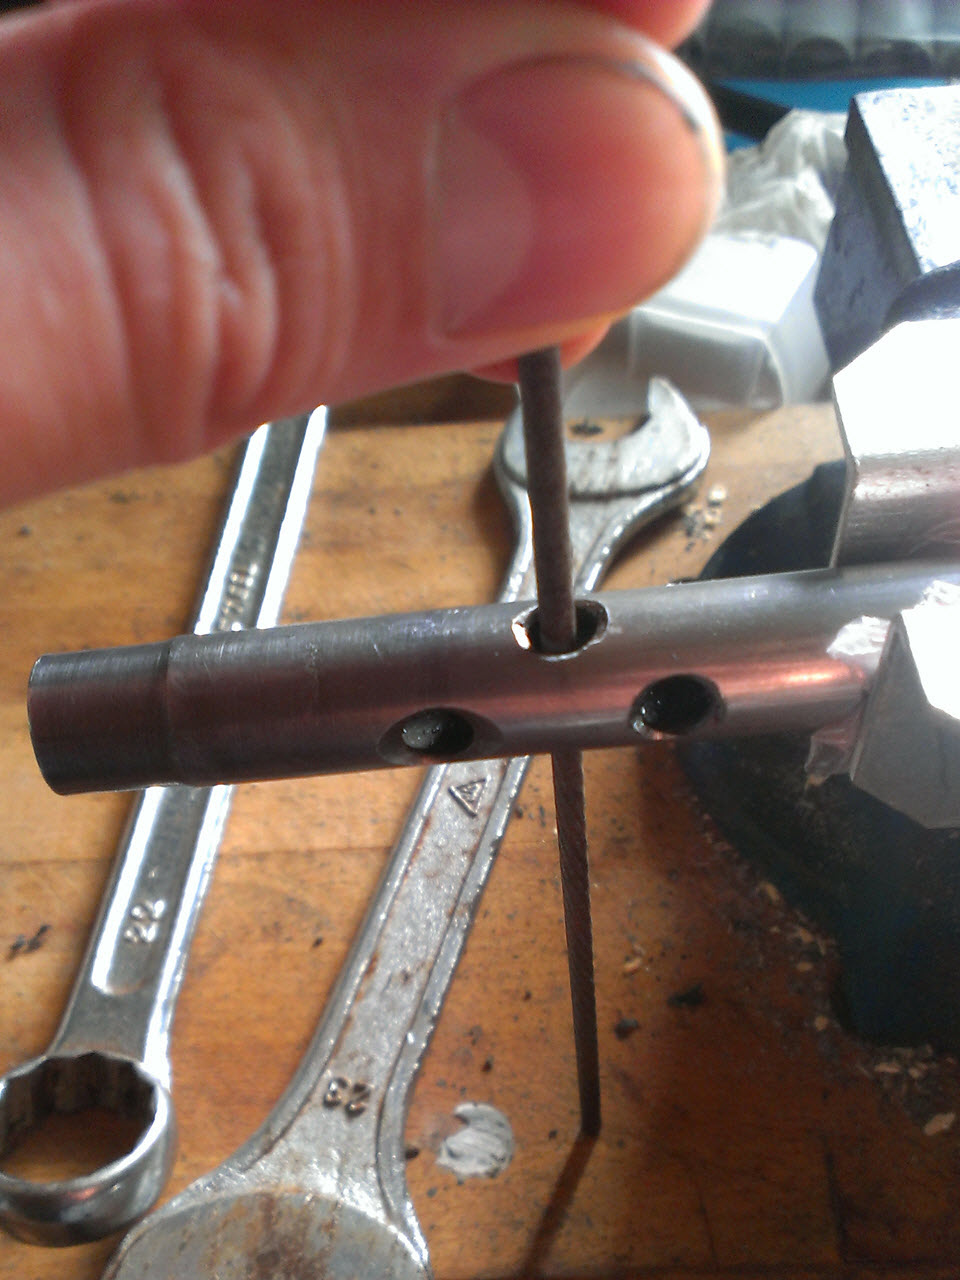
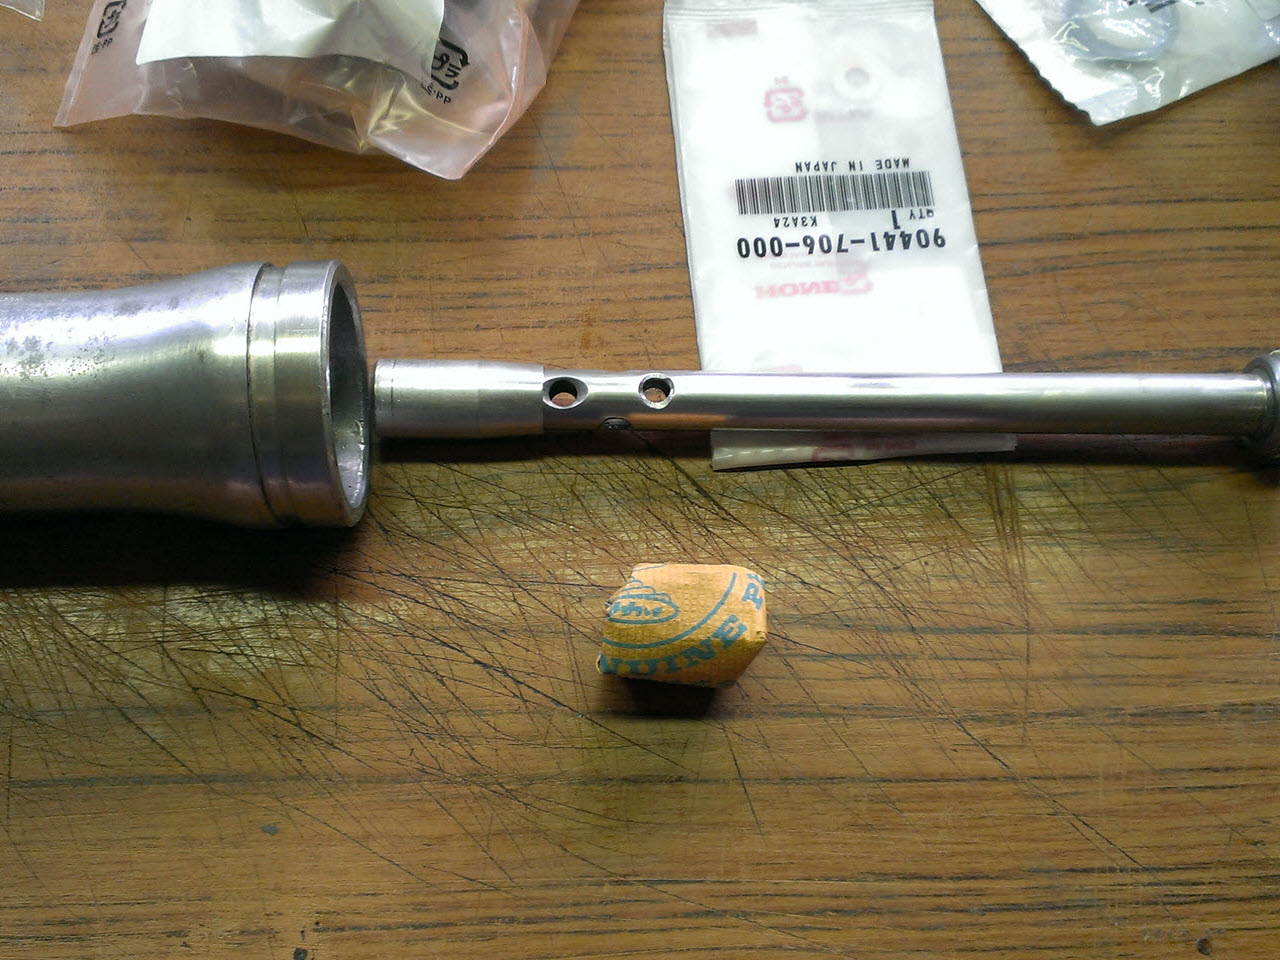
For these to work effectively, the original damper rods needed to be bypassed (drilled through) so full control is given to the emulators.
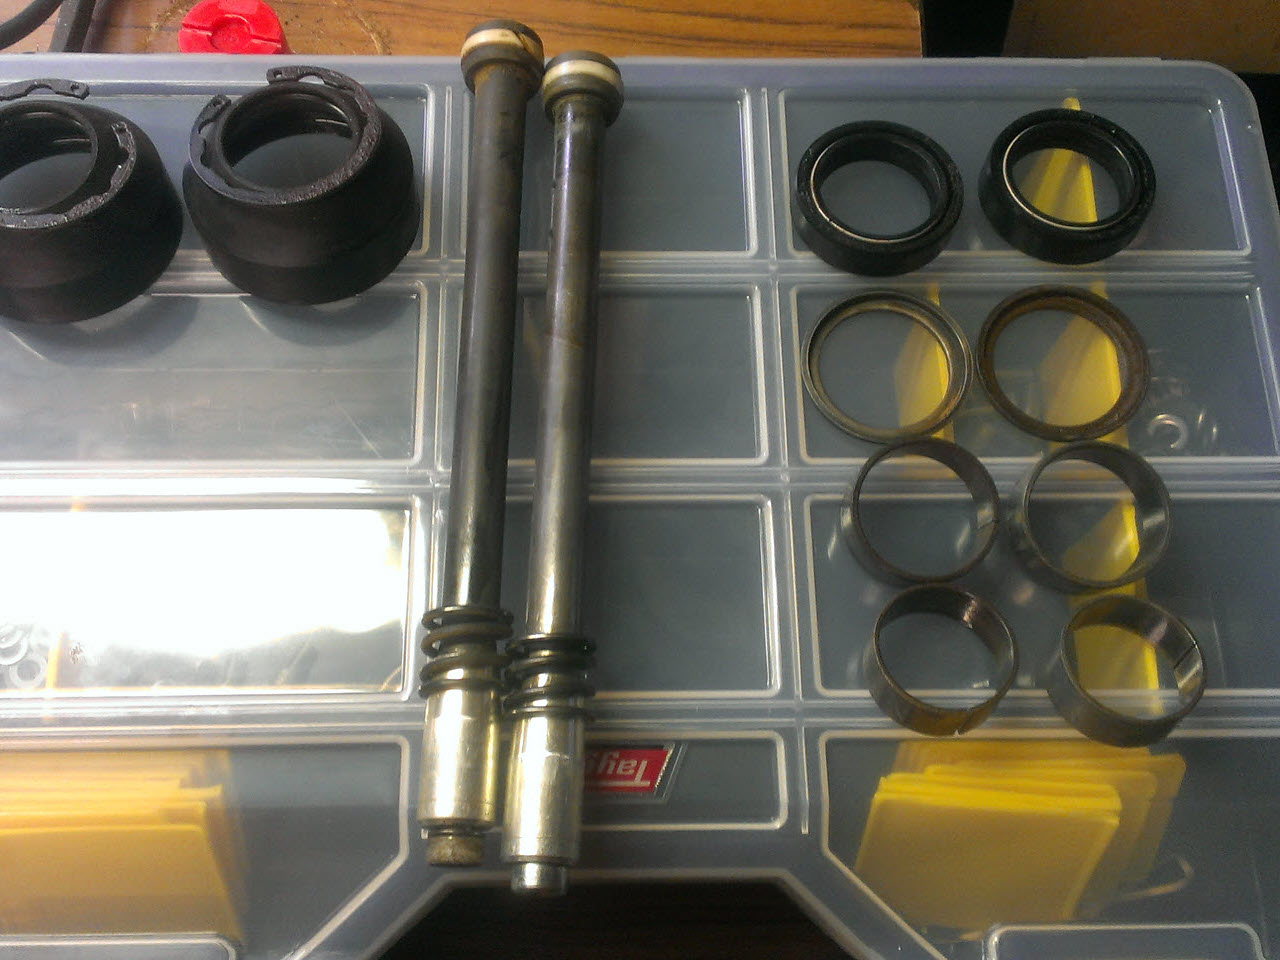
I used Racetech "FEGV S3001" valves, which fit perfectly in the tiny fork legs.
This was all I had to do for the valve installation.
I put the valves in bone-stock, the way they came off the factory. This meant the blue springs were installed, and I did not adjust the preload on the springs.
The damping would be greatly affected by the oil weight being used. Racetech recommends a 10W fork oil. Since not all oil weights were made equal, I used this list to get the cst rating, then went to get a 7,5W fork oil from Denicol, which has the same cSt values as the Racetech 10W
After some testing, the forks turned out to be a bit too bouncy. I filled them with Denicol 10W oil instead, no adjustments to the valve. They are now exactly how I wanted them.
Air Chamber
Another thing affecting the fork's behaviour is the air chamber. It is the air trapped inside the fork. When the fork compresses, the air compresses with it, basically turning into a progressive spring. The air chamber affects the last portion of the suspension travel, steeply stiffening up the spring rate, so you don't bottom out.
The stock system had "air-assist", meaning that you could increase the spring rate by adding air to the forks. I wanted to get rid of that, because it is inconsistent, hard to tune, and can be leaky. First thing was to disable the air assist.
After a brief detour in the project where I tried looking for non-air-assist fork caps, I ended up disabling the valves in my original fork caps.
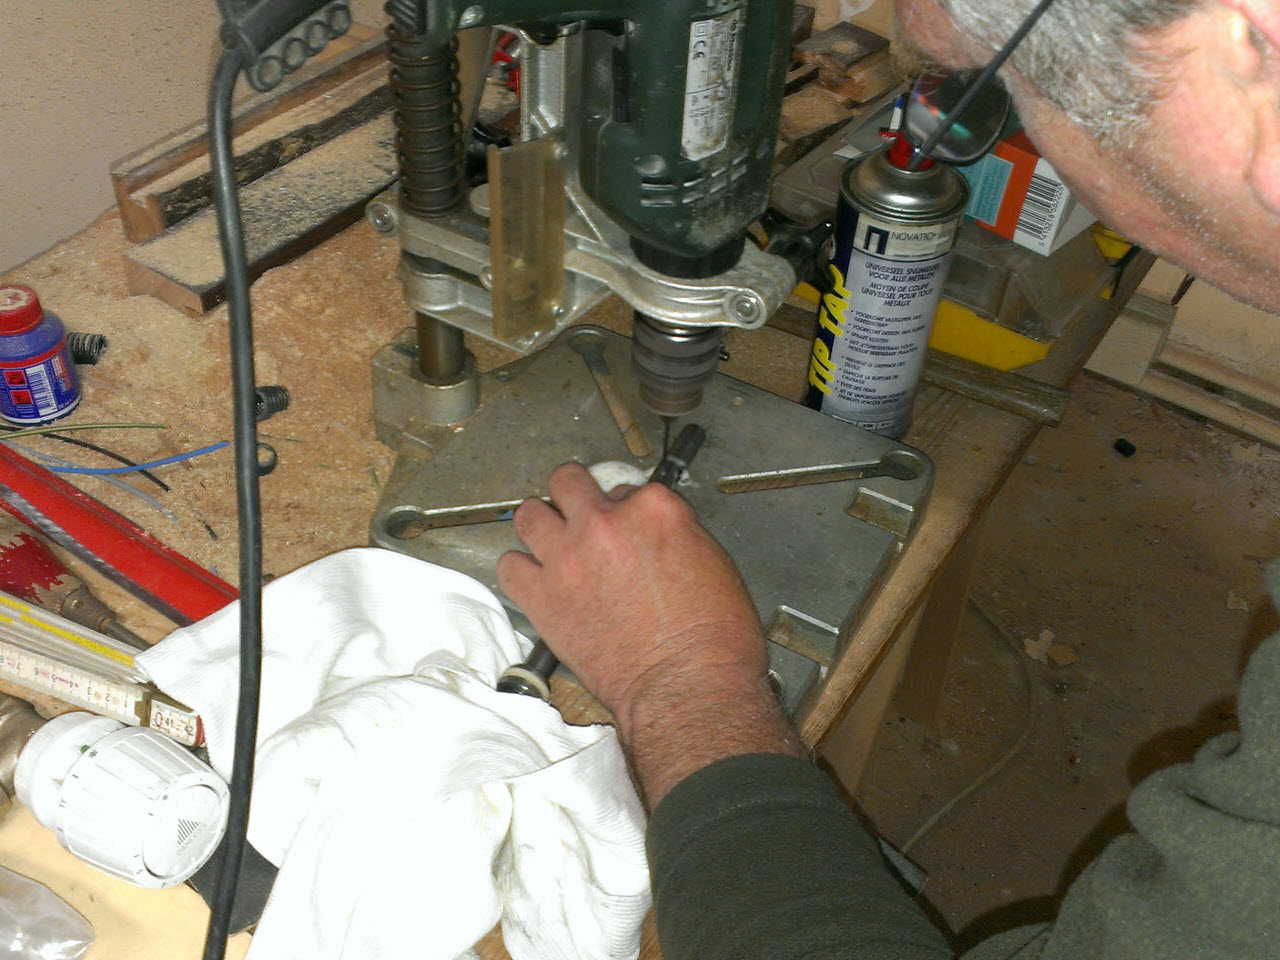
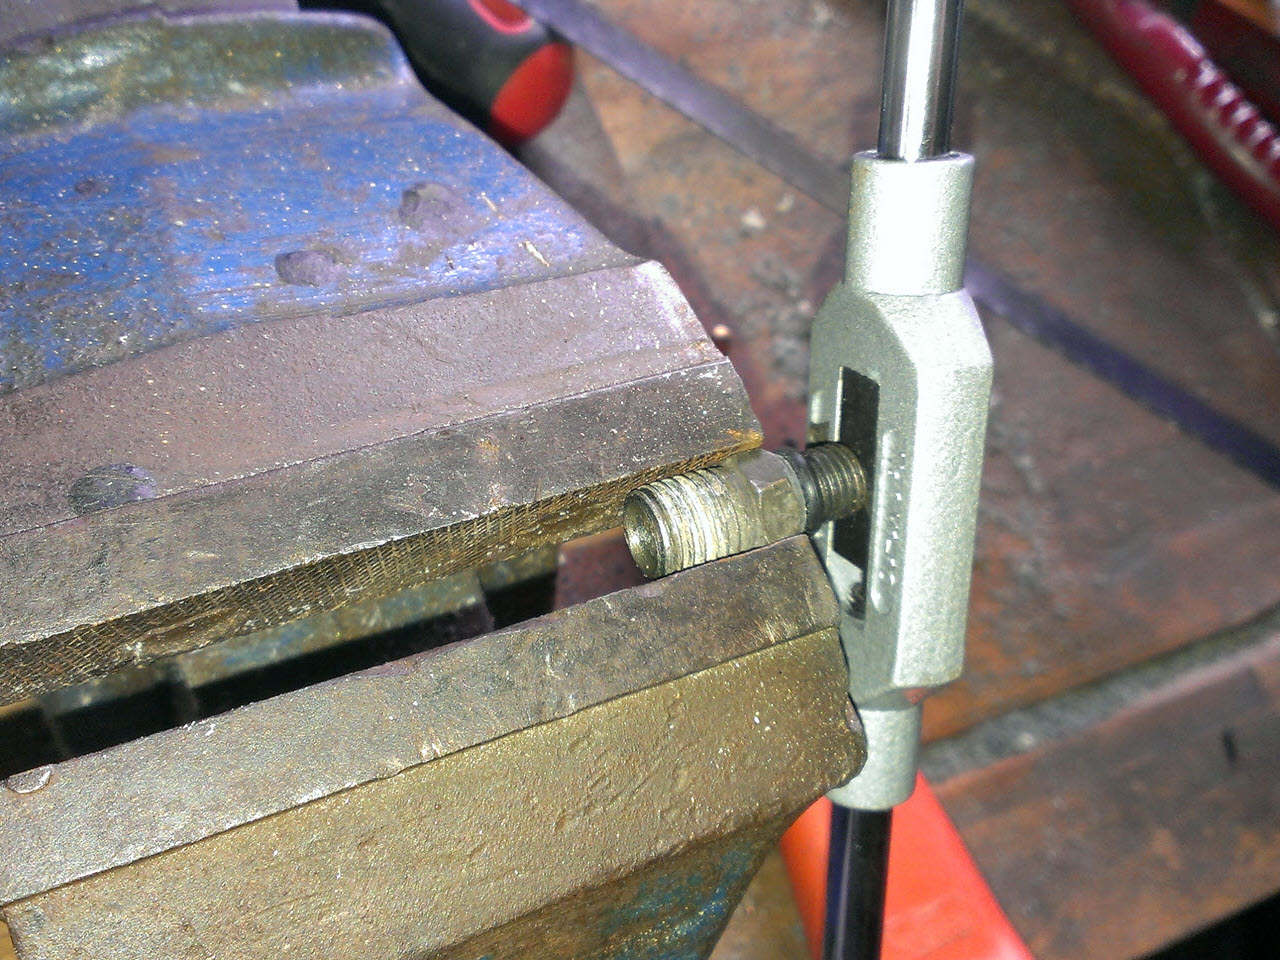
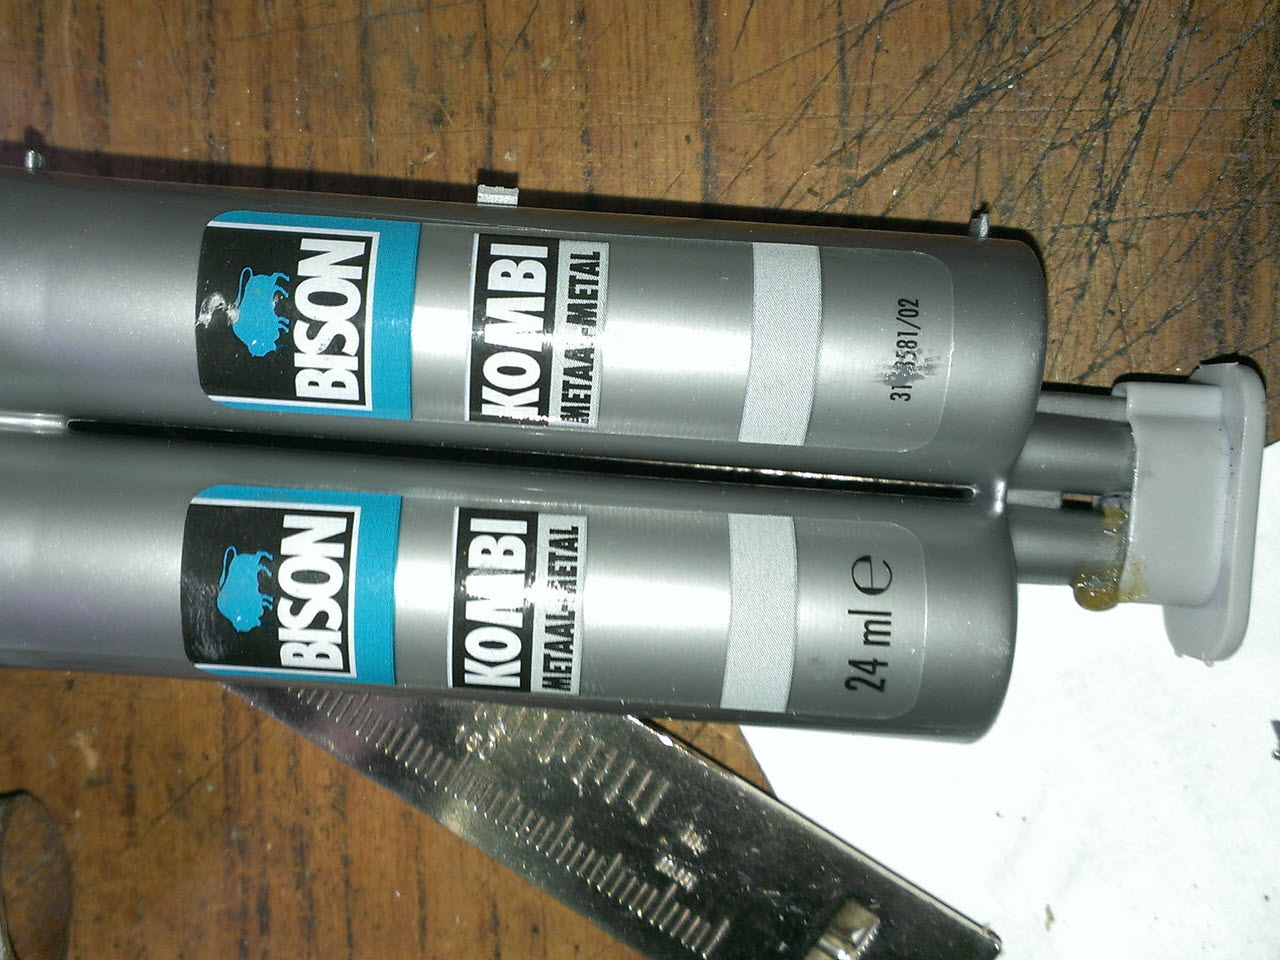
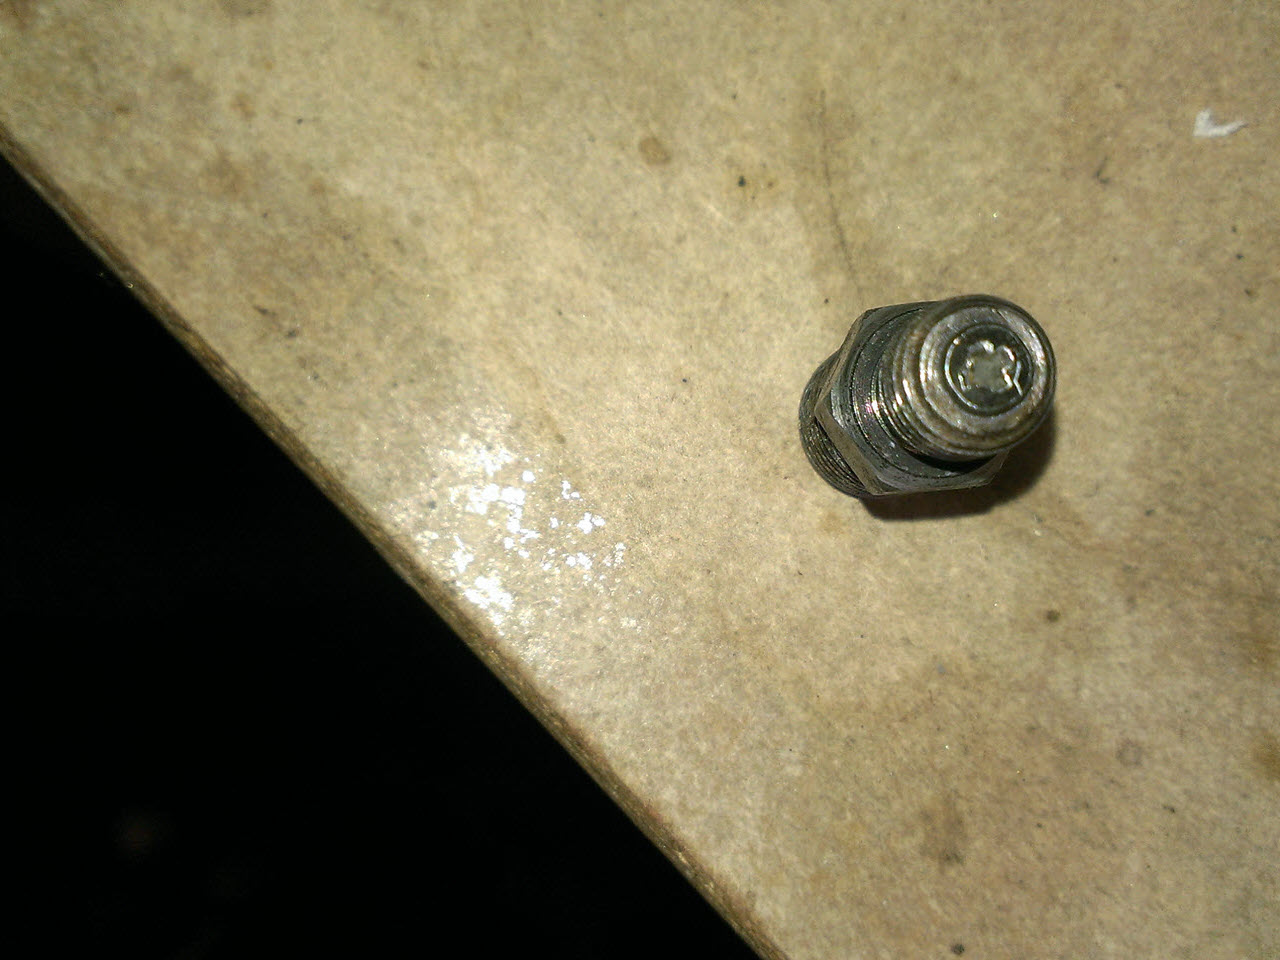
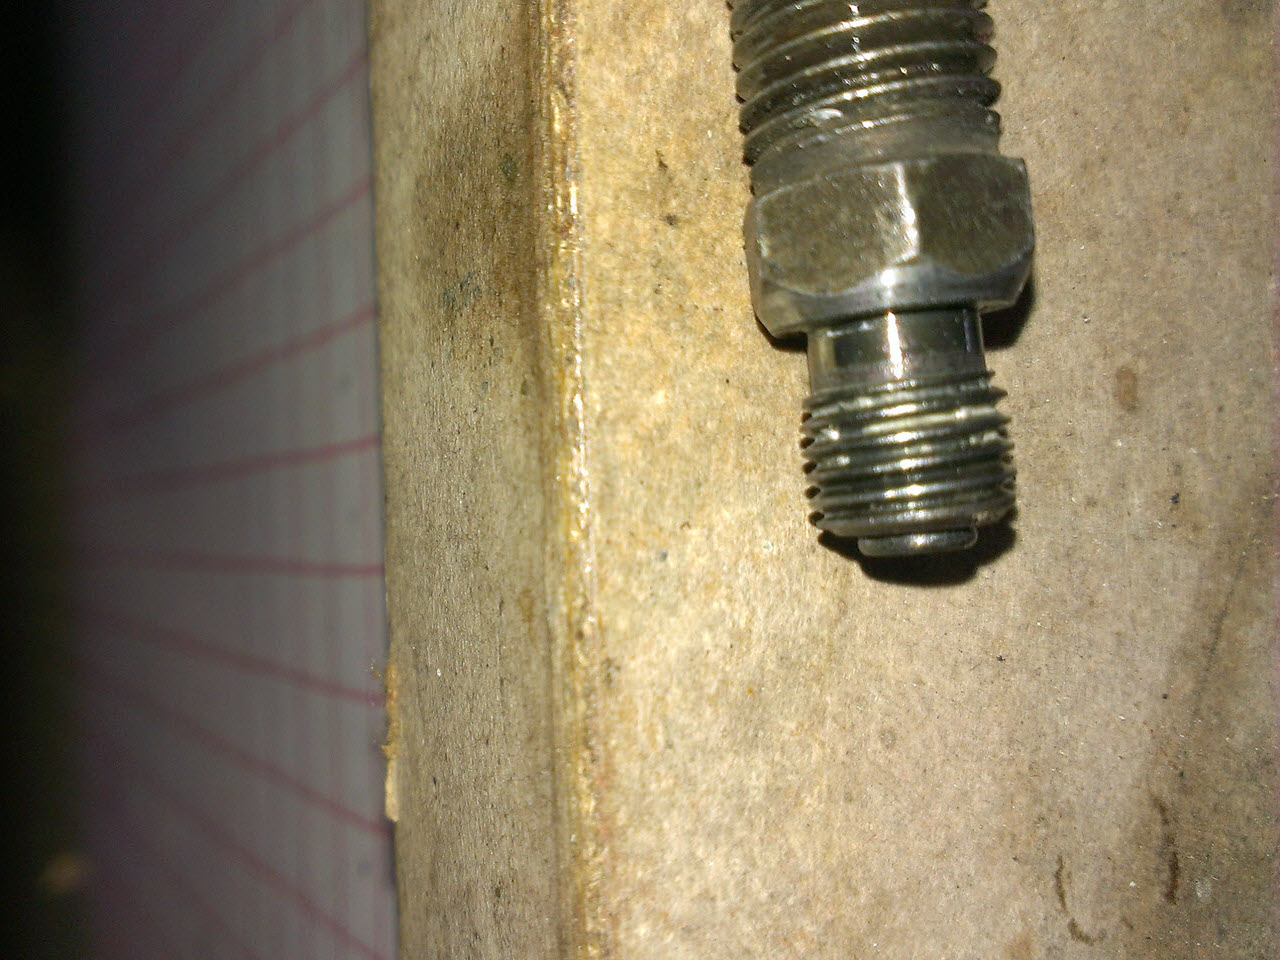
I tapped and drilled a screw into the interconnect screws, making it impossible to have air (or oil) flowing from one fork leg to the other, effectively isolating the forks.
This would still look stock, but would be easier to tune.
Next up was the actual air chamber. To measure the air chamber needed, I poured water into a fully assembled fork leg. Unfortunately, I was in a rush, and did not take pictures.
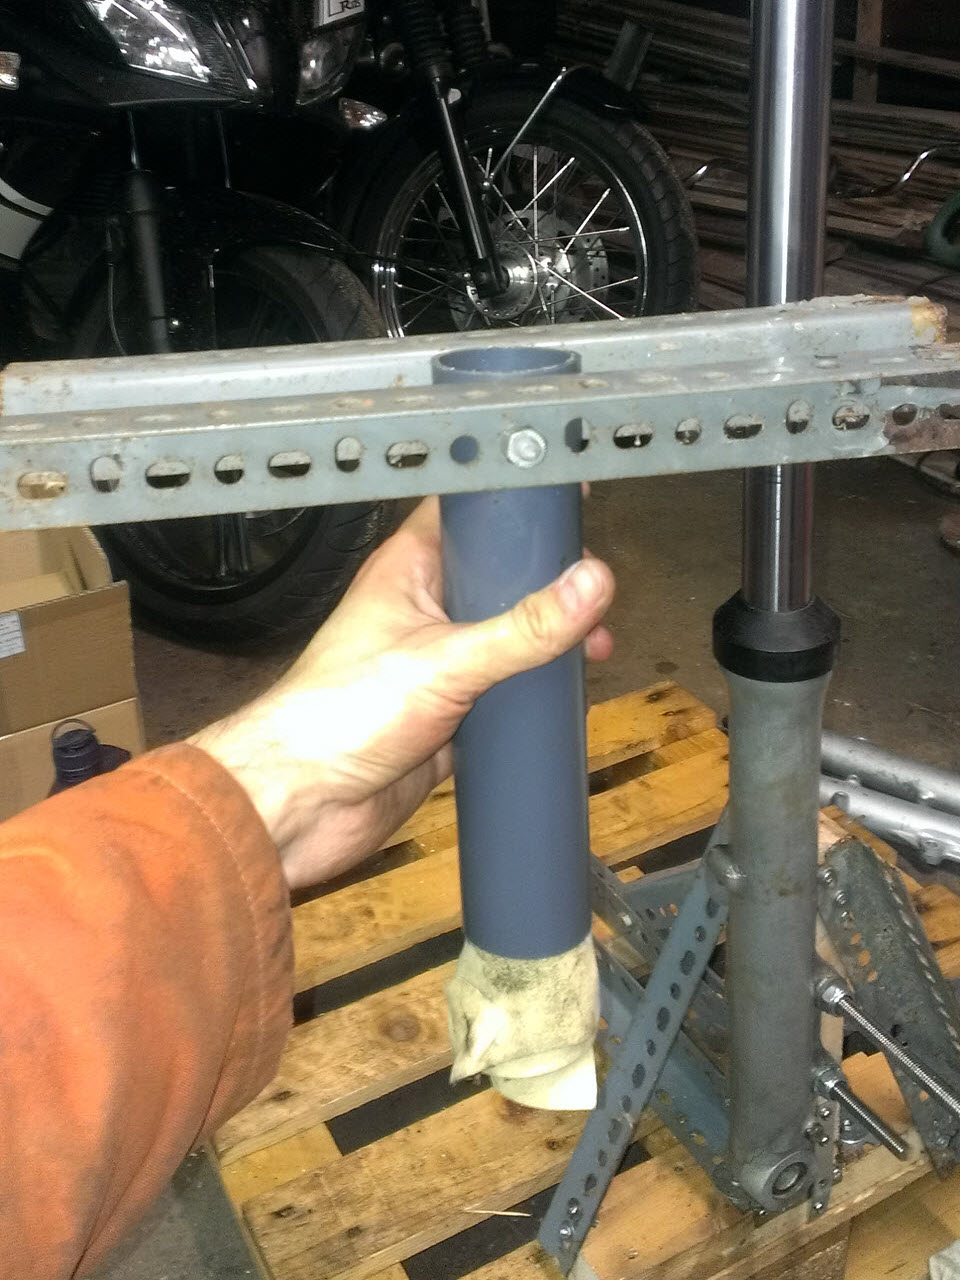
I dismantled my rig and used the fork leg on it take measurements. The fork leg was complete with everything in it, including an emulator, a cut spring, washers and a spacer.
Fully extended, I measured an average of 312gr water over 3 measurements, all components inside. Water came straight from the tap at approx 7°C.
The fork compressed with an emulator and a spring, not the spacer, contained an average of 210gr water over 3 measurements.
When I mean compressed, the spring was actually not compressed, just the fork leg. I did not know how I could do that, so actual air chamber would be off, I did not know by how much, it was impossible to take the measurements with a compressed spring. I would have needed two other guys.
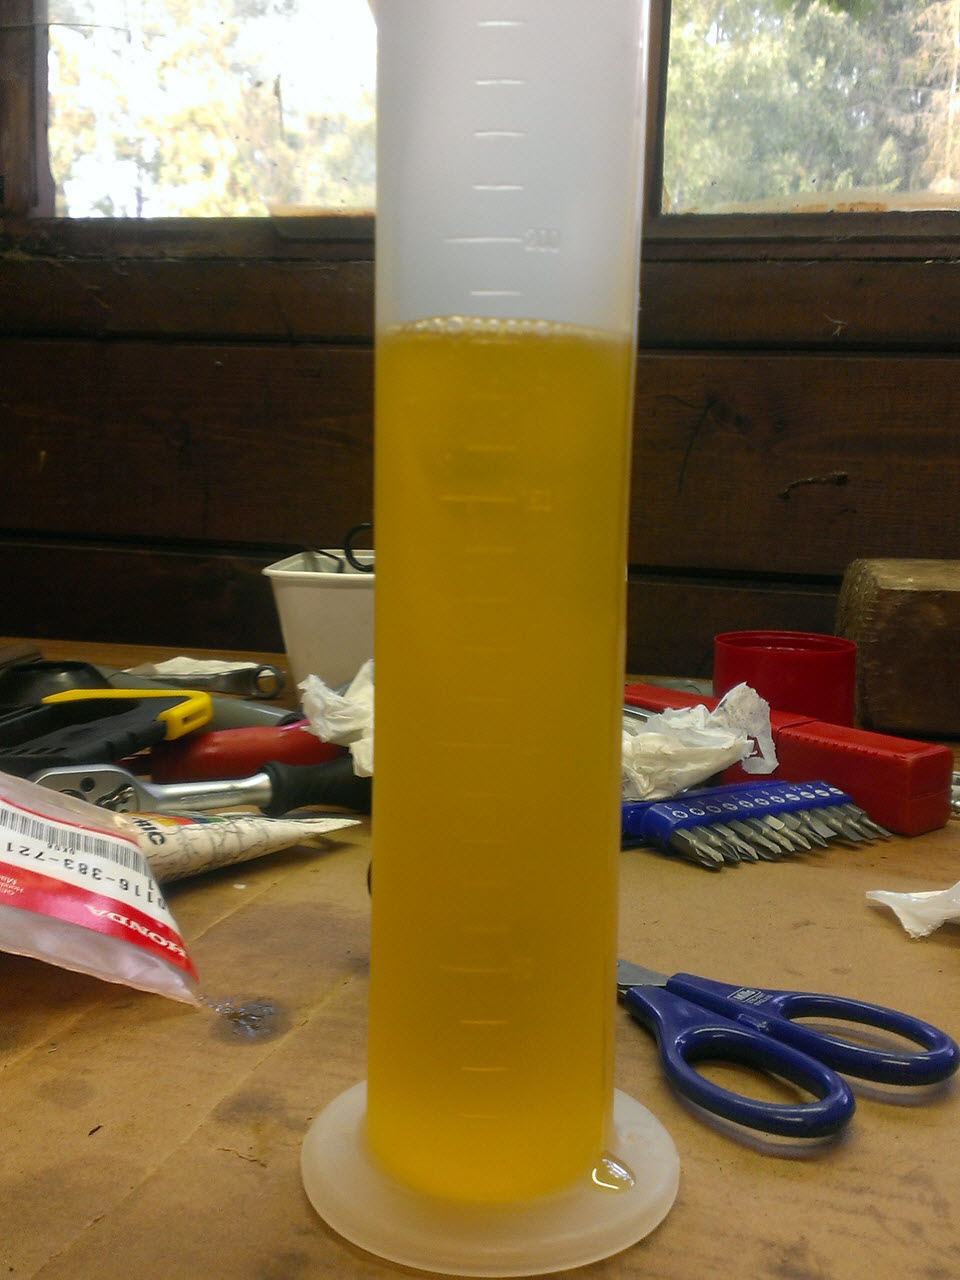
I weighted the oil (Denicol 7.5W), 1 liter of oil weighted 866gr. I did not open the container, rather weighted the full container and an empty one, then calculated the difference.
From this, Spacetiger worked his magic again.
Here is some preliminary work on the oil level.
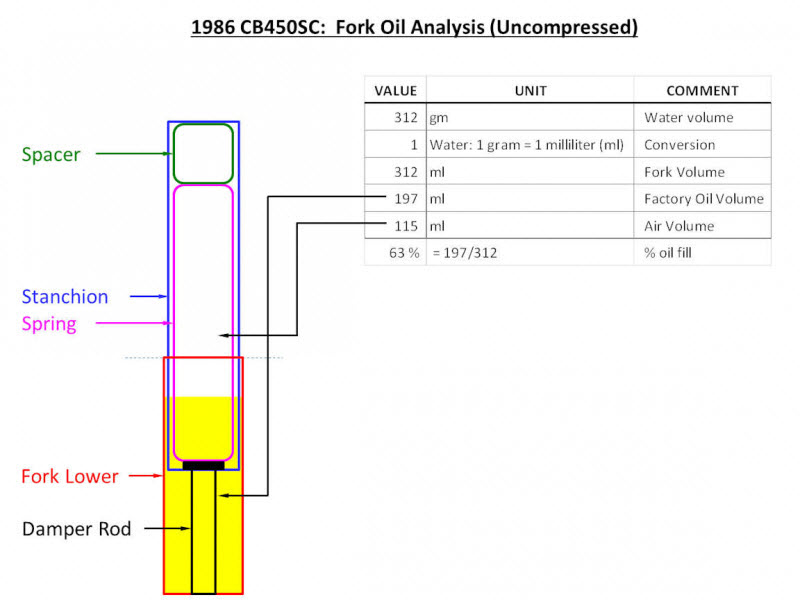
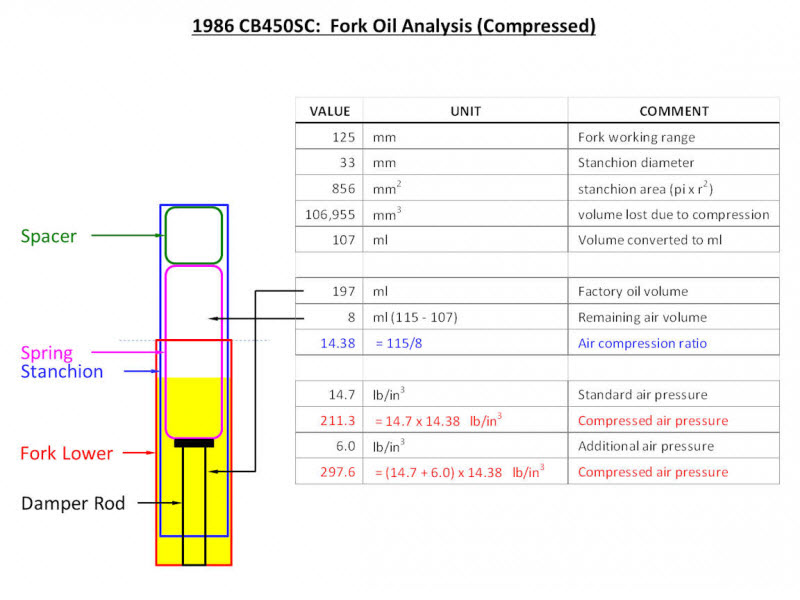
pic 1: Shows the stock configuration (drawing not to correct scale but uses your measurements). Based on your measurements, it looks like the oil fill ratio is ~63%. I would have guessed it might have been a bit more, perhaps the small changes in spring (spring is now shorter and emulator) are throwing off the number a small amount.
pic 2: Depicts the compressed configuration (fork has a working range of 125mm). You can see when the fork is compressed, the air volume gets much smaller (oil is essentially uncompressable), so the air pressure goes [way] up. Based on the calculations, the air volume goes from 115 ml to 8 ml; a 14.38 to 1 compression ratio. If you start out with 14.7 atmospheric pressure, it will go to ~211 psi when the fork is fully compressed. If you added extra air pressure into the forks (6 psi) at rest, the 20.7 psi (14.7 + 6) will get to almost ~300 psi (20.7 x 14.7) when the forks are fully compressed. BTW, I would calculate the compressed volume to be 205 ml (8 + 197). This would convert to 205 gm of water. I think you measured 210 gm of water with the fork compressed without the spacer. I think if you had the spacers in, your 210 number would be smaller... by 5 gm.
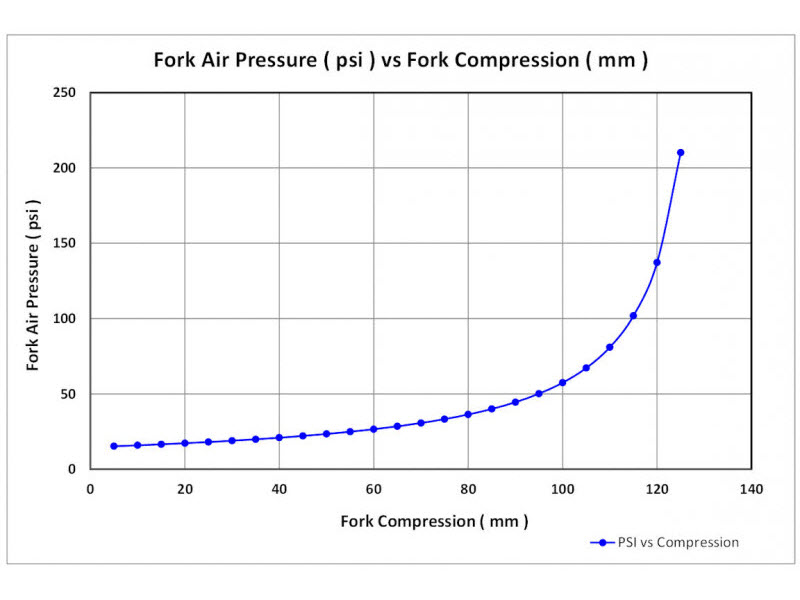
pic 3: This shows the change in air pressure as a function of the fork being compressed. You can see it is mostly linear until you are within the last 40-50 mm of fork travel. From this graph, you can see getting the oil level right with a linear rate spring will give you a progressive suspension. If you take out some oil, it delays the increase in air pressure, conversely, if you add some more oil, it makes the non-linear air spring effect happen sooner.
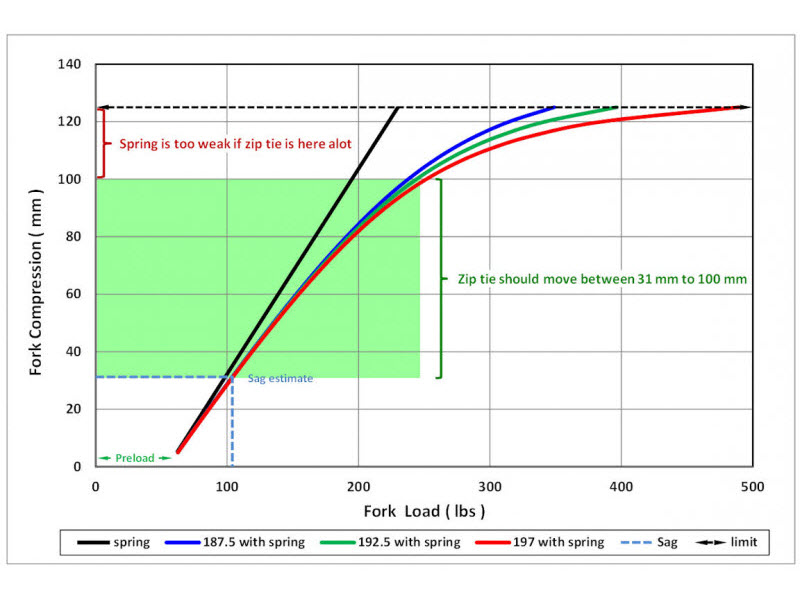
Based on the factory oil for a 1983 CB450SC (187.5 to 192.5 ml), here is the updated graph showing the effect of oil change (really, it is the effect of the air volume above the oil; more oil = less air, so it's compressed to a higher pressure for the factory 125mm stroke).
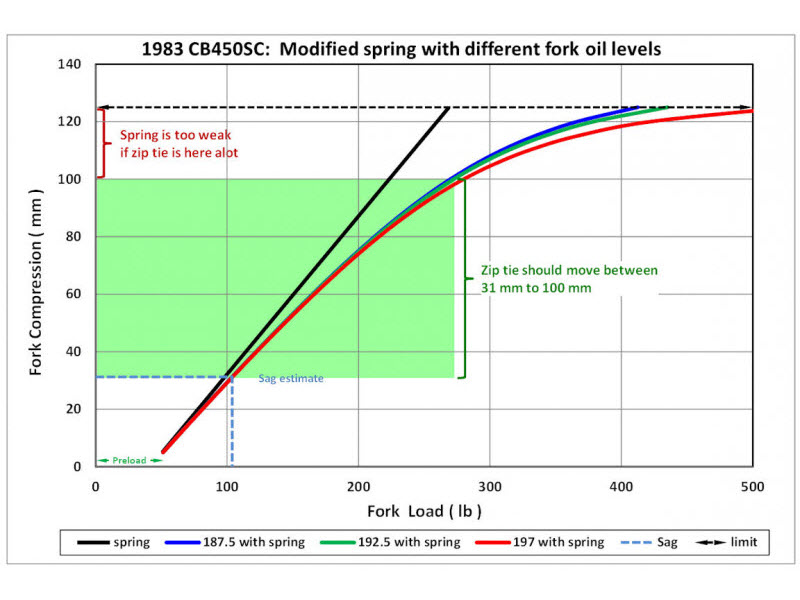
You can see it makes a difference in the last ~ 25 mm of the working range. When you get the entire fork back together with oil level, we'll need to put it back on your test jig to see the combined spring and air affect. I will work out an initial oil load that should be close. You can use your weight scale to determine the amount to put in and a home built level gauge to verify the level. Once you get the feel you like, you can note the level it sits at, and use this as the method to refill the oil in the future.Here are 2 graphs depicting the effect of oil and spring.
Pic 1 has the stock (~ 35 lb/in or 0.65 kg/mm) spring and different oil levels
Pic 2 has the modified springs (~ 46 lb/in or 0.825 kg/mm) and different oil levels. You can see the stiffer spring is not that drastically different from stock spring (pic 1).
Once you set the sag with the proper preload spacer, you should be able to operate the bike in a nice linear range of the fork (31-100mm) as indicated by the zip tie on the left stanchion. Over a longer period of riding, say checking every month, the zip tie on the right leg should not be in the upper band (100-125 mm) all the time unless you push your riding envelope when you ride. In that case, if after every ride you not the left zip tie is in the upper band (100-125), then I'd say your spring is too soft.
Your oil is 866 gm per 1000 ml, or 0.866 gm/ml. I think you should shoot for 190.5 ml per fork, so 190.5 * 0.866 = ~165 gm of oil. Once you put this oil in, use your oil level indicator to check that level and use that from now on (in fact, you could forgo the fancy level checker and mark a ruler (or rod; something straight) how far up the oil should be). You might have to use a rubber spatula to get all of the oil out of the container and into the fork). This oil level should place you between the green and blue lines on the graph.
With the last hurdle taken, I could proceed with the assembly of the forks. A fairly straightforward process, a matter of putting everything together.
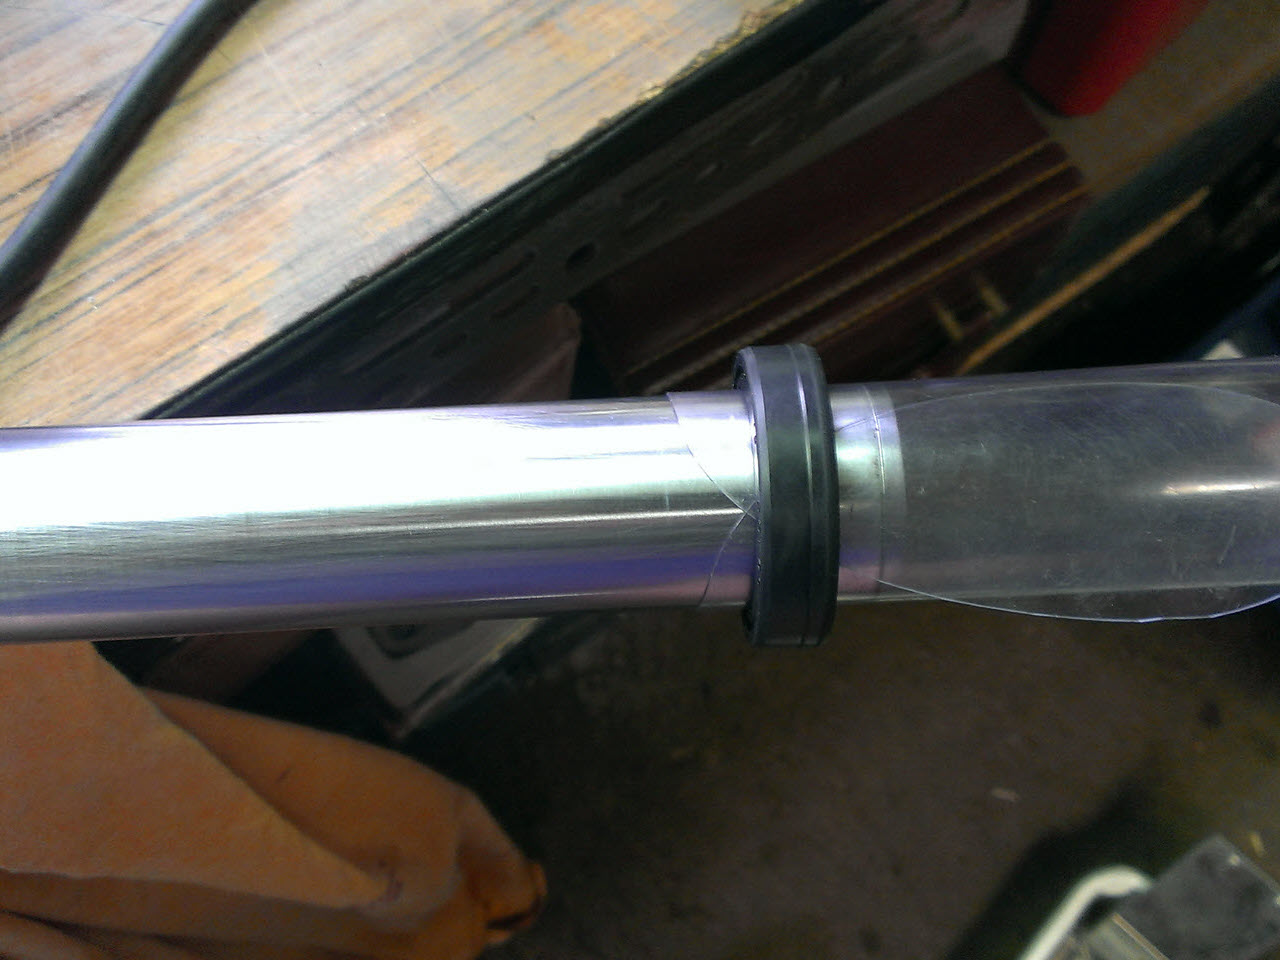
I used a piece of soft plastic to protect the seals during assembly. This worked so-so, one seal was leaky. It works way better to use a condom on the stanchion.
Fork Brace and Gaiters
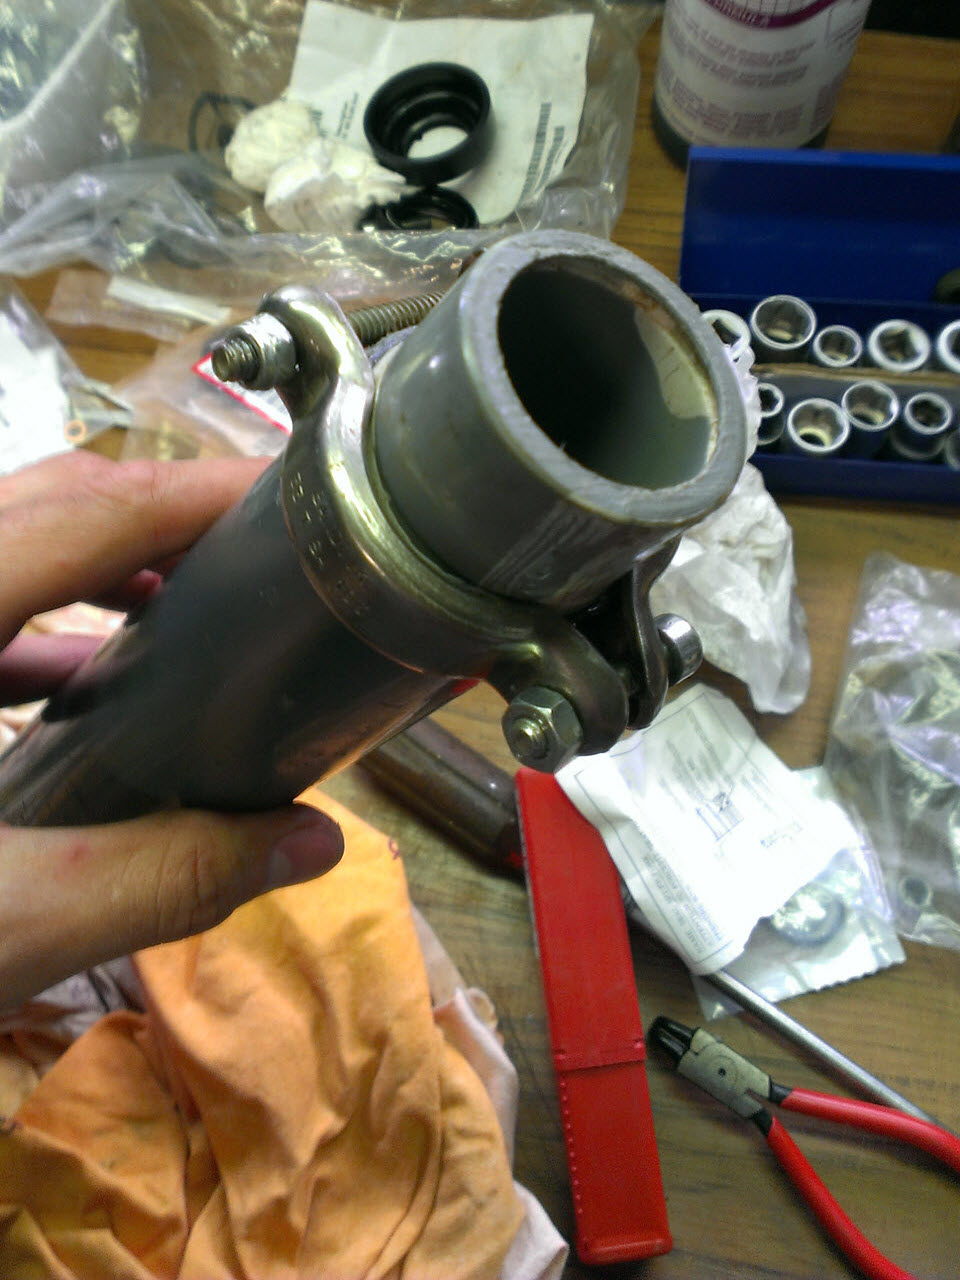
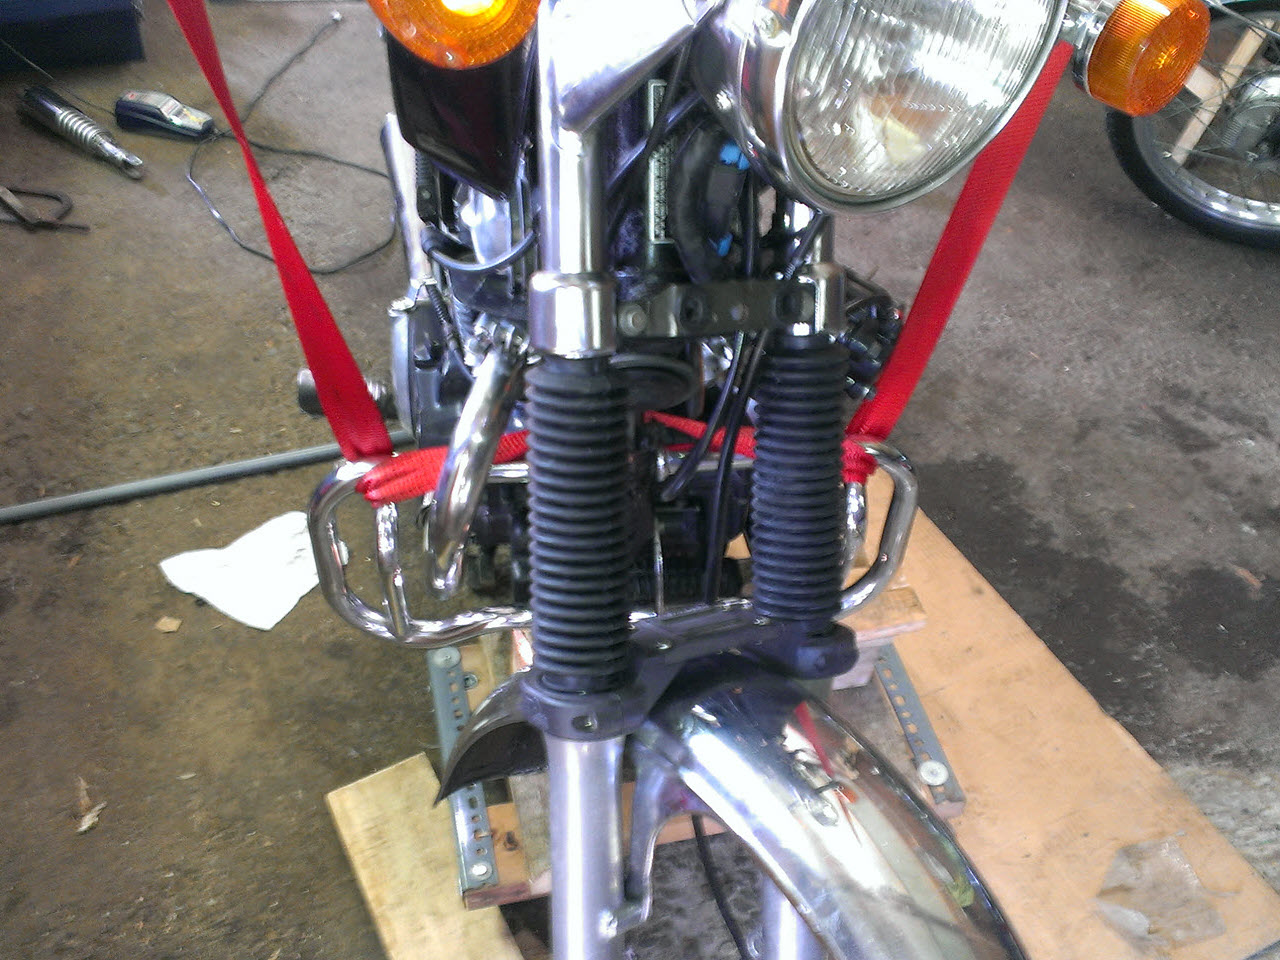
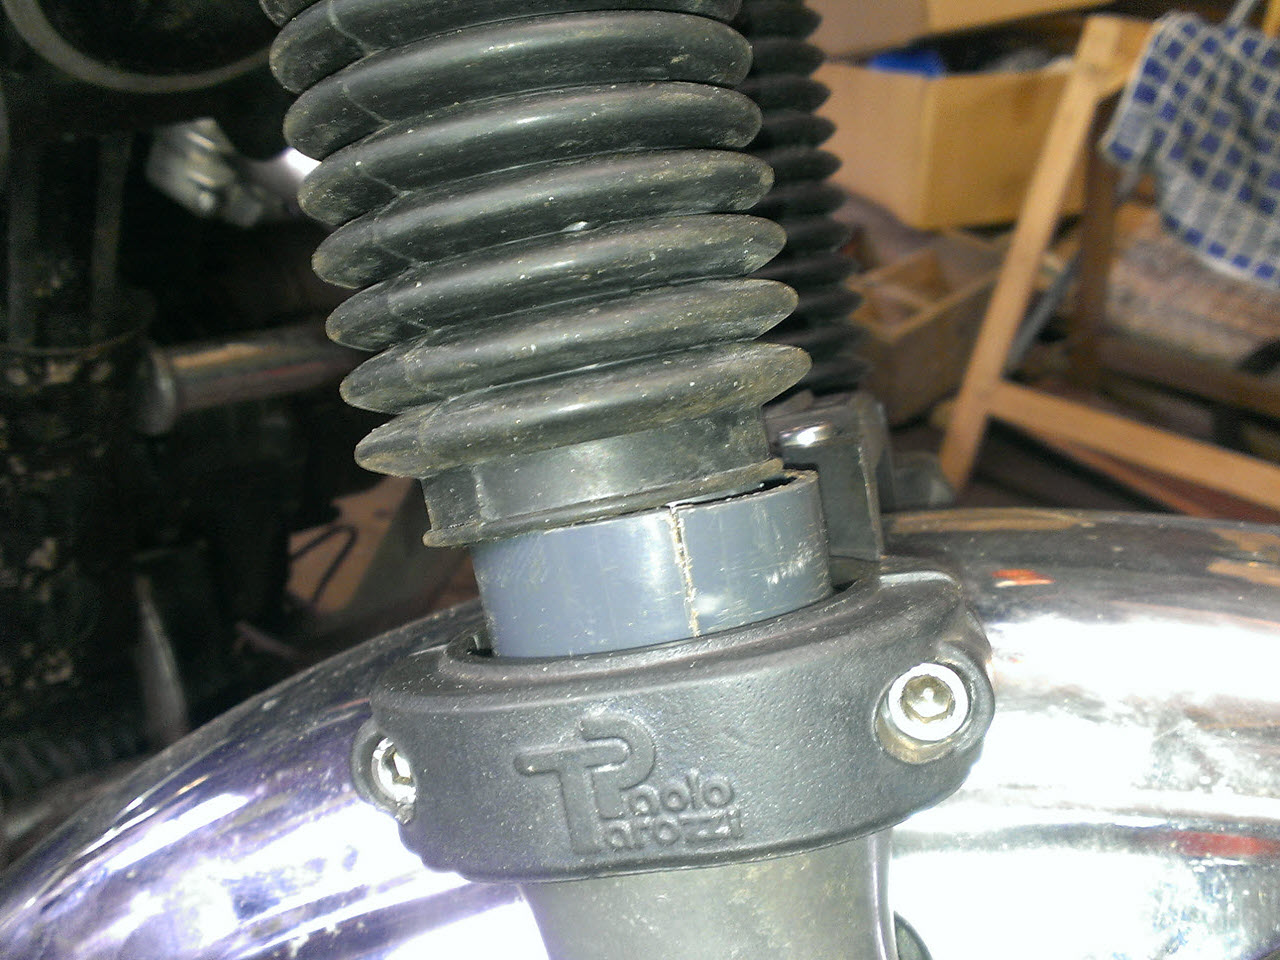
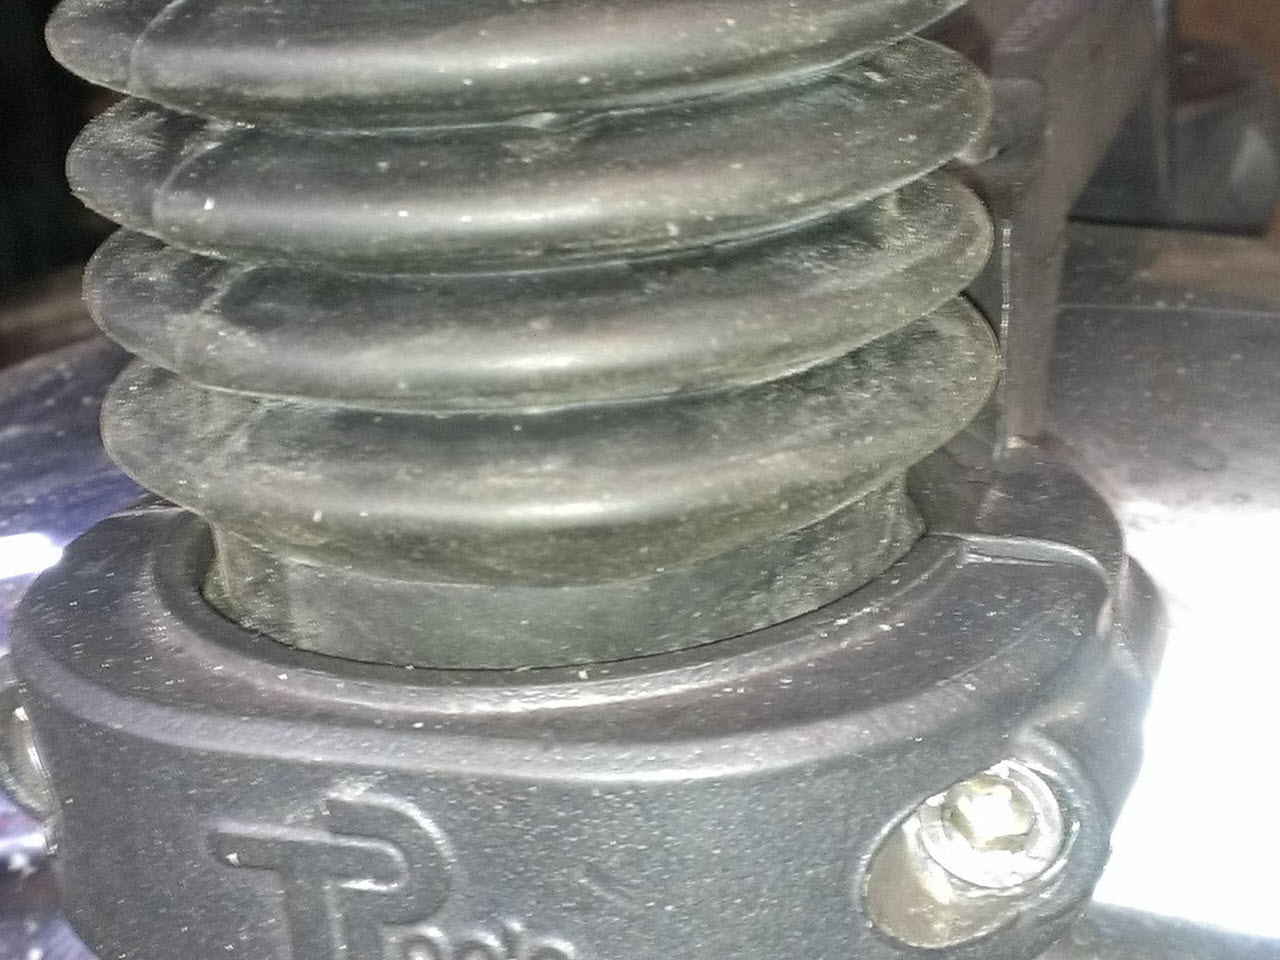
Since the fork stanchions are so thin, and the braking would be improved, flex was a concern. to keep everything nicely aligned, I added a Tarozzi fork brace. (model 22-0057) To protect the exposed stanchions, I added a pair of gaiters.
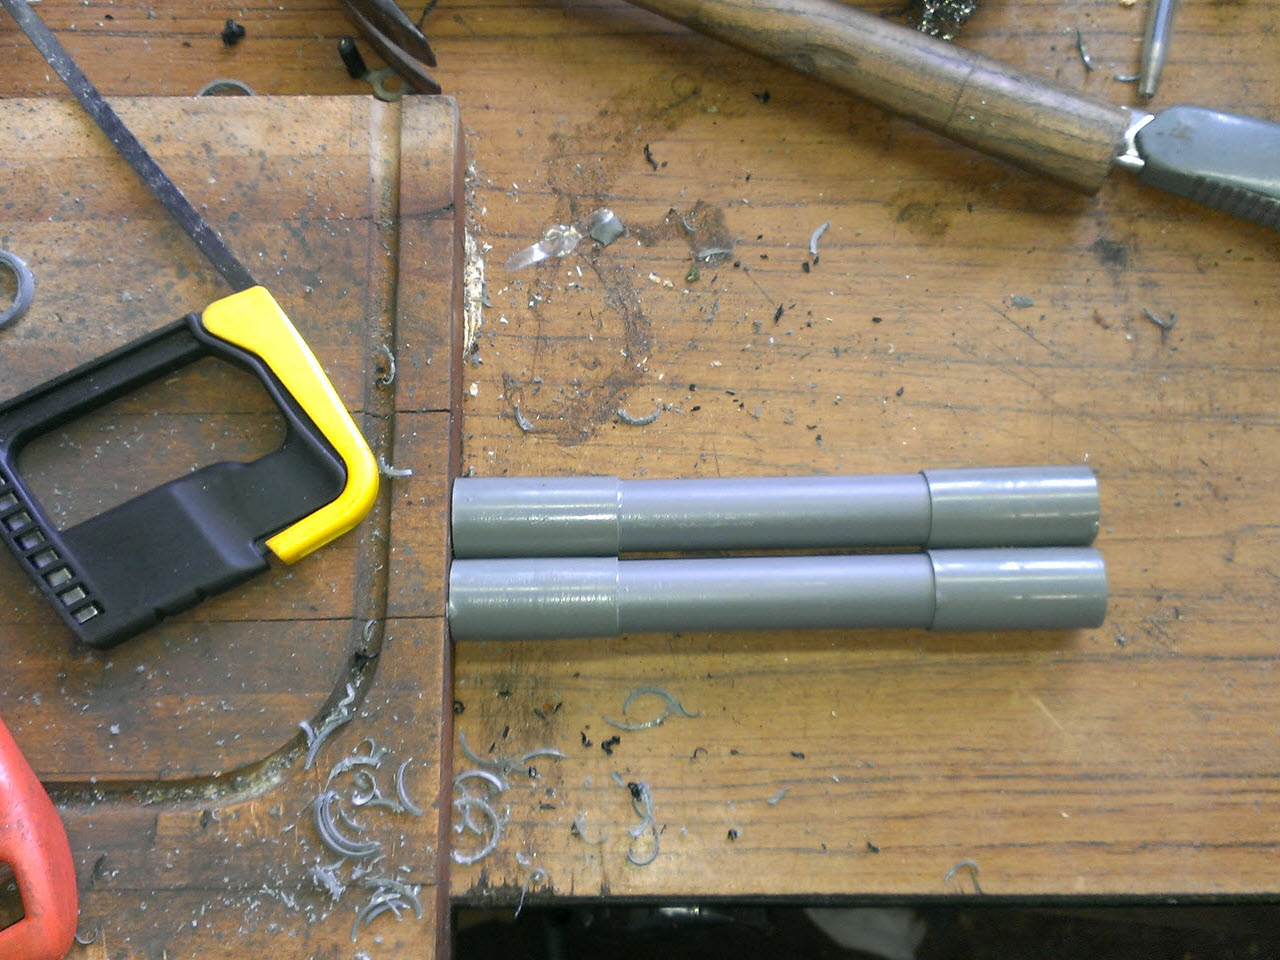
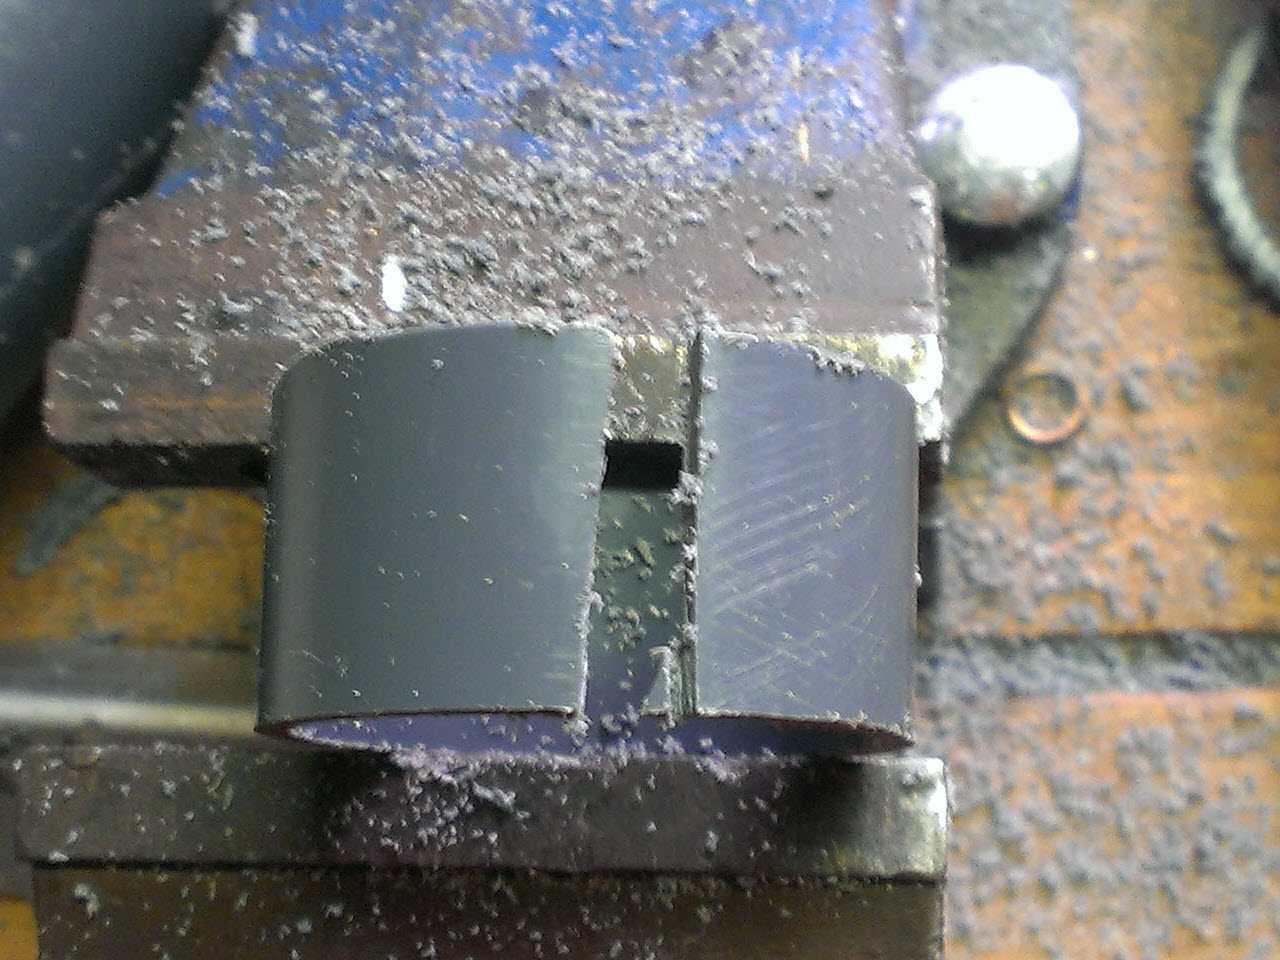
The fork brace had no ridge for the gaiters to slip over, so I fabricated them. Pictured is the first set of gaiters. They hardened (possibly due to previous contact with fork oil) and broke down within 4000km (2 months) of use. I now have a set of synthetic rubber gaiters, which will hopefully last longer.
Rear Suspension
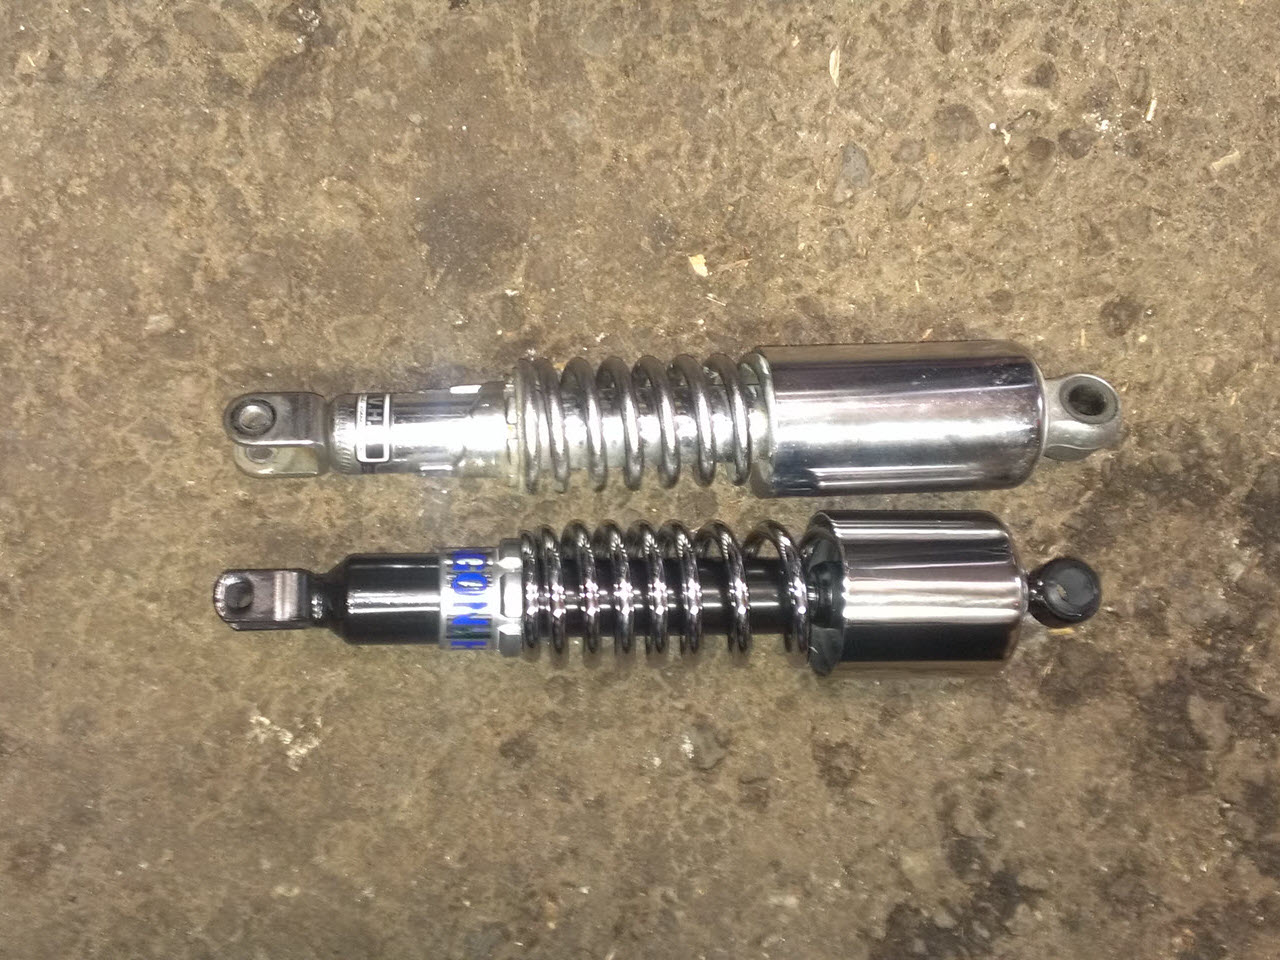
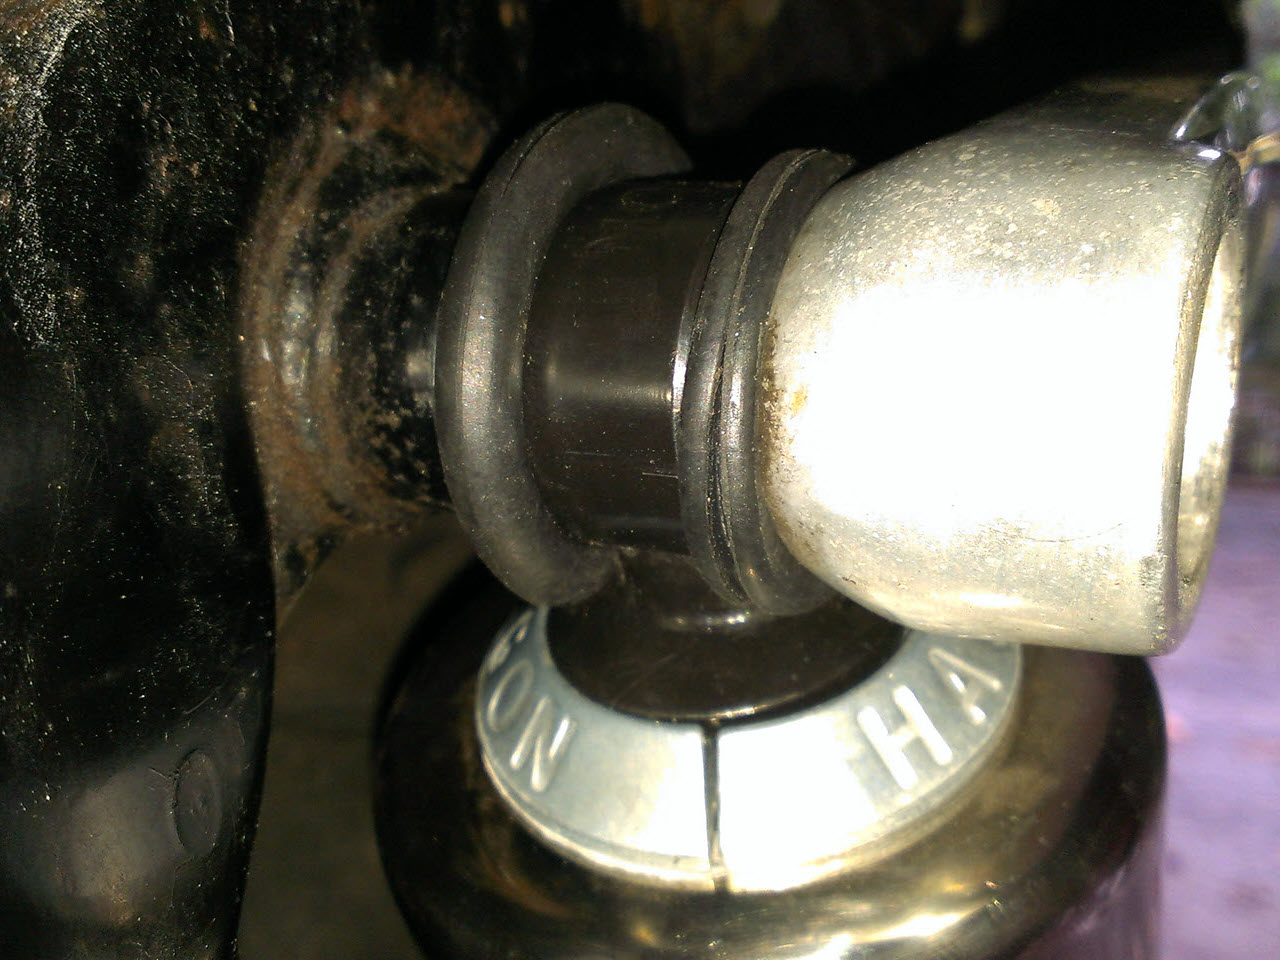
The standard Honda shocks had become extremely soft, dampening was terrible. A pair of Hagon classic shocks, model "33503SA1", where a straight swap.
My original comments regarding the impressive transformation of the bike after the suspension changes:
The bike is now a stable, floating platform. I tested various road conditions and various speeds, it is awesome!
There was still a bit of wobble when cornering hard and fast. the hagon shocks actually have some room to slide from side to side on the top mount. I countered that with a washer and 2 pieces of rubber on each side of the top mount. This holds the shock firmly in place, and the wobble has drastically decreased.
