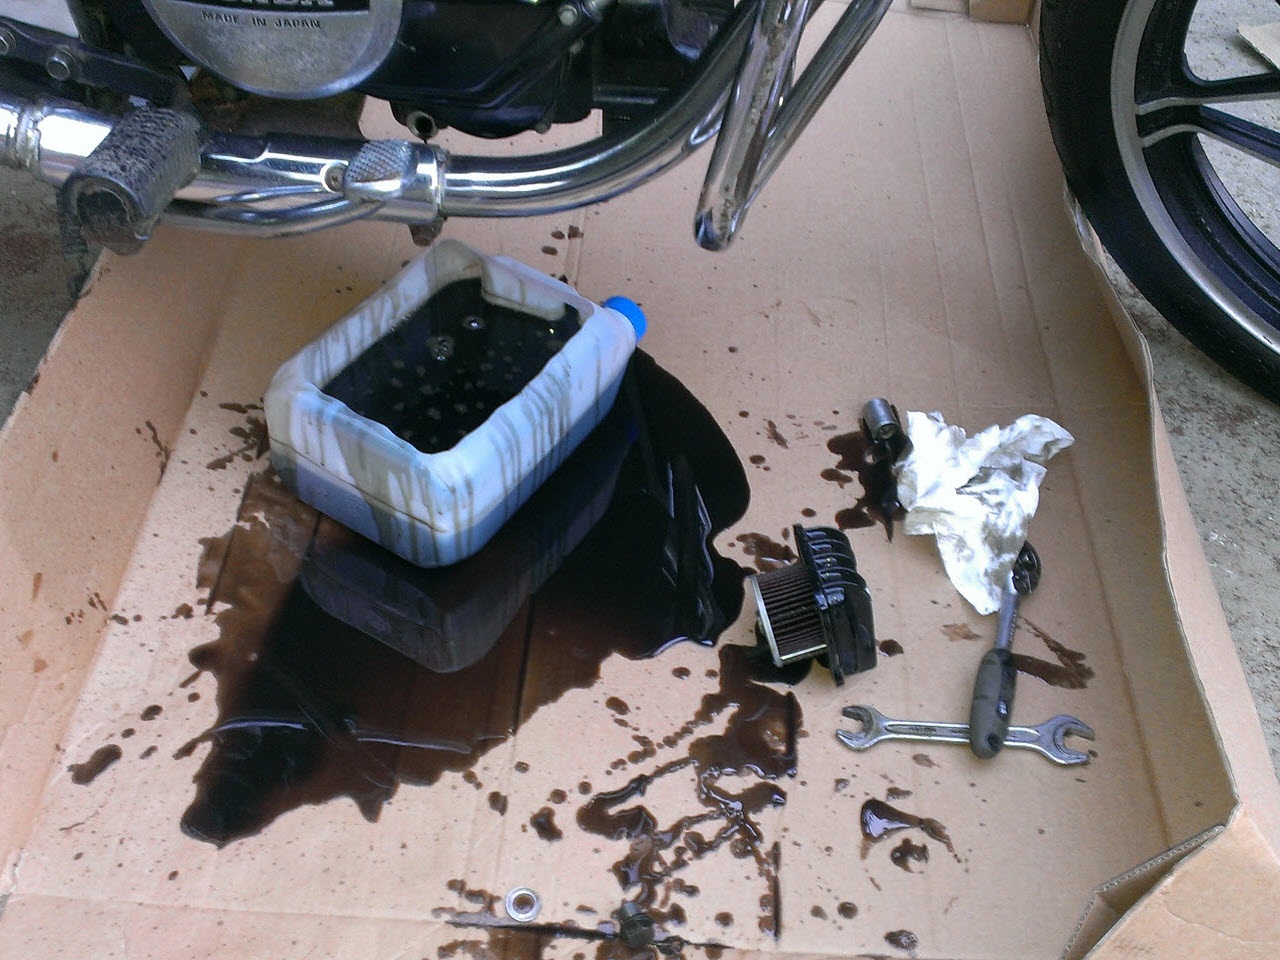
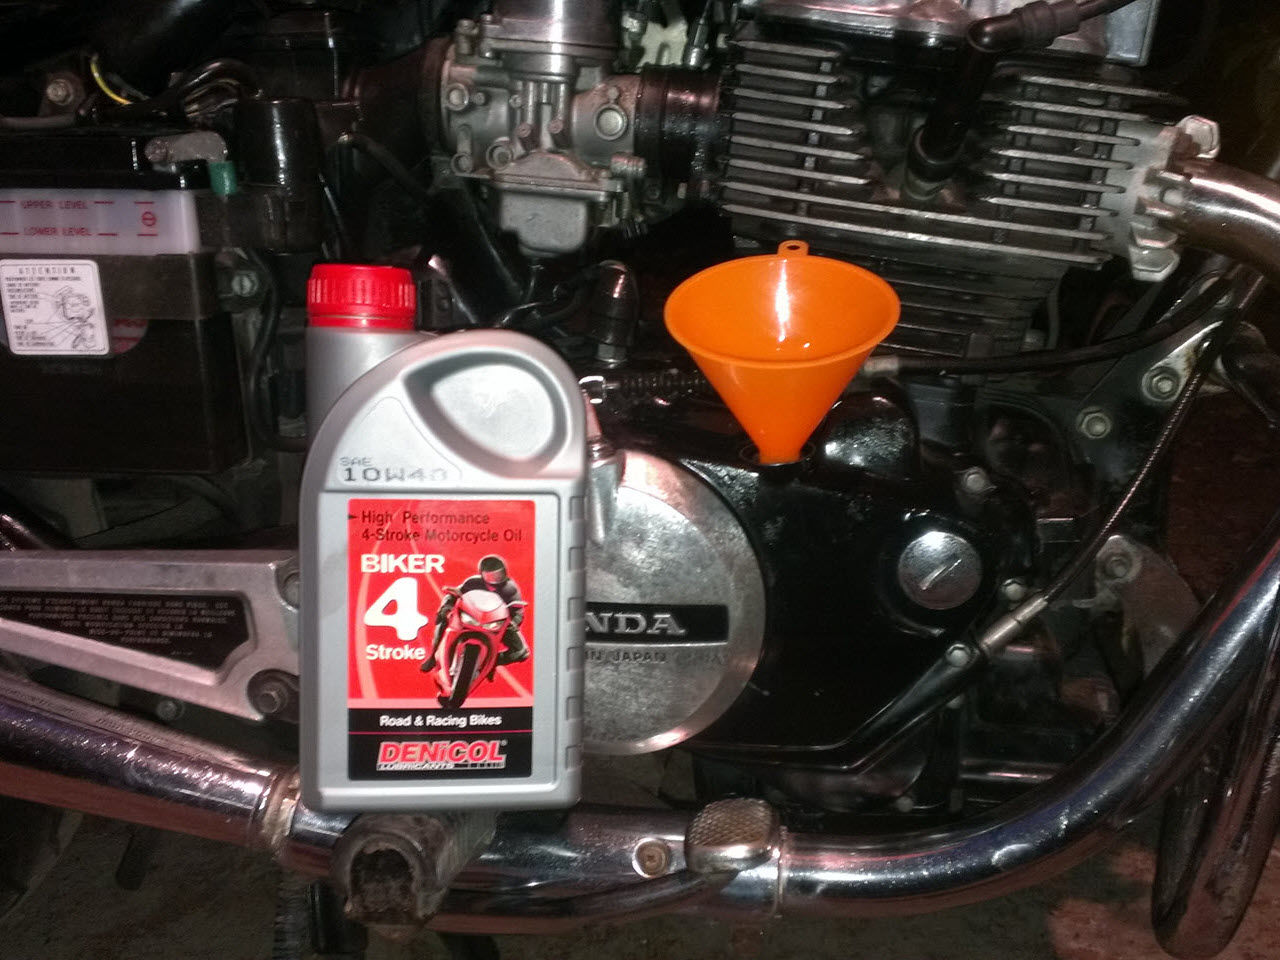
General Cleanup
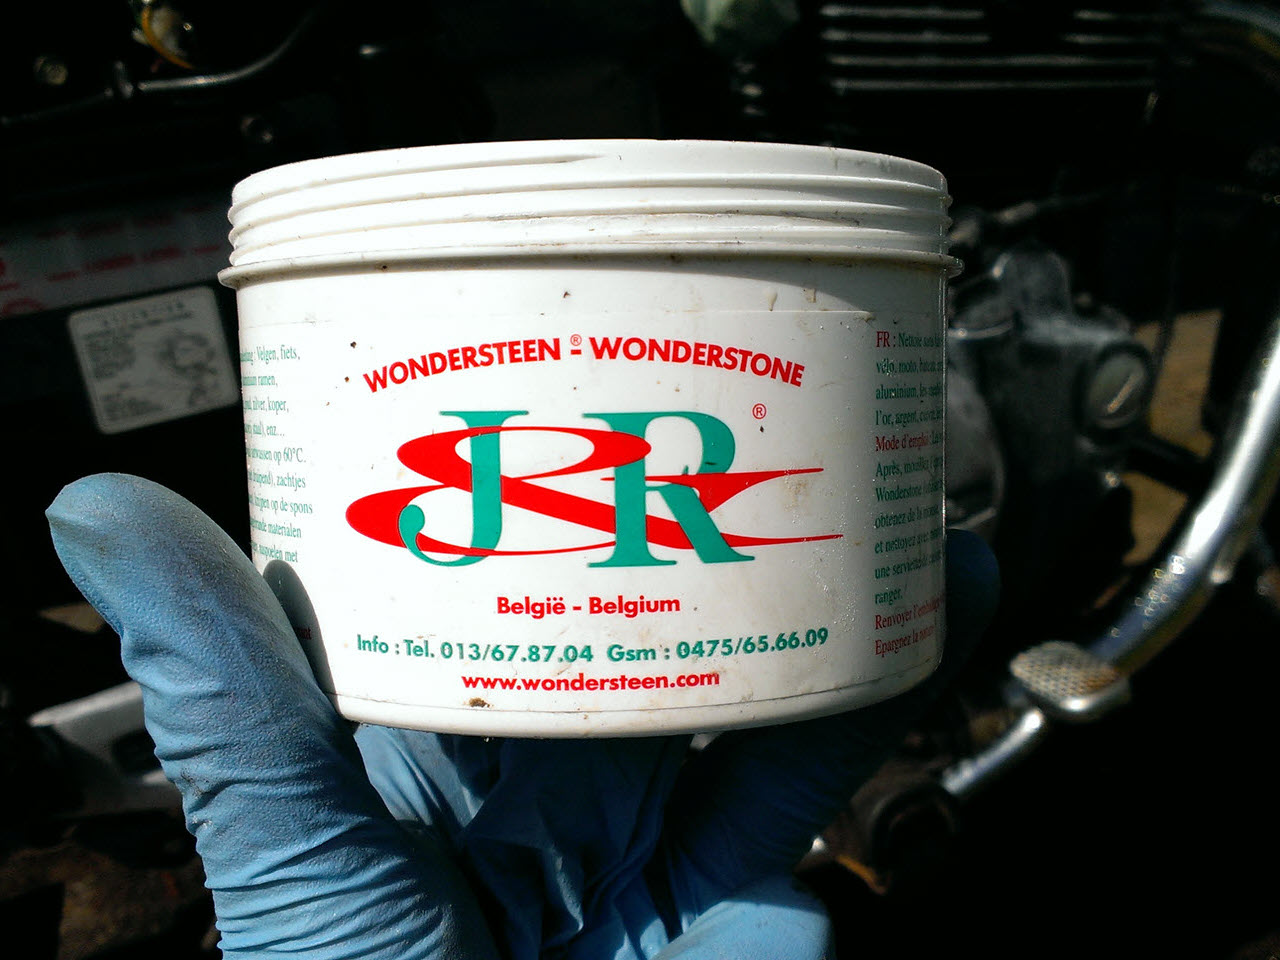
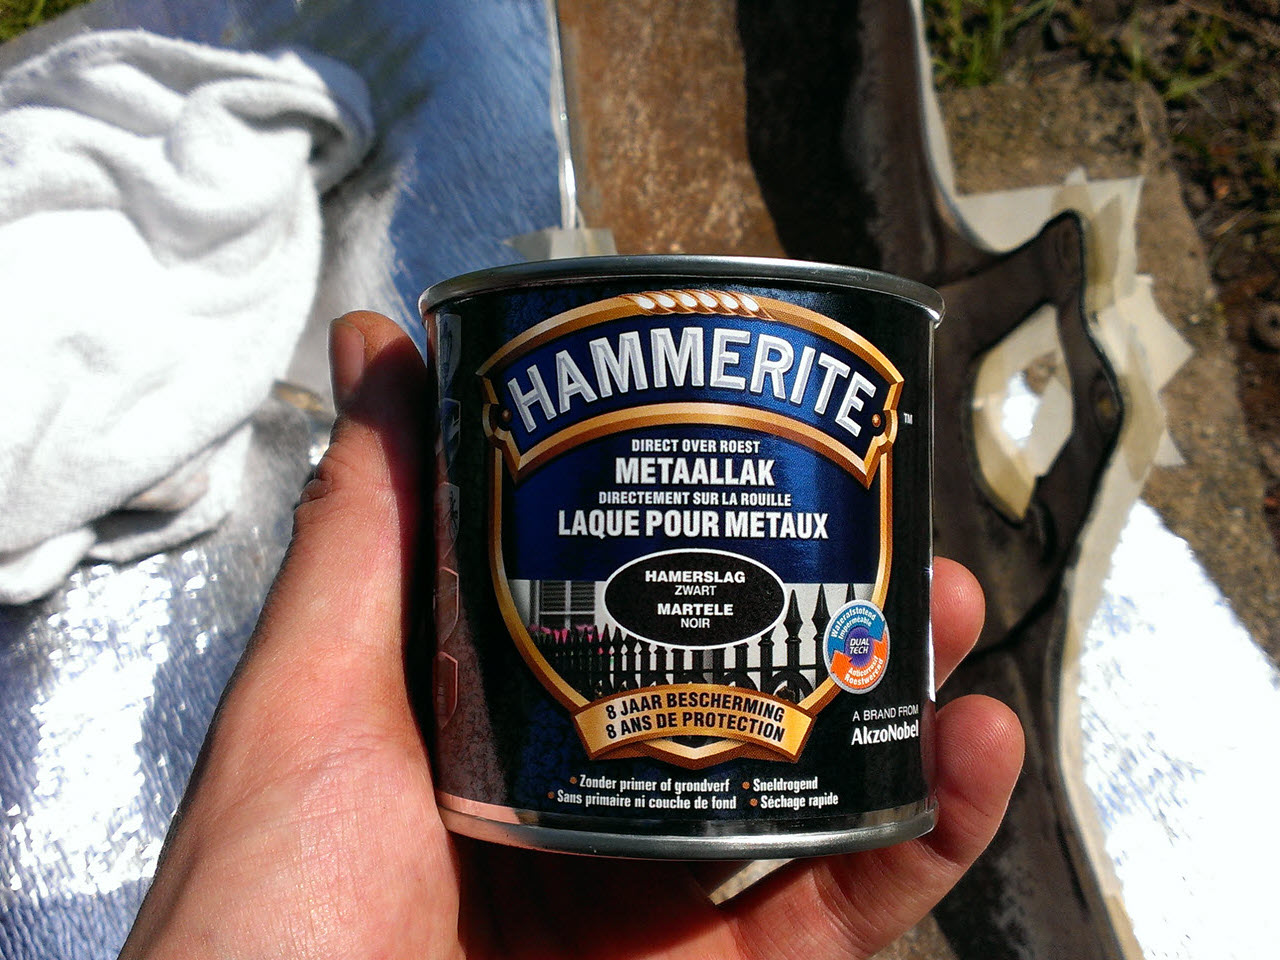
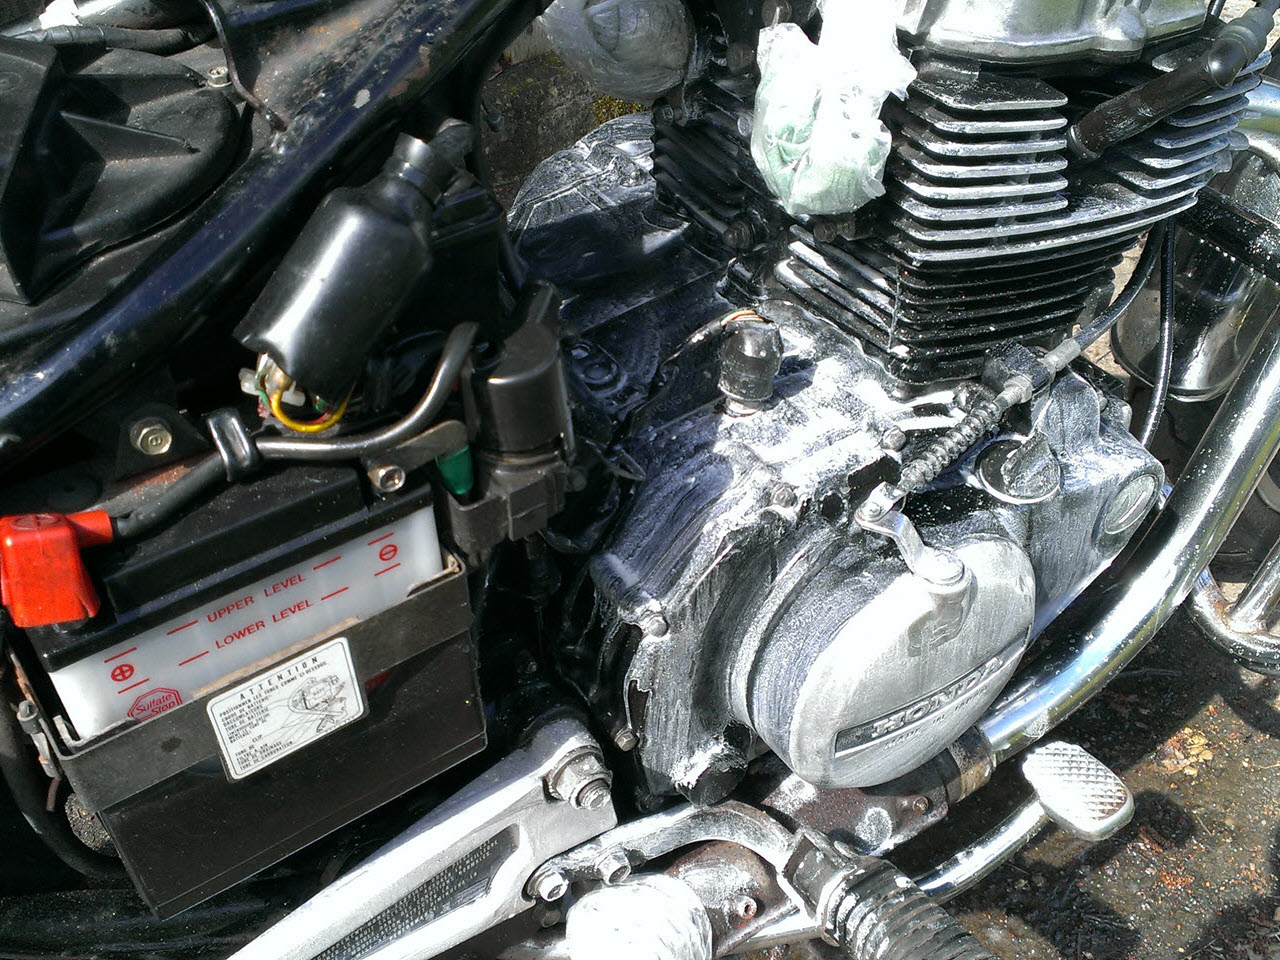
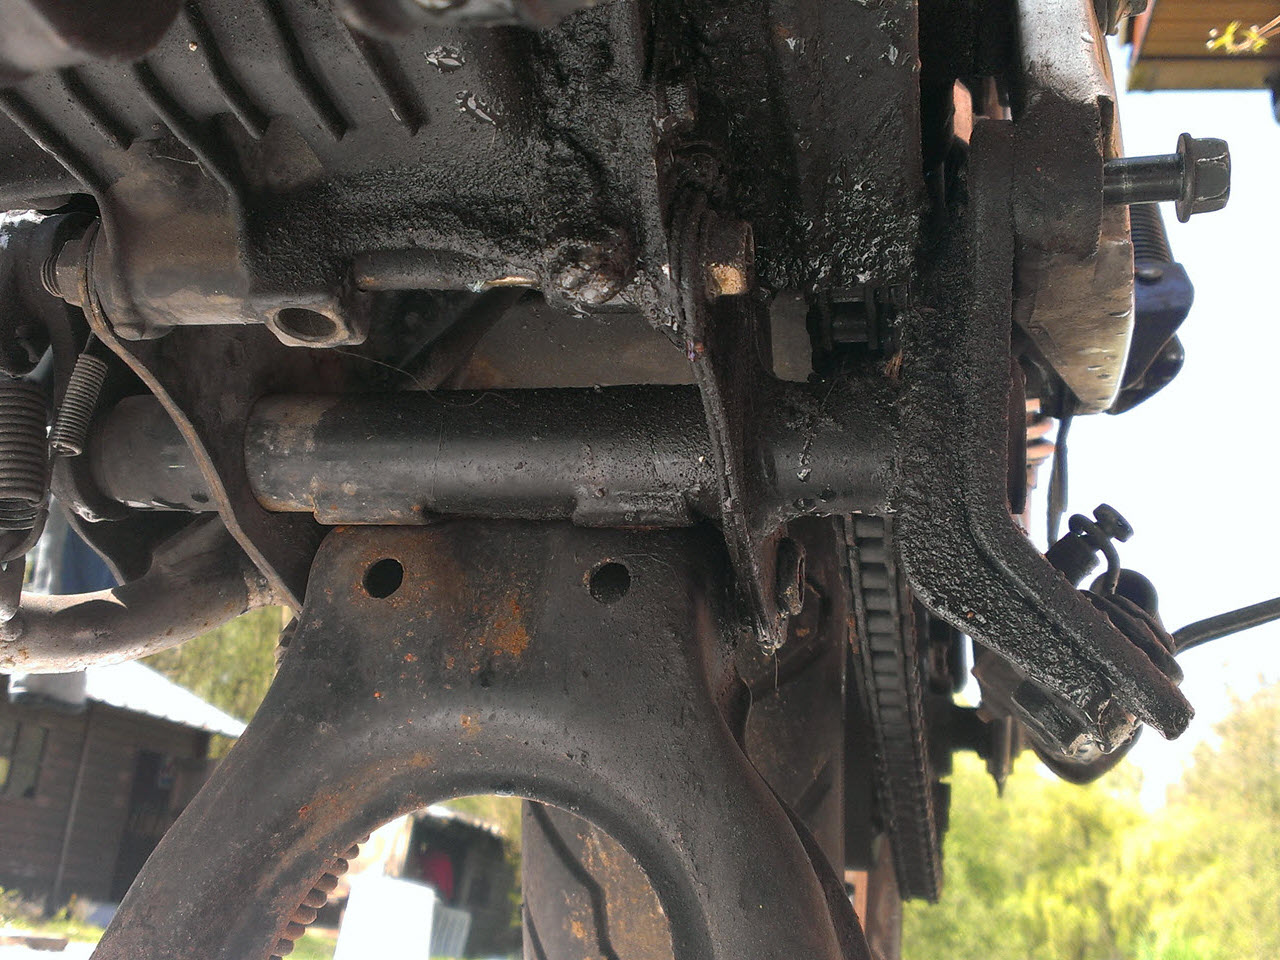
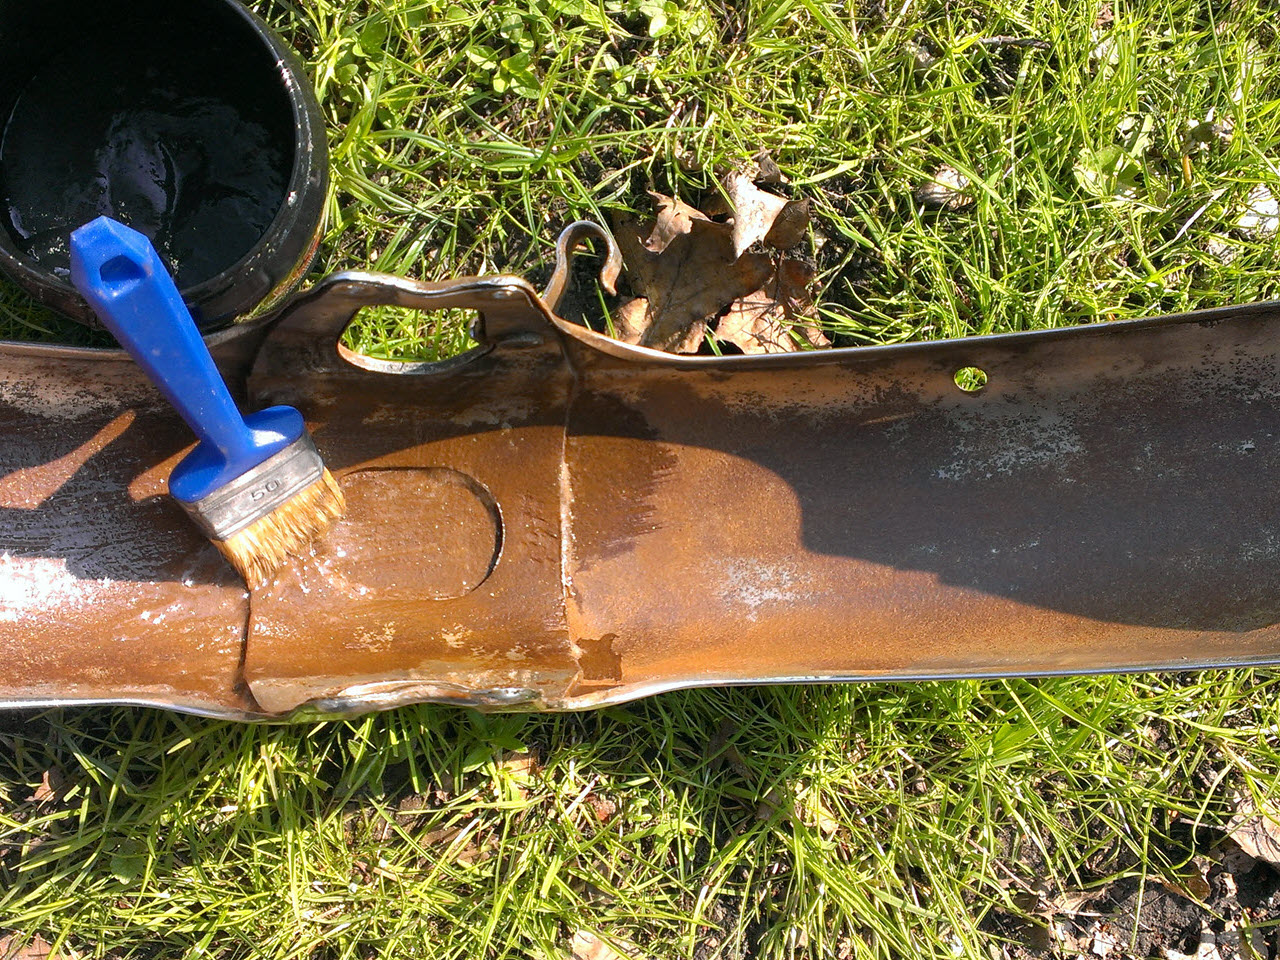
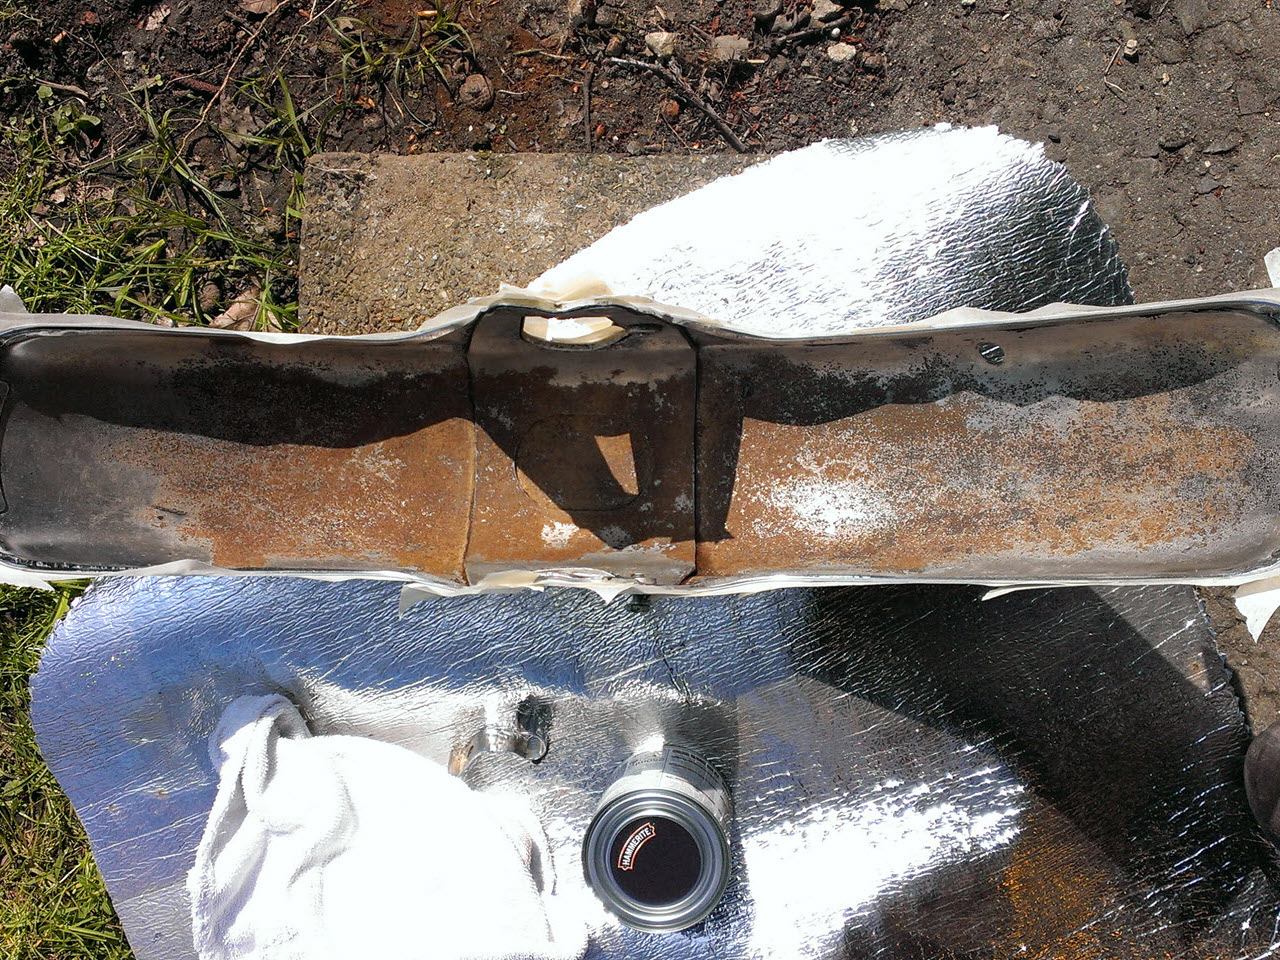
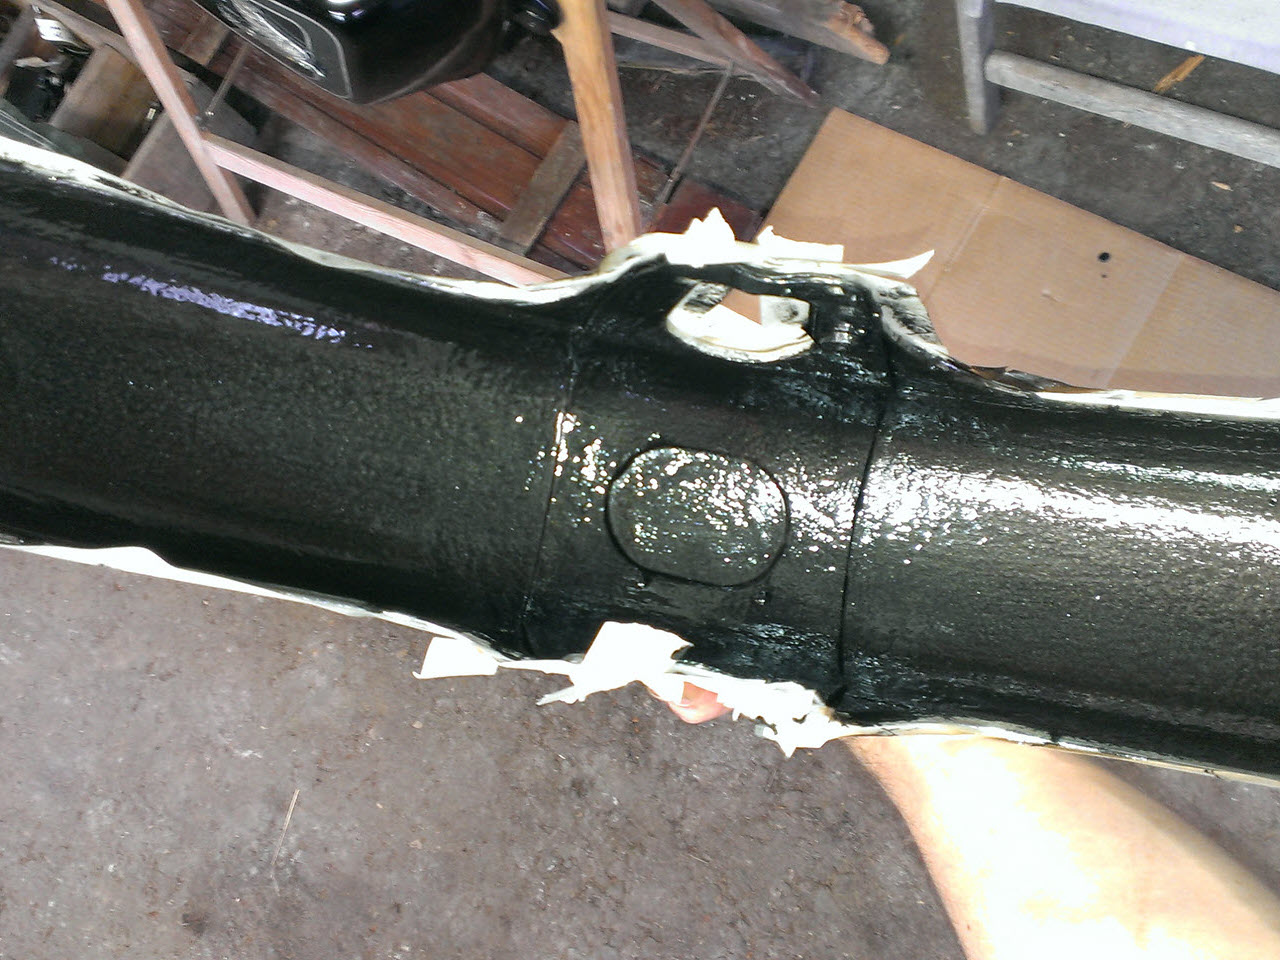
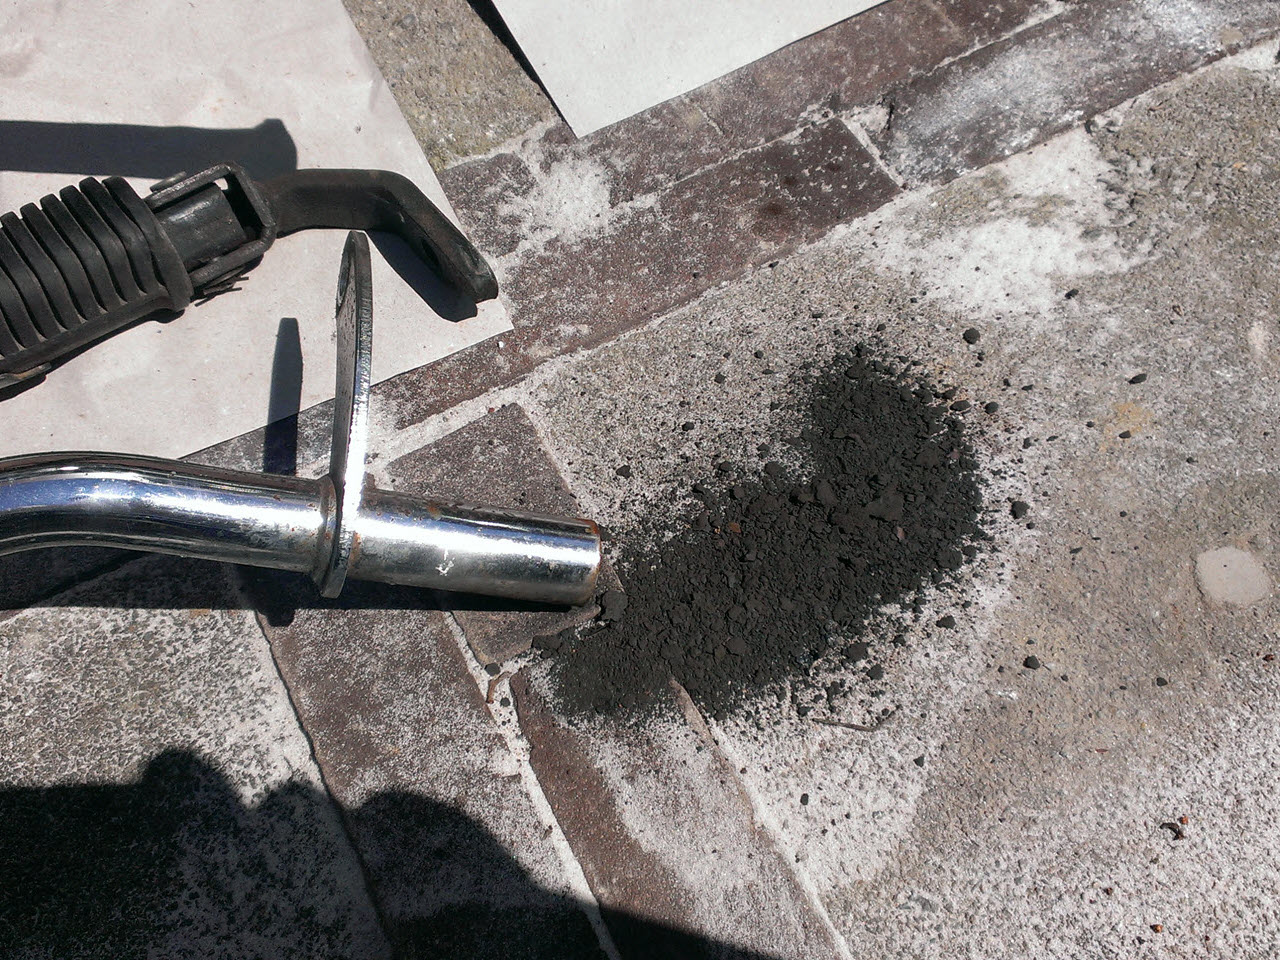
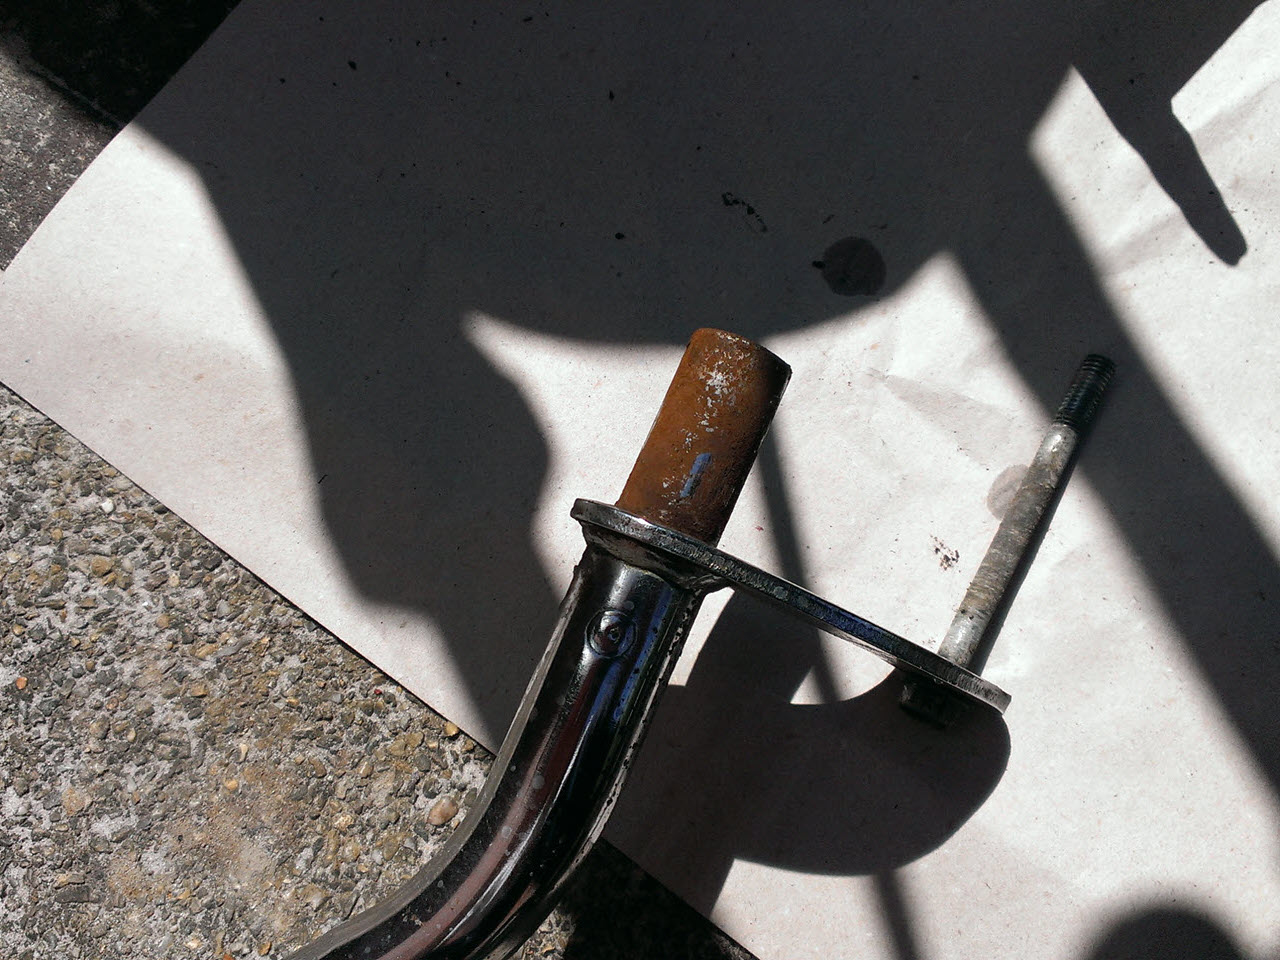
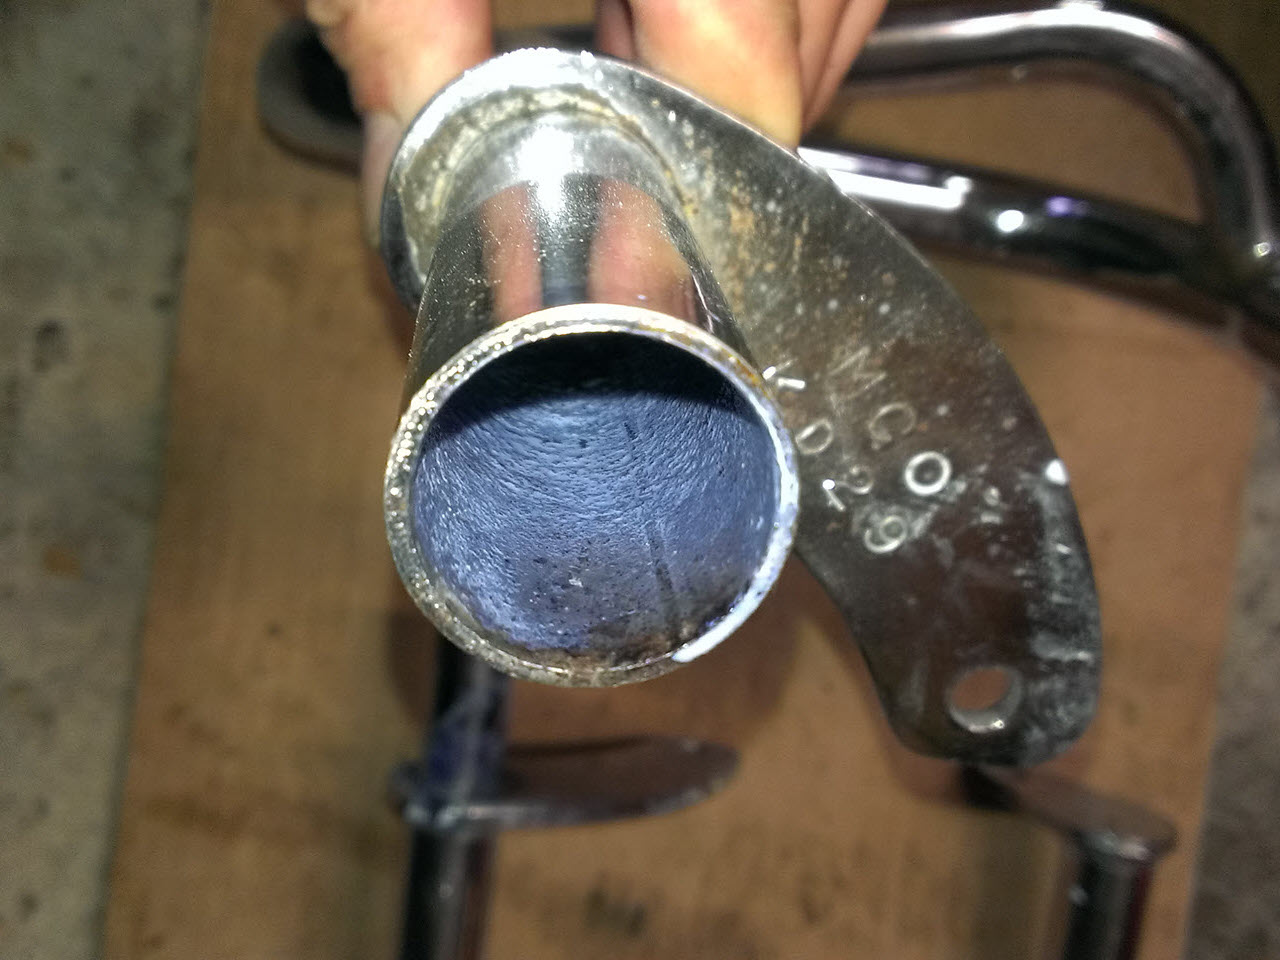
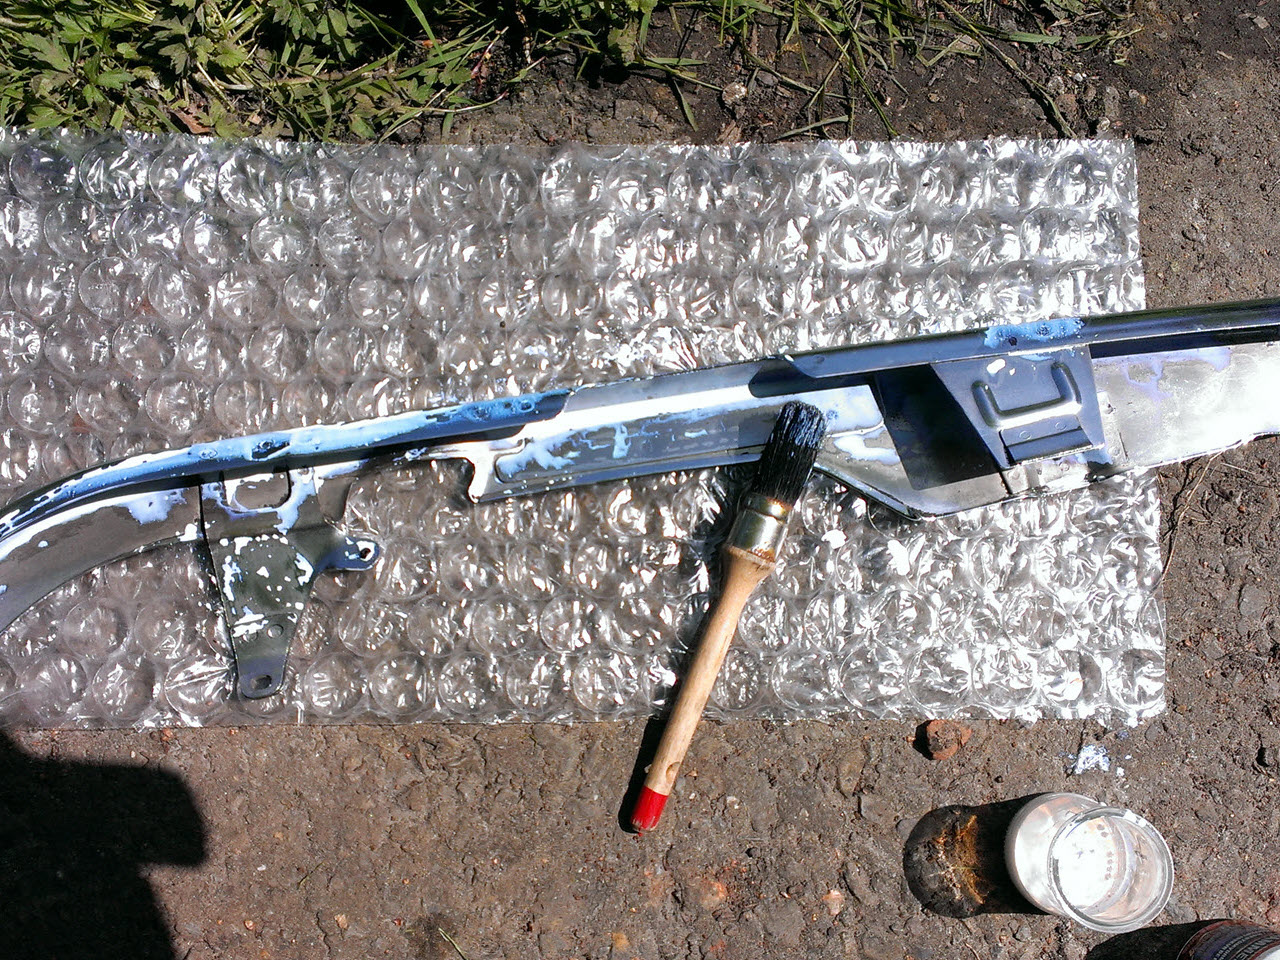
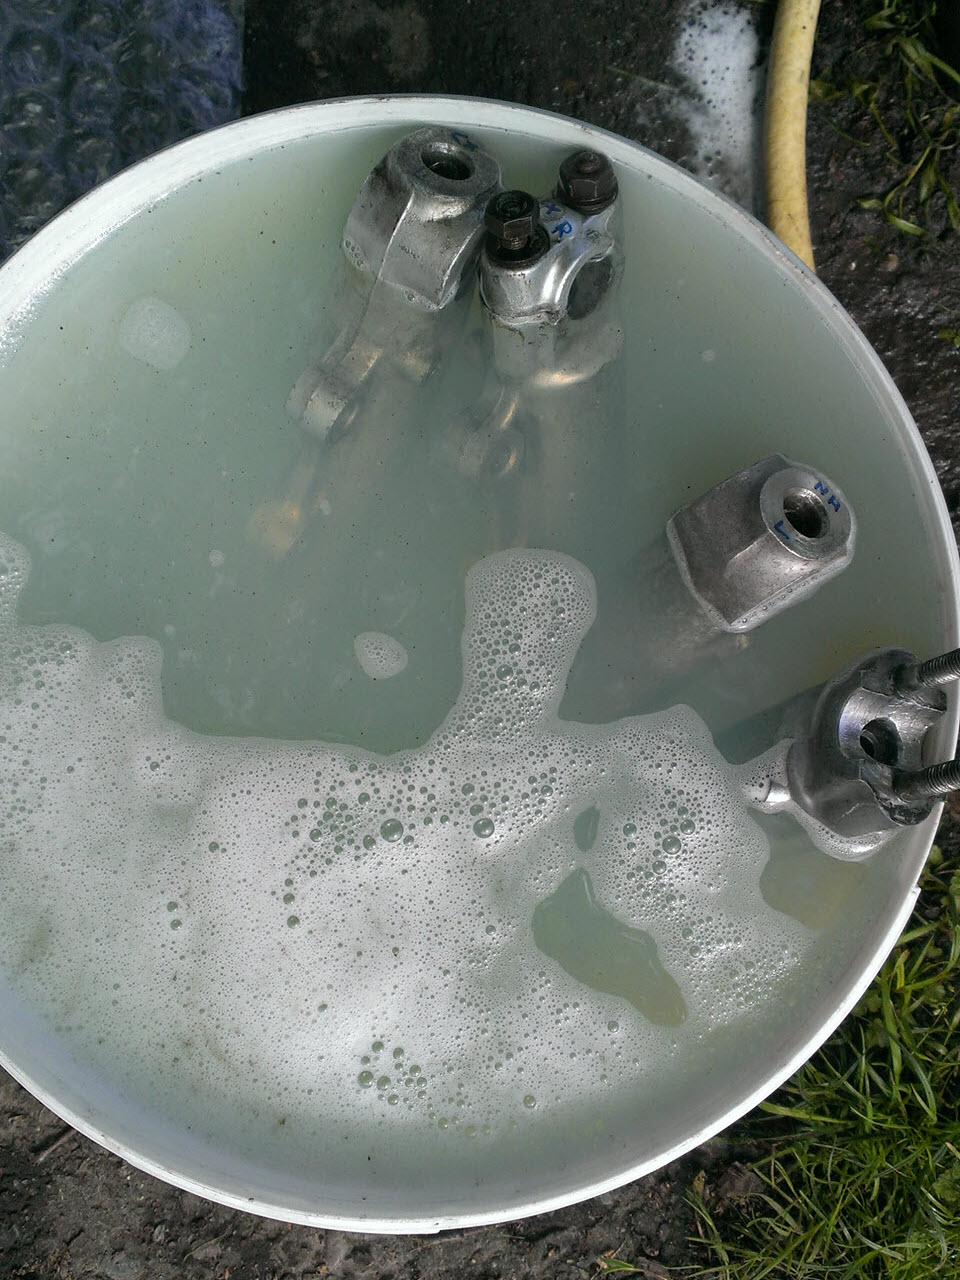
I mostly used Wondersteen to clean all parts, with an exception for the really grimy parts, where I first used brake cleaner. To protect rusted metal parts, I first removed the rust, then painted them with Hammerite. It can be applied directly to rust and metal parts, and is tough as nails.
I re-used almost all original bolts and nuts. In some places the fasteners were heavily corroded (eg. rear fender, chain guard), those were replaced by stainless steel bolts, with never-seez to prevent a lot of cursing later on.
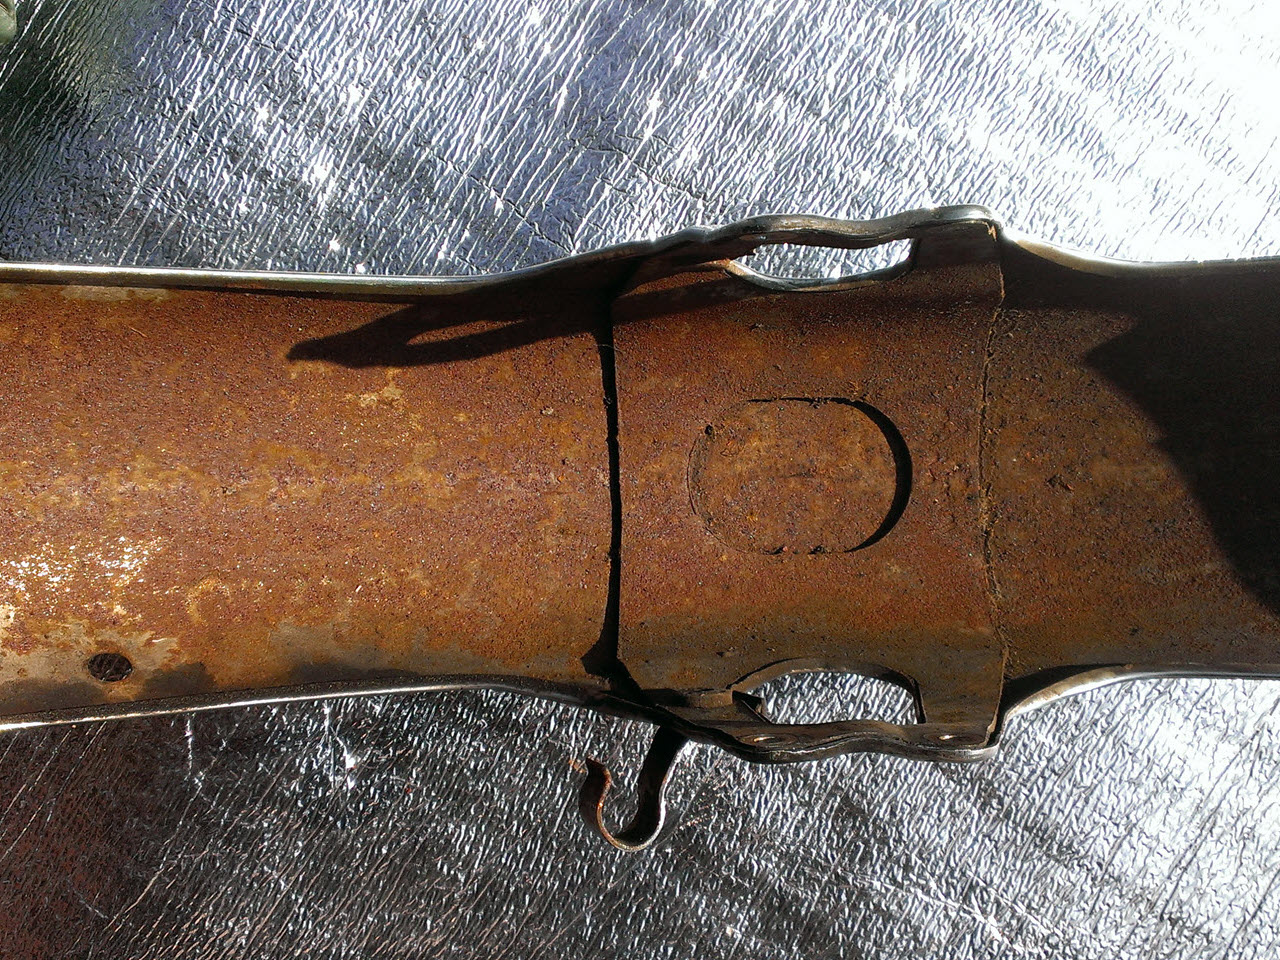
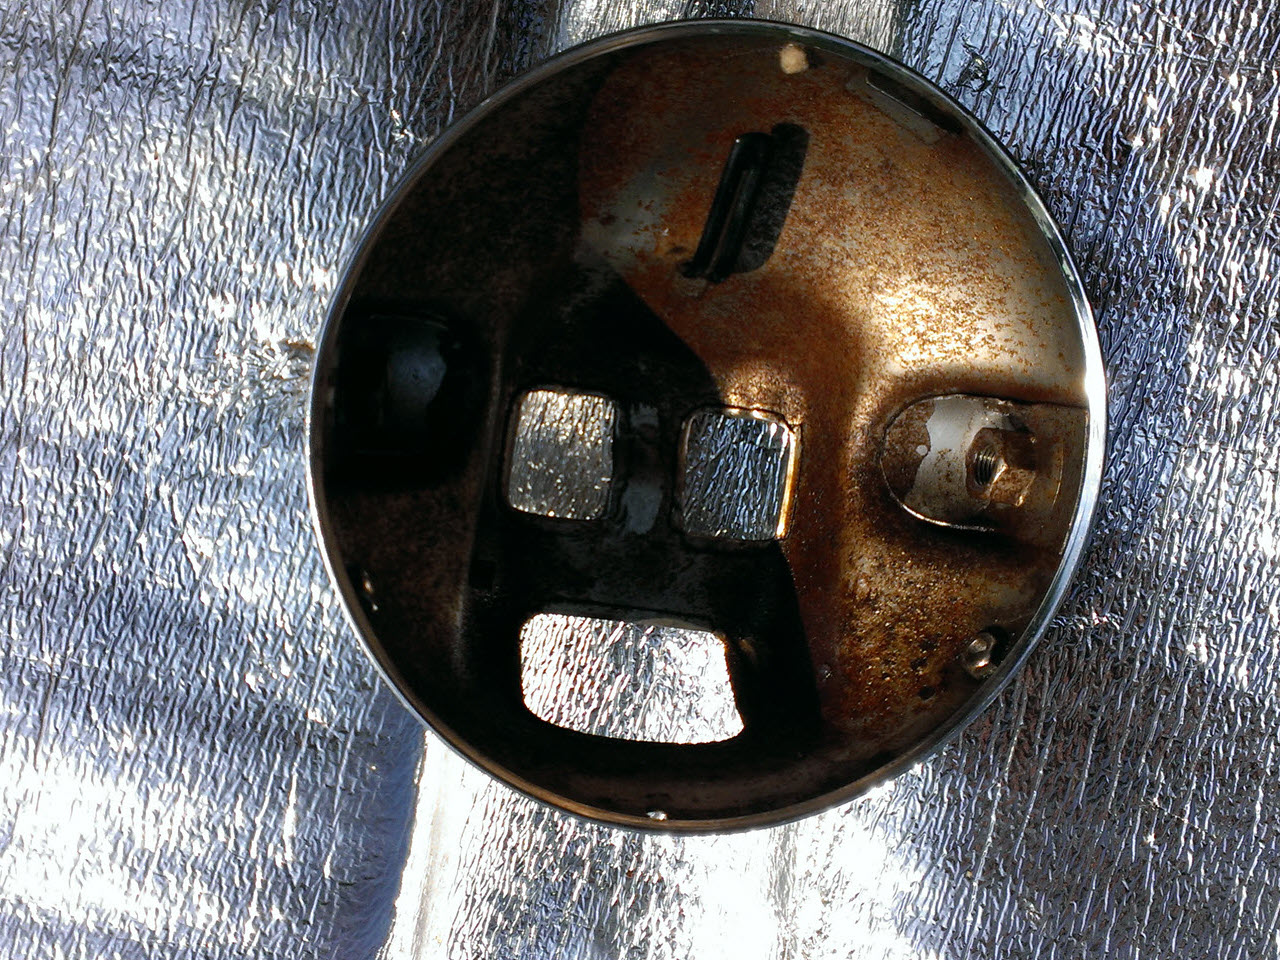
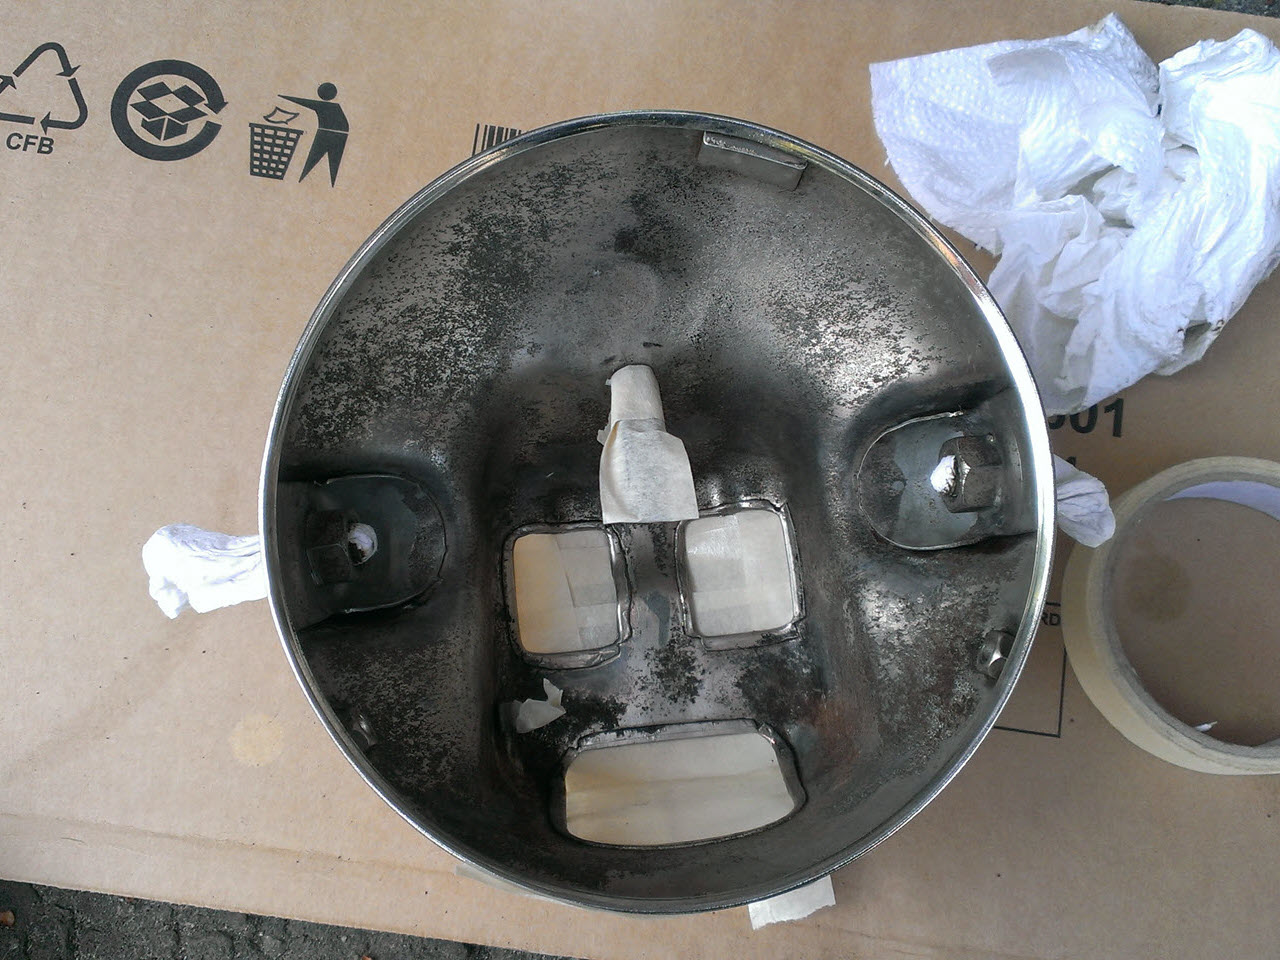
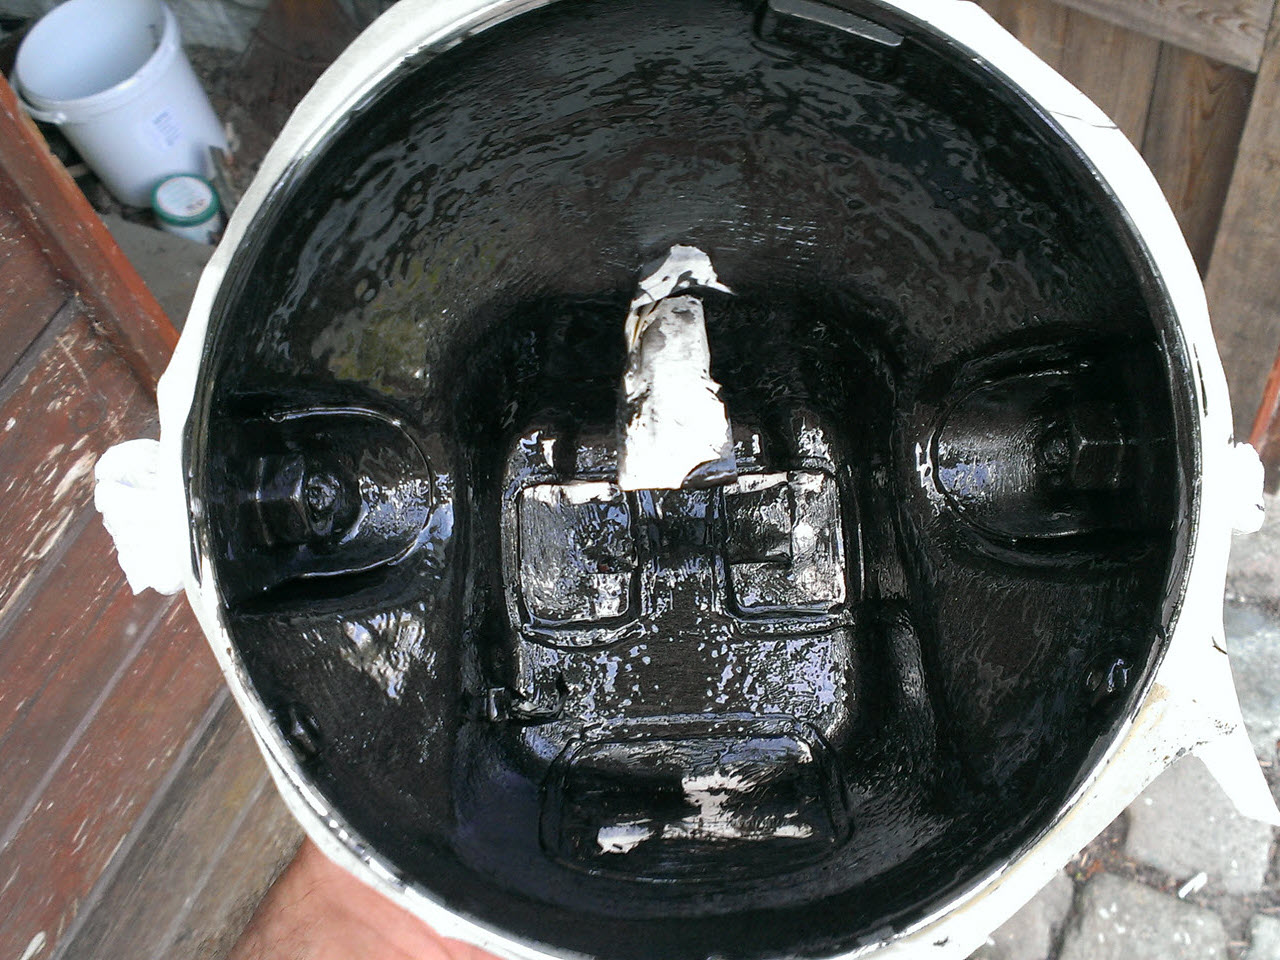
The front fender was heavily rusted. I used several coats of rust remover, and after some additional abrasive cleaning, painted with 4 coats of Hammerite. The headlight bucket received the same treatment.
Gas Tank
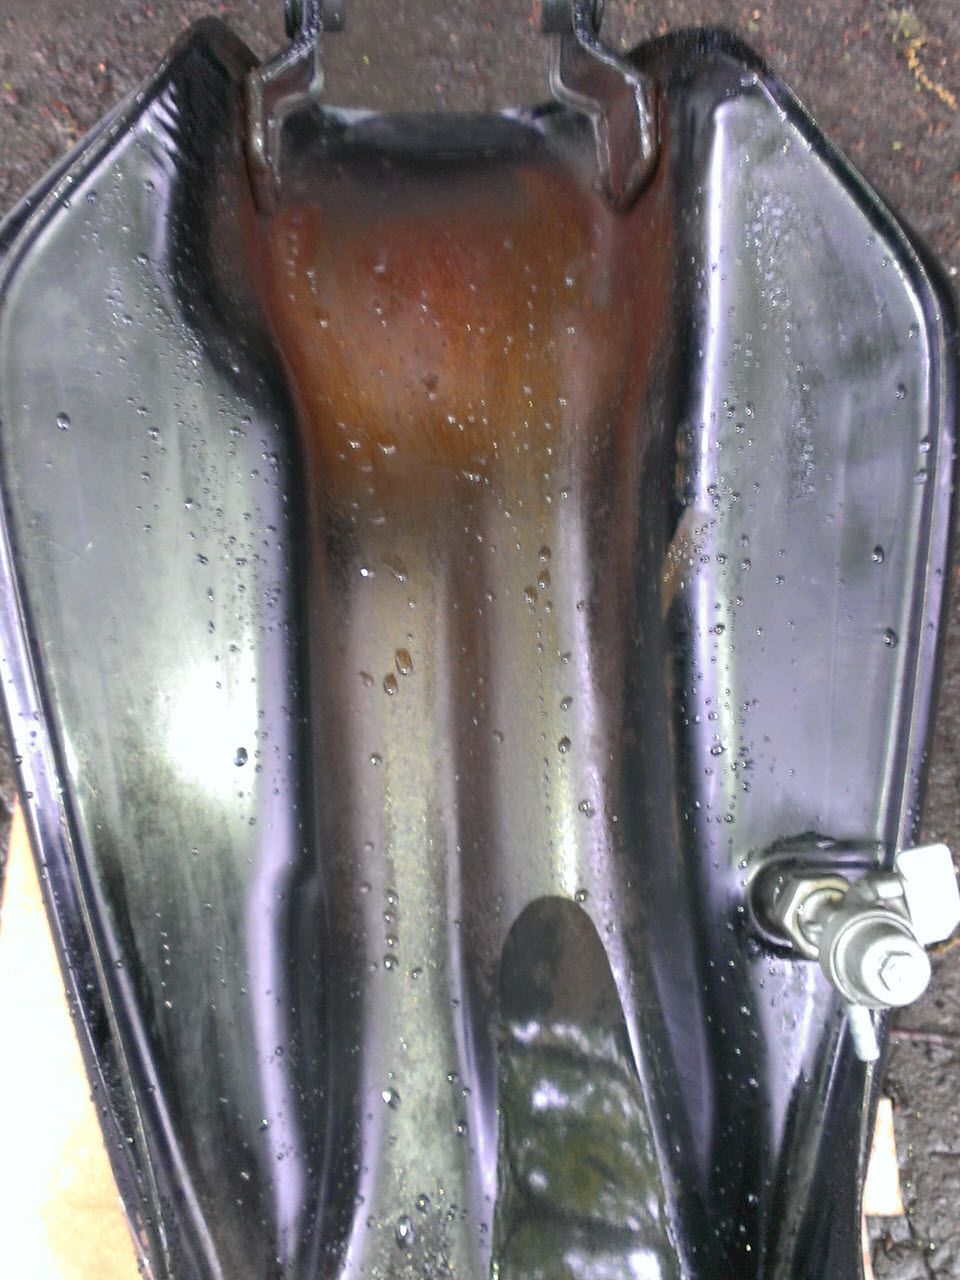
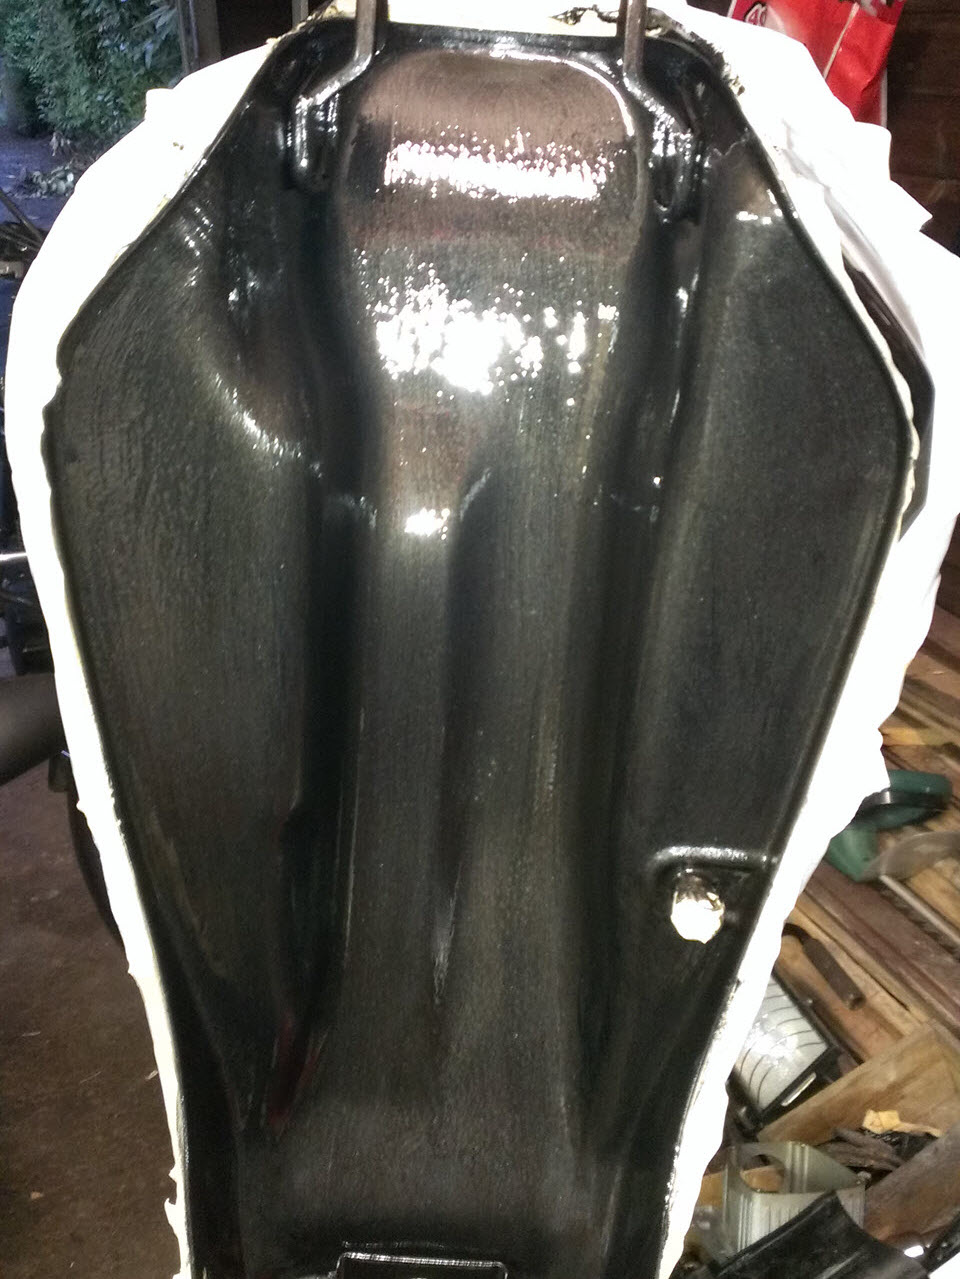
Overall in very good shape, the gas thank had some surface rust on the bottom. It seemed that not a lot of paint was used on the this side.
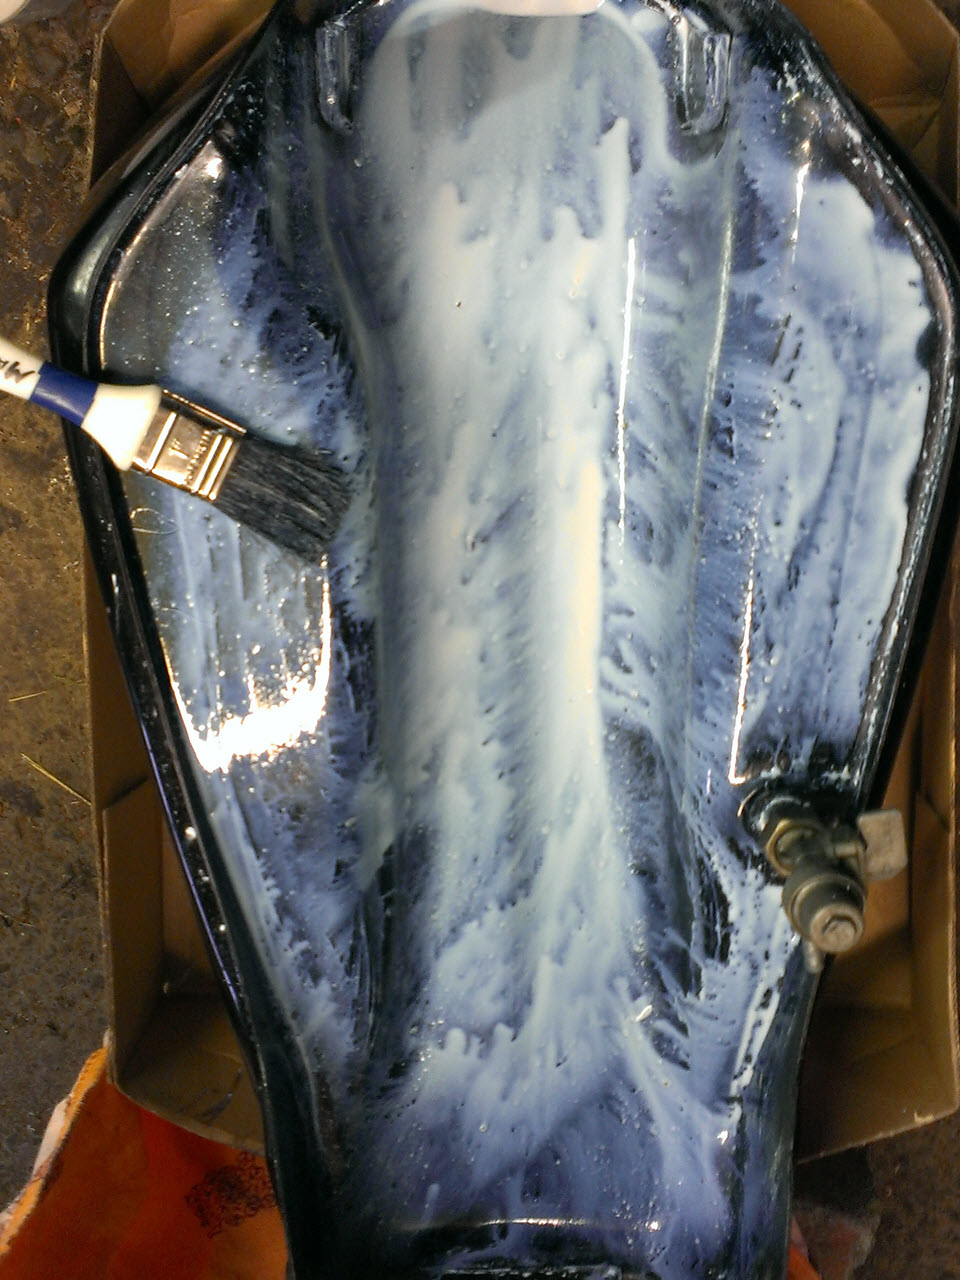
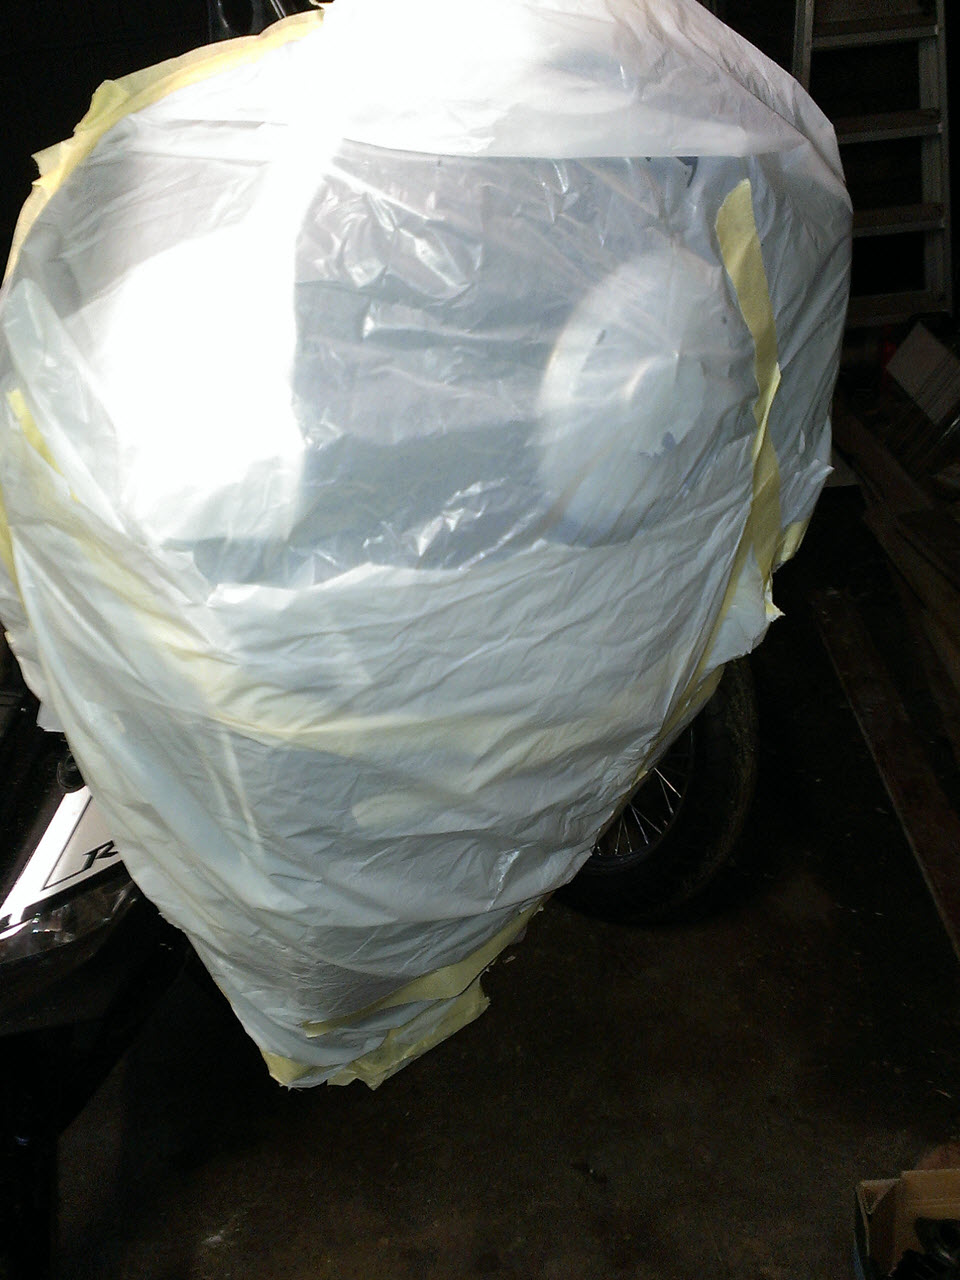
Since I was already painting and protecting other parts with Hammerite paint, I decided to tackle the gas tank with it as well.
Hammerite is listed as not petrol or solvent proof, but I read that others used it to coat whole frames, on which the coat lasted very well.
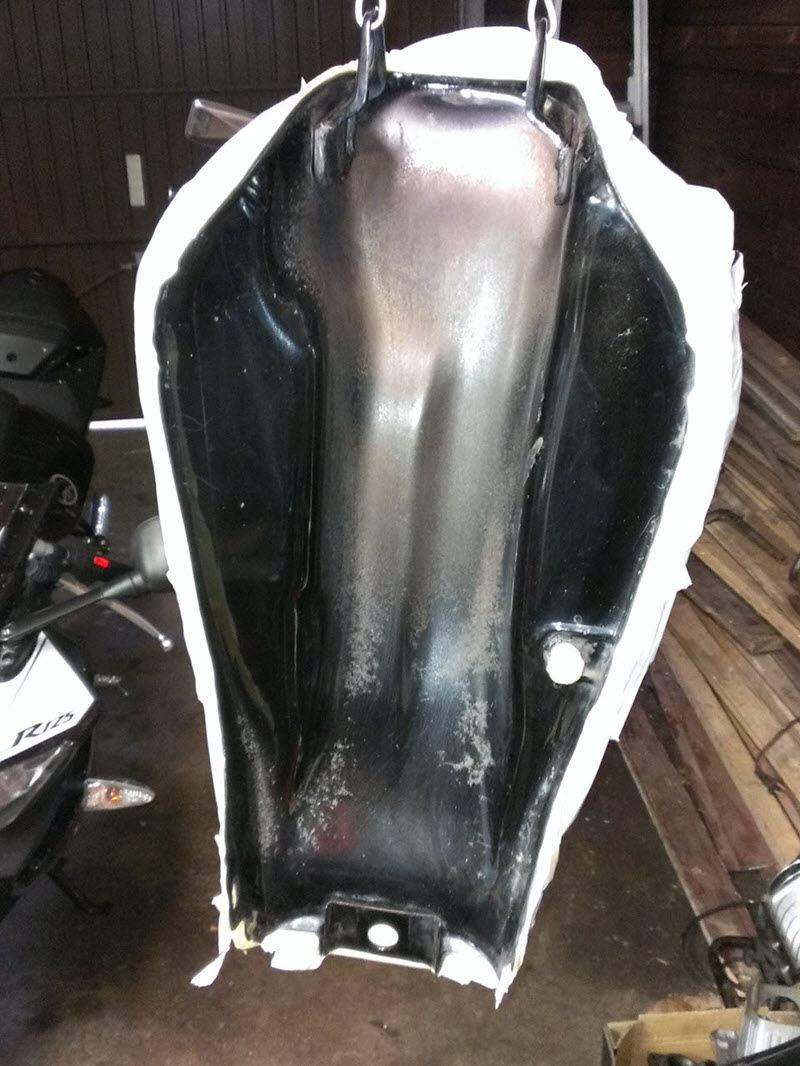
Since it was the bottom of the tank, I went for it, and almost a year later, the paint is still holding up very well.
Exhaust
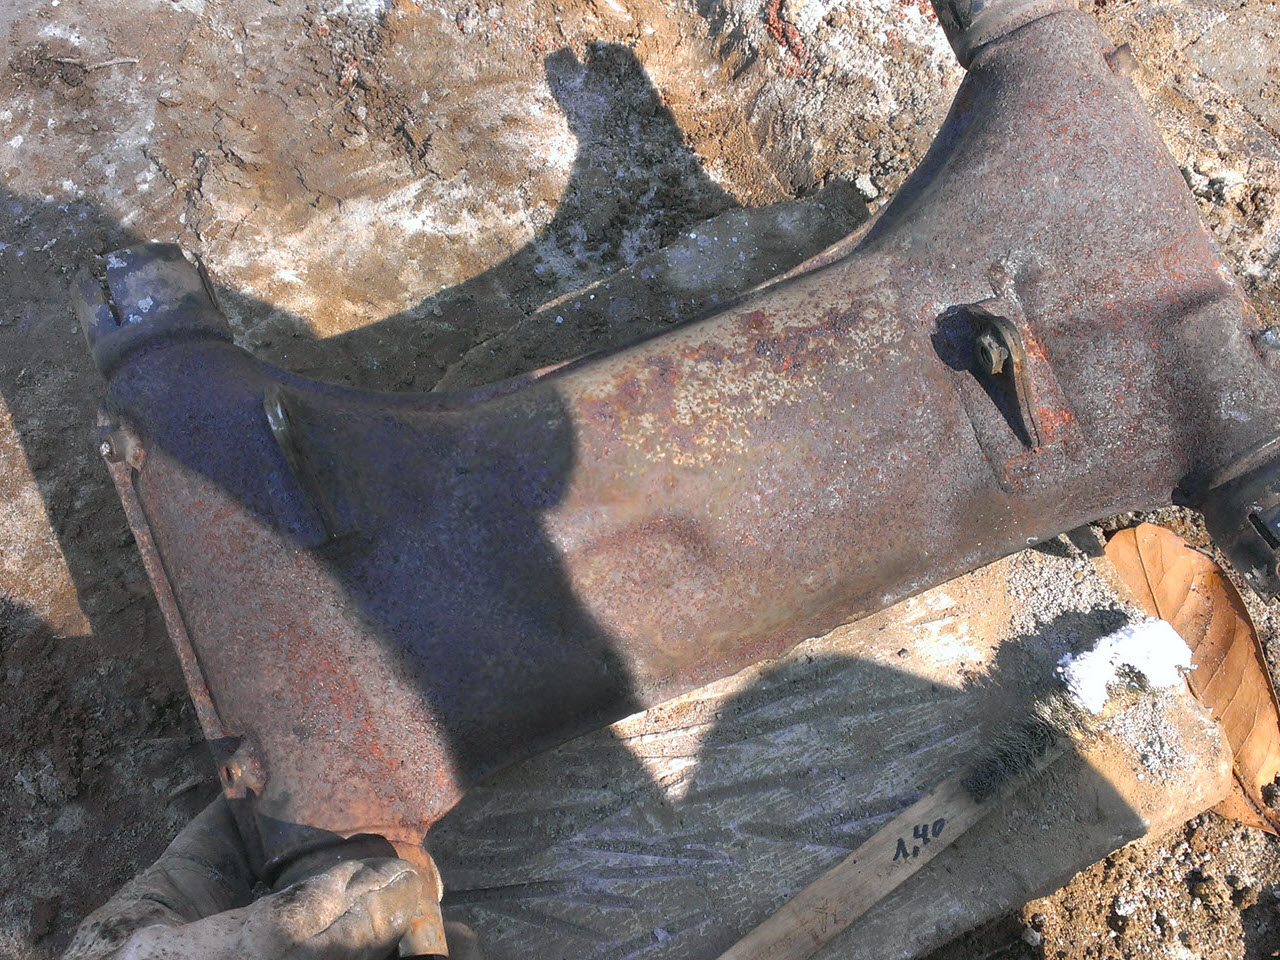
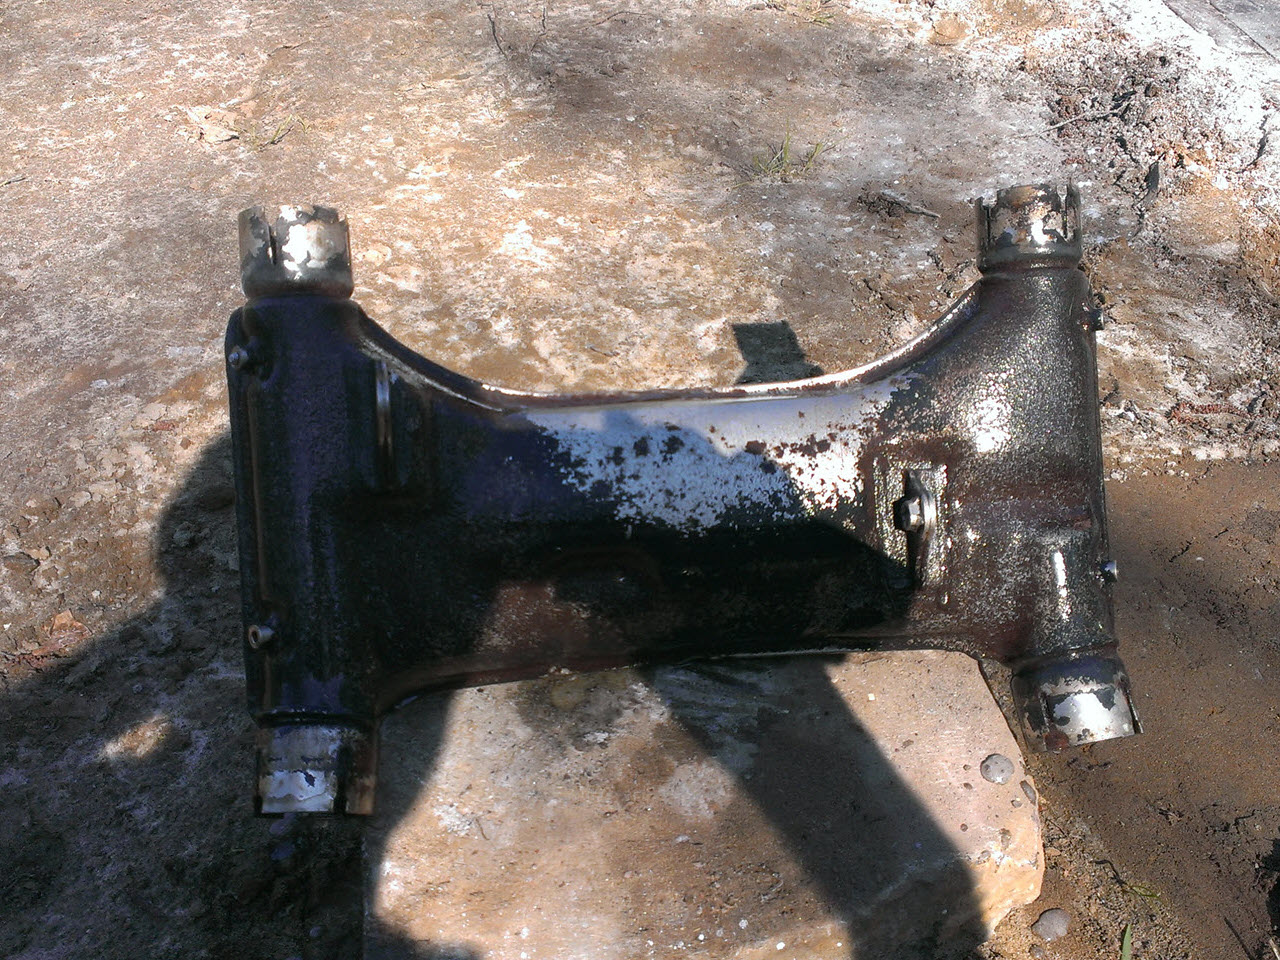
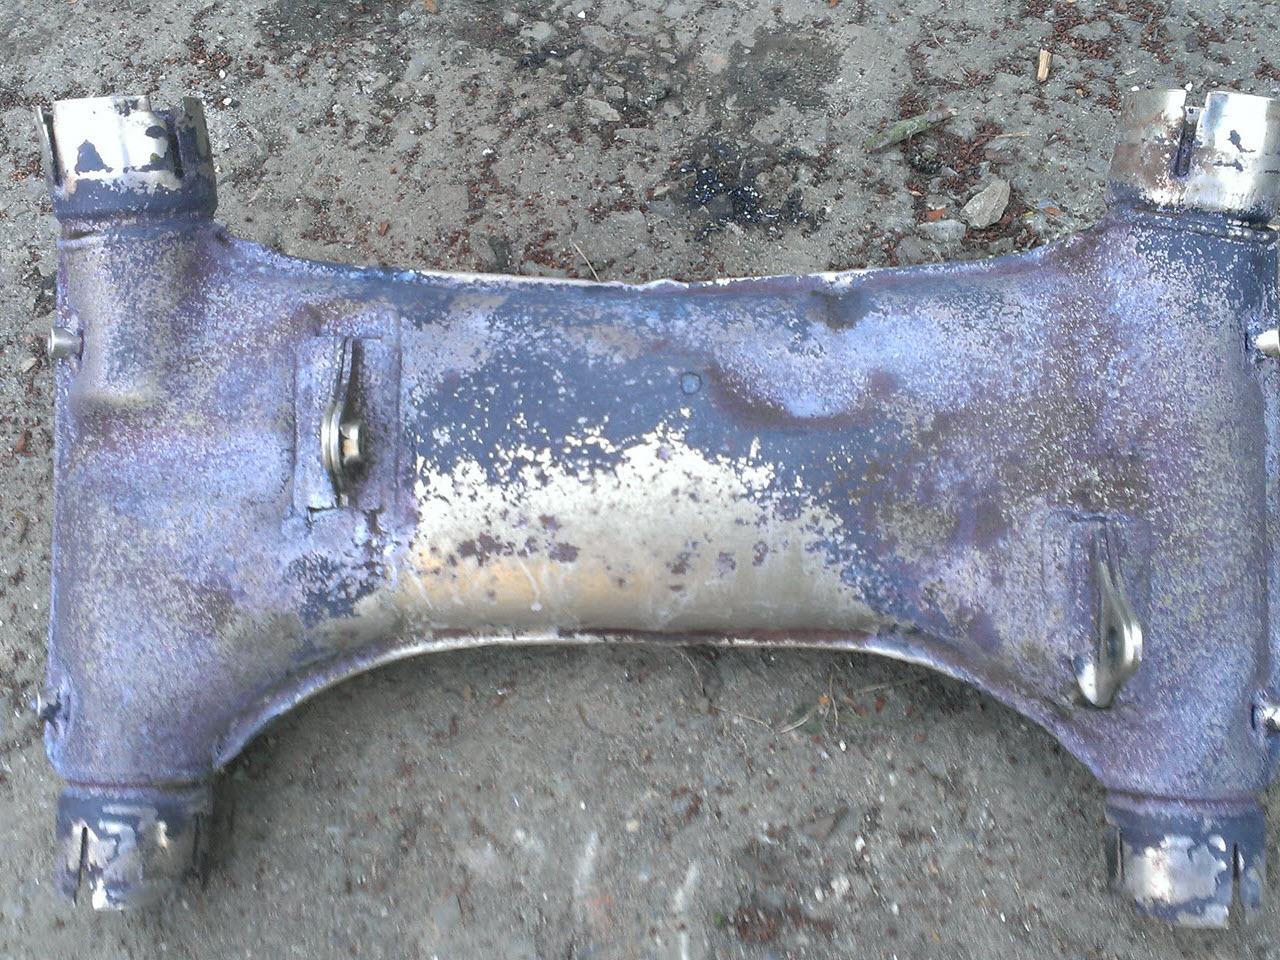
Collector
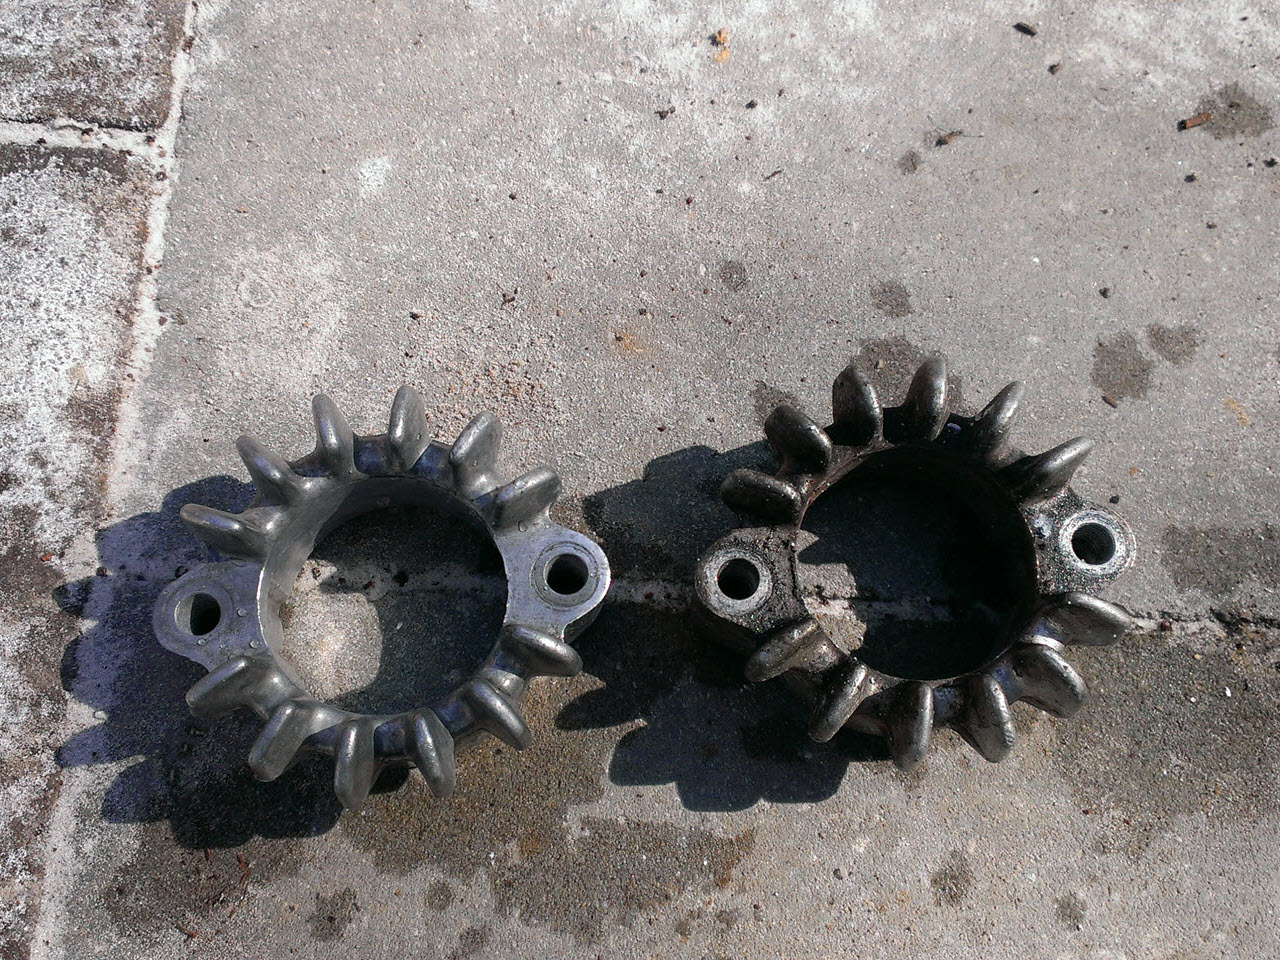
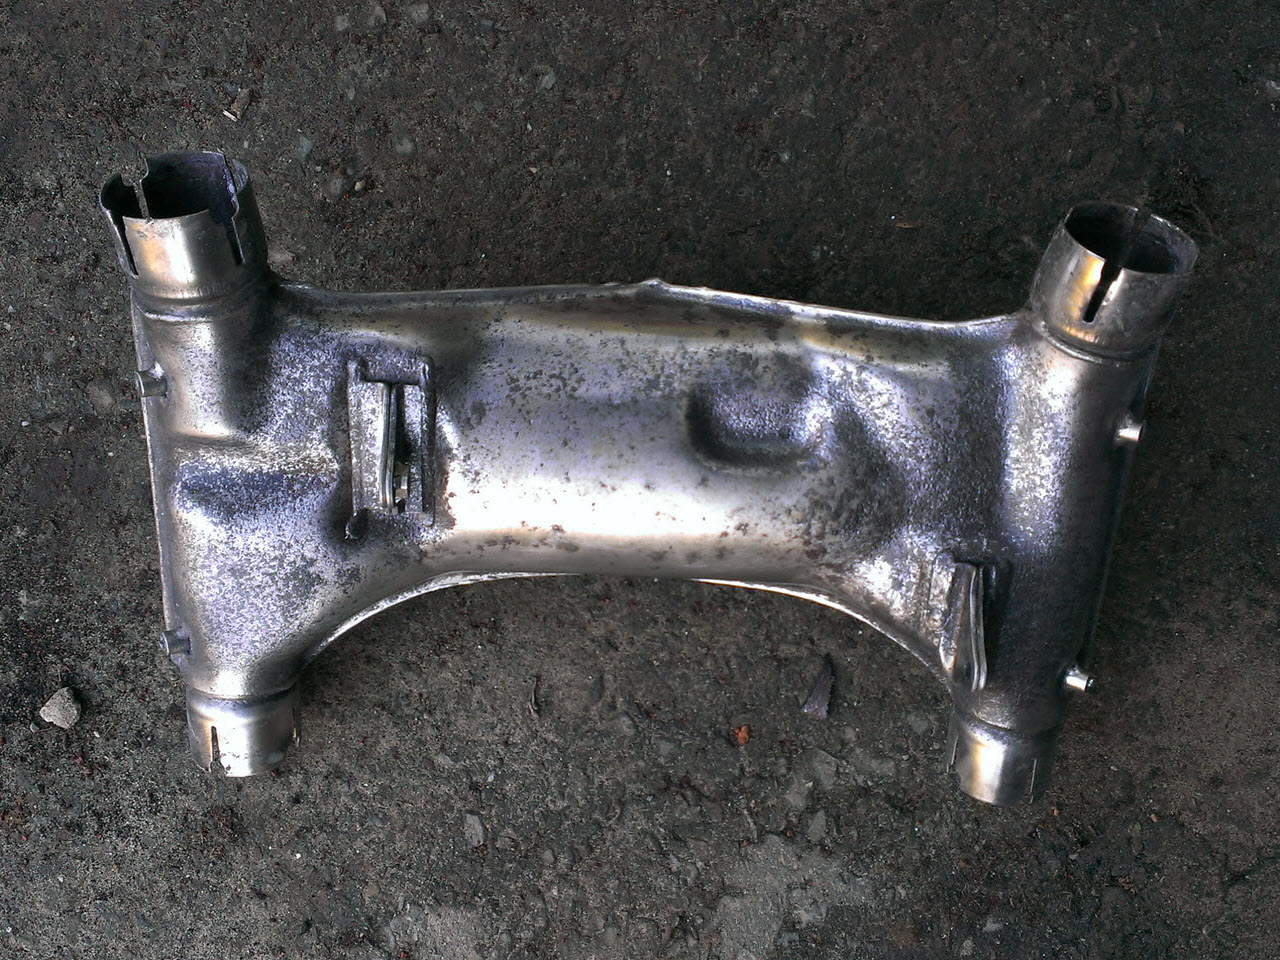
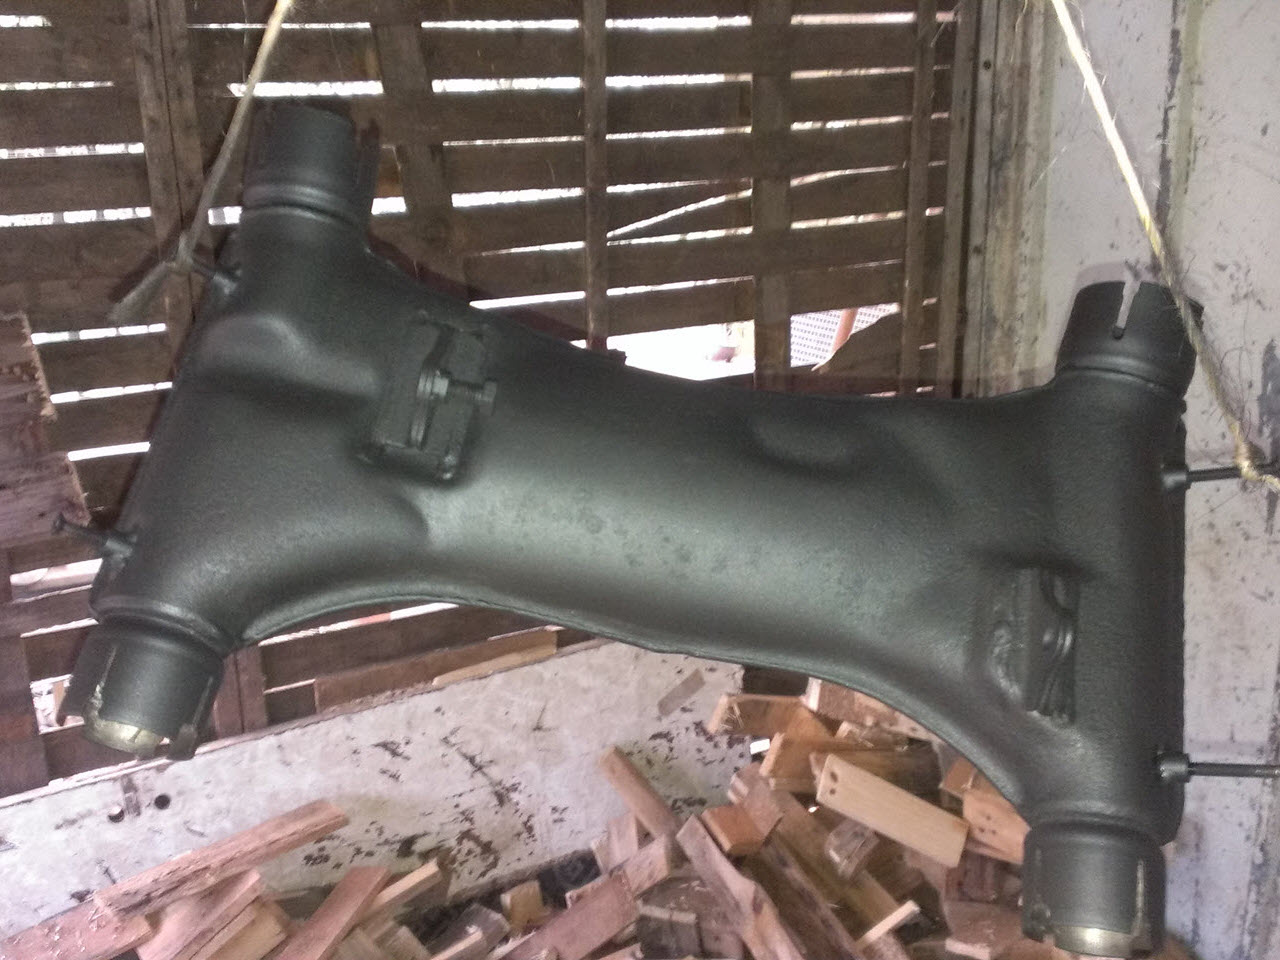
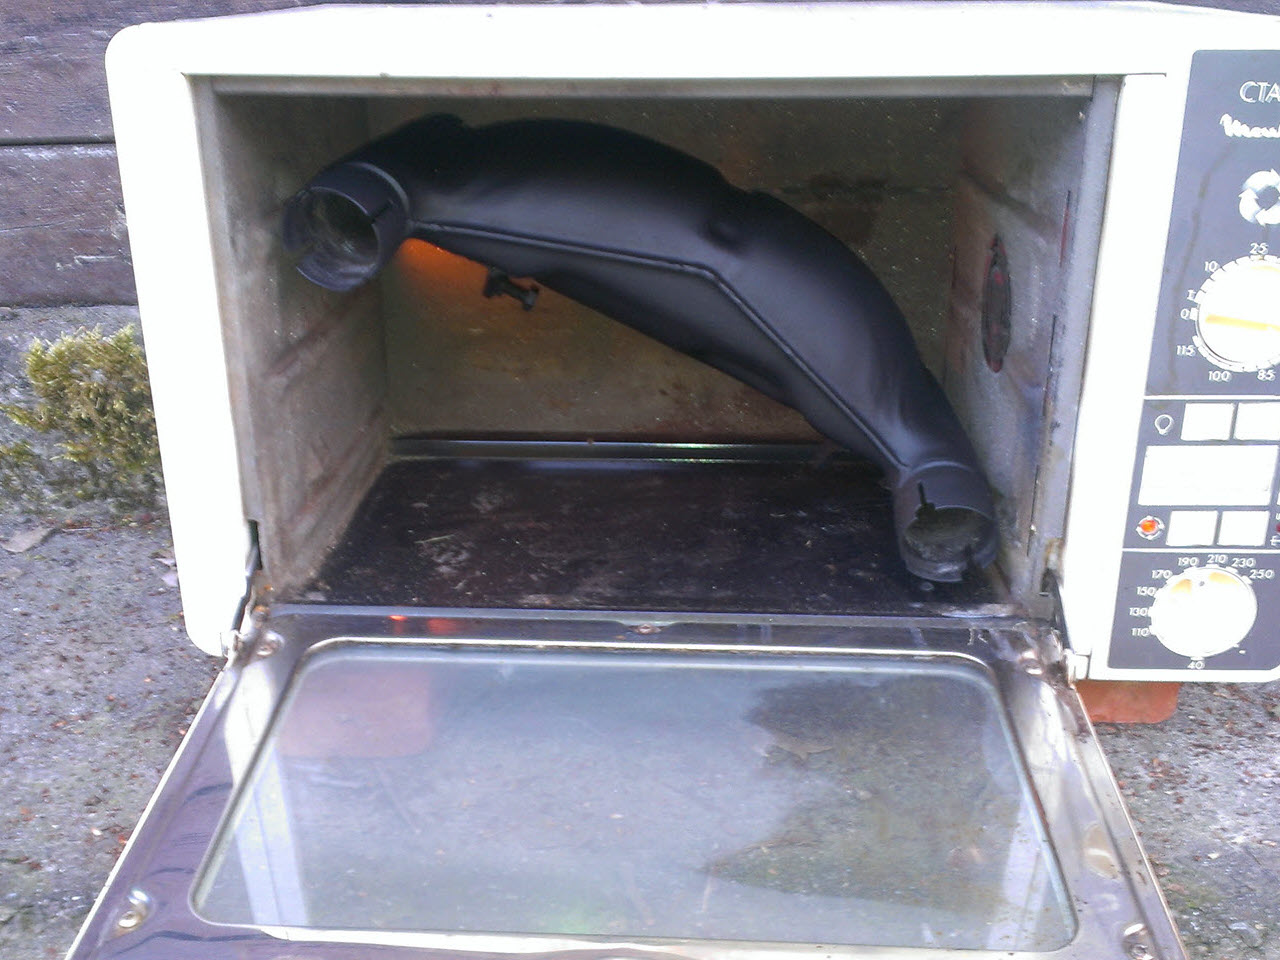
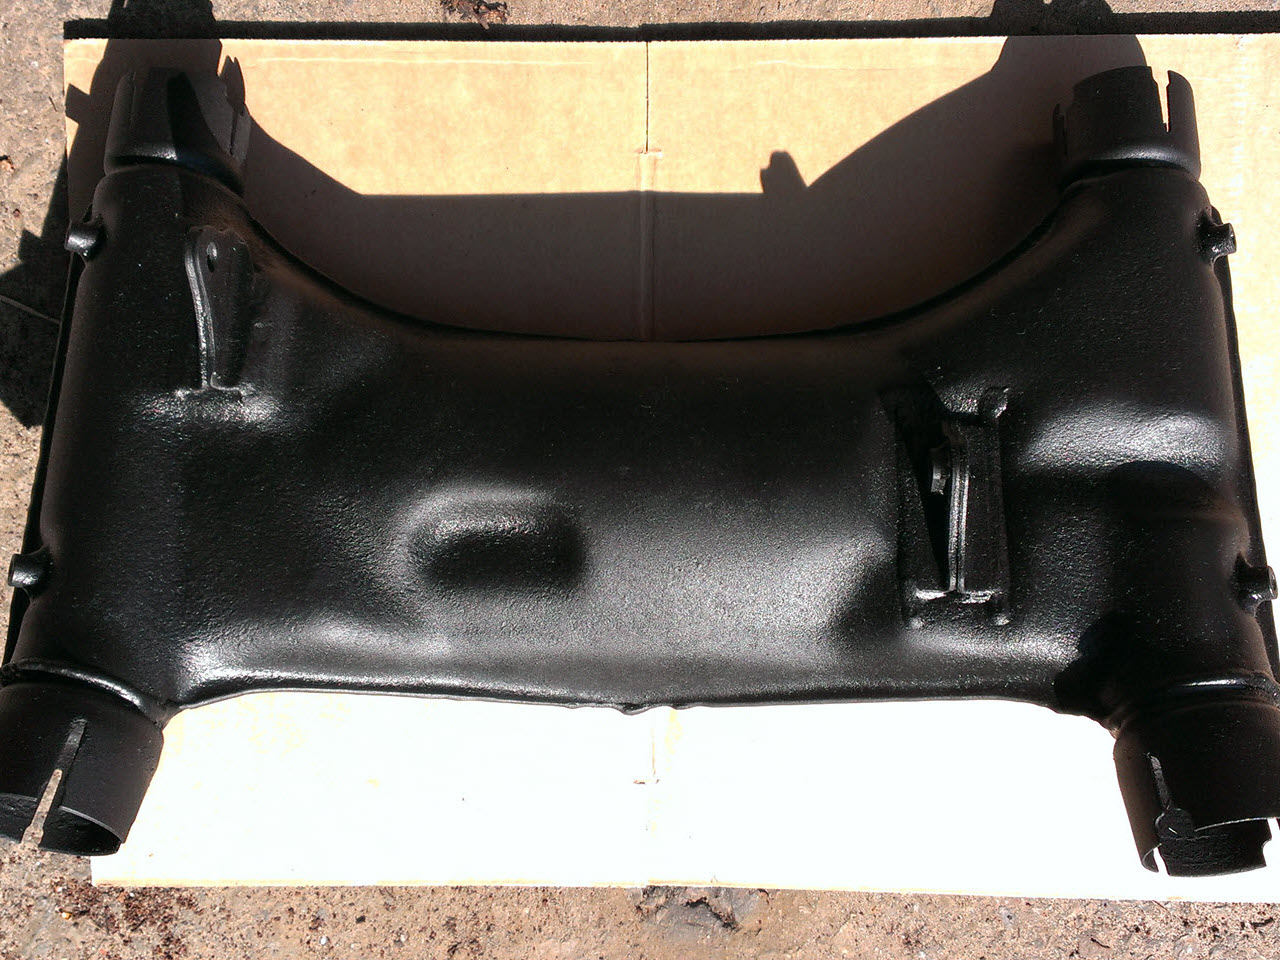
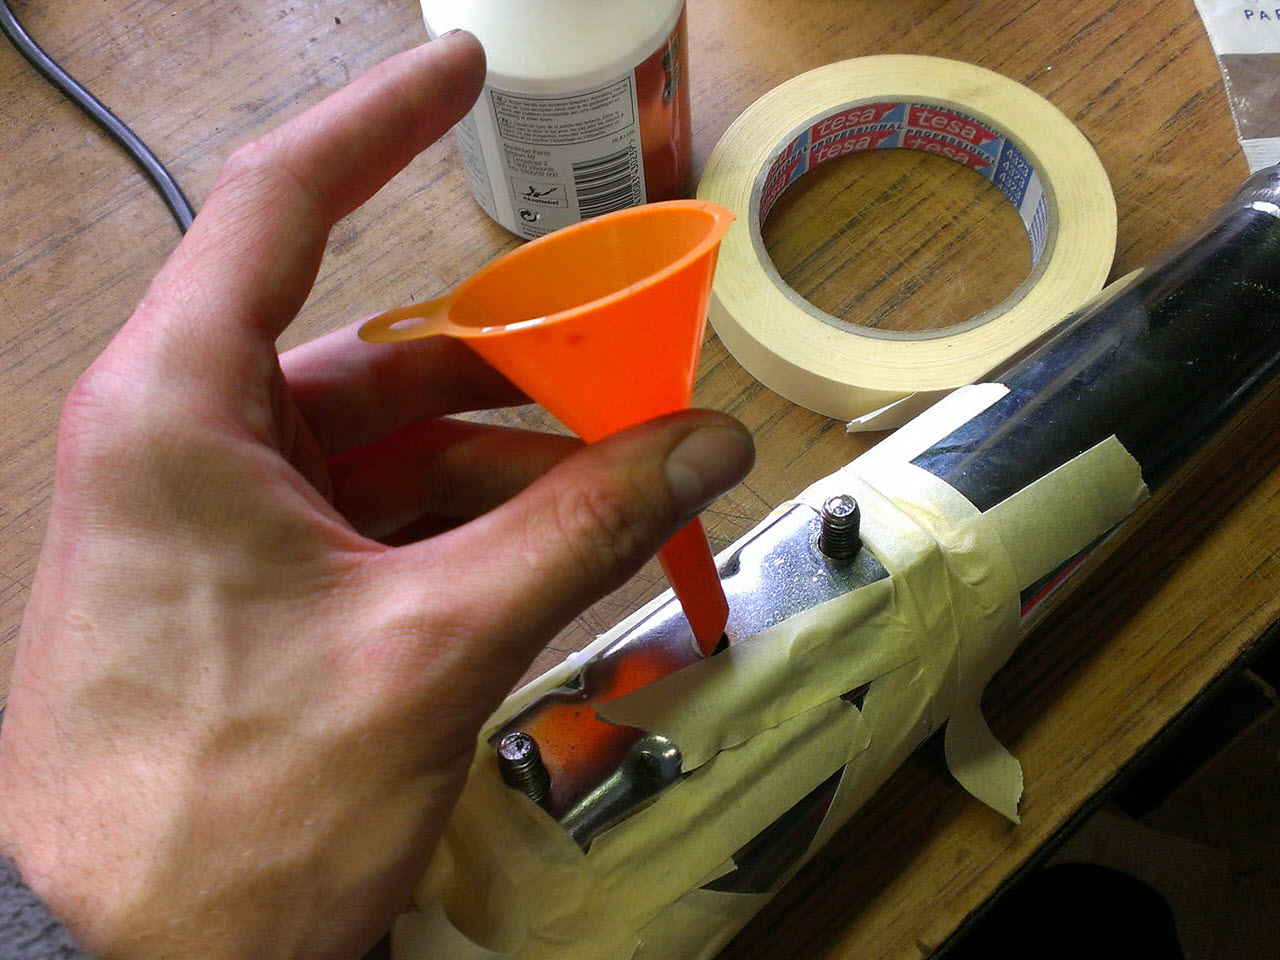
The collector was very rusty, but not rotten. I used a wirebrush and a lot of patience to clean it up as best as I could, afterwards it was painted with Motip flameproof paint and baked
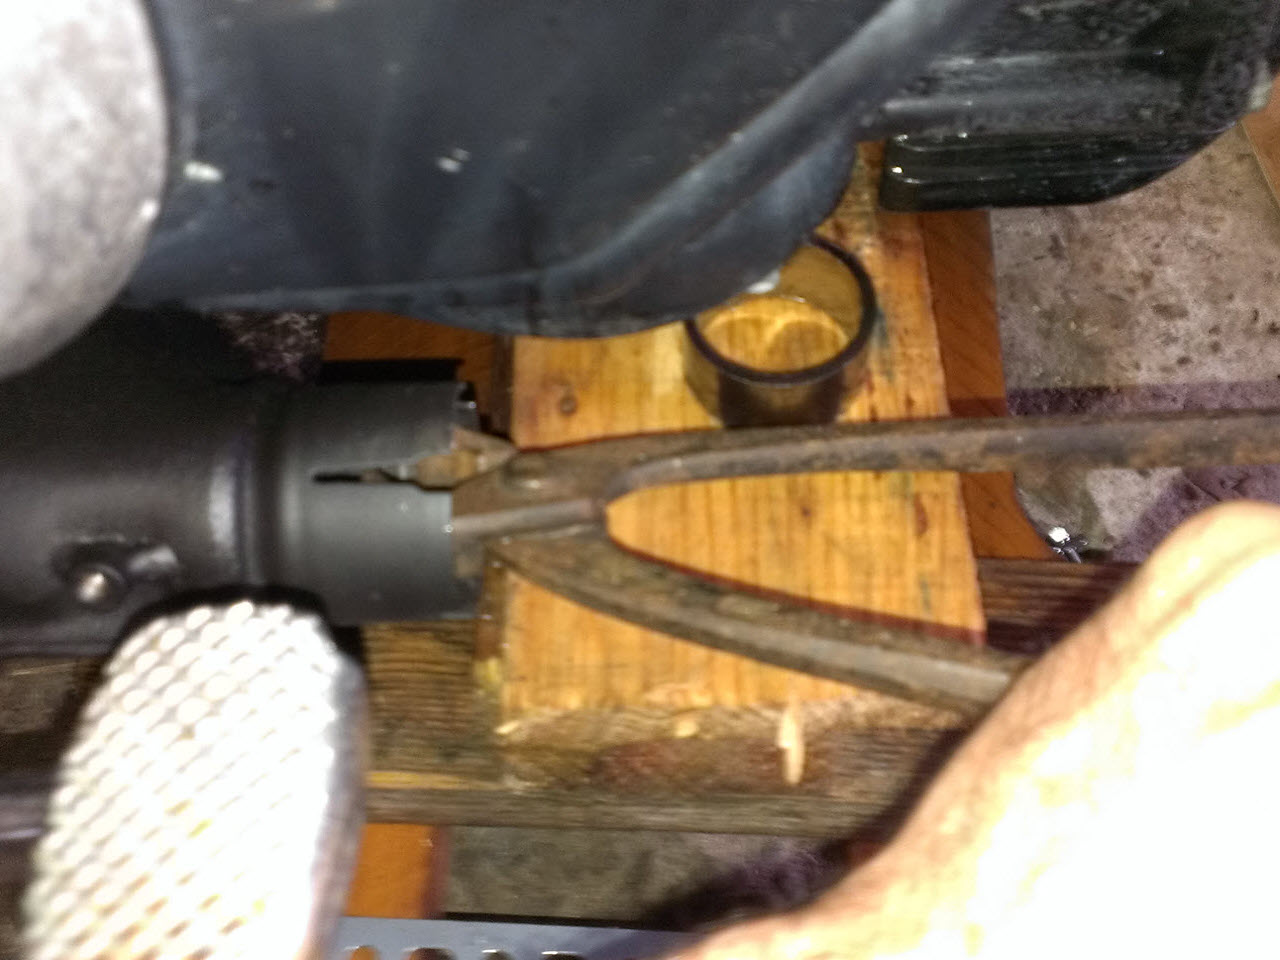
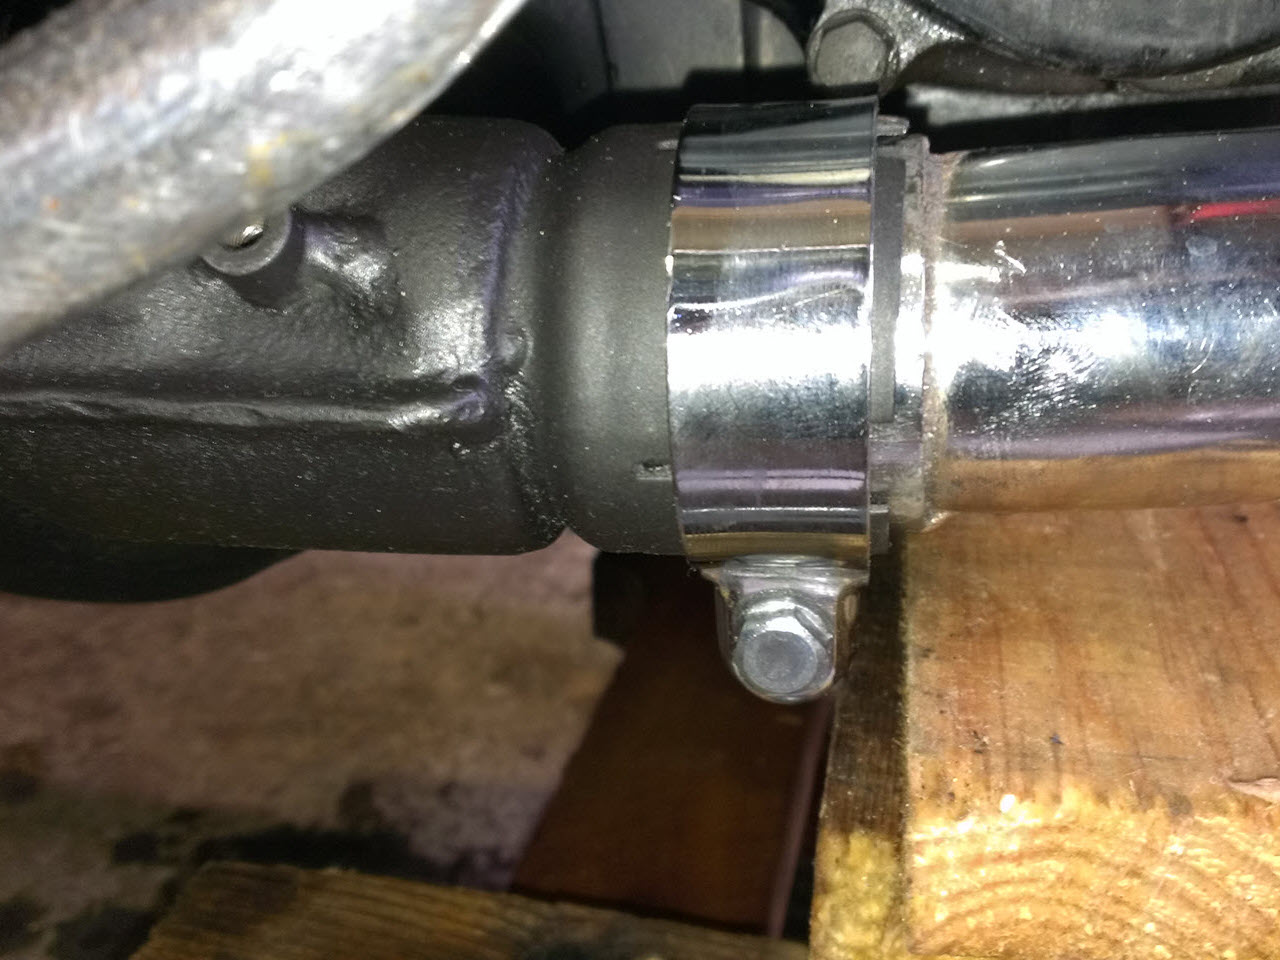
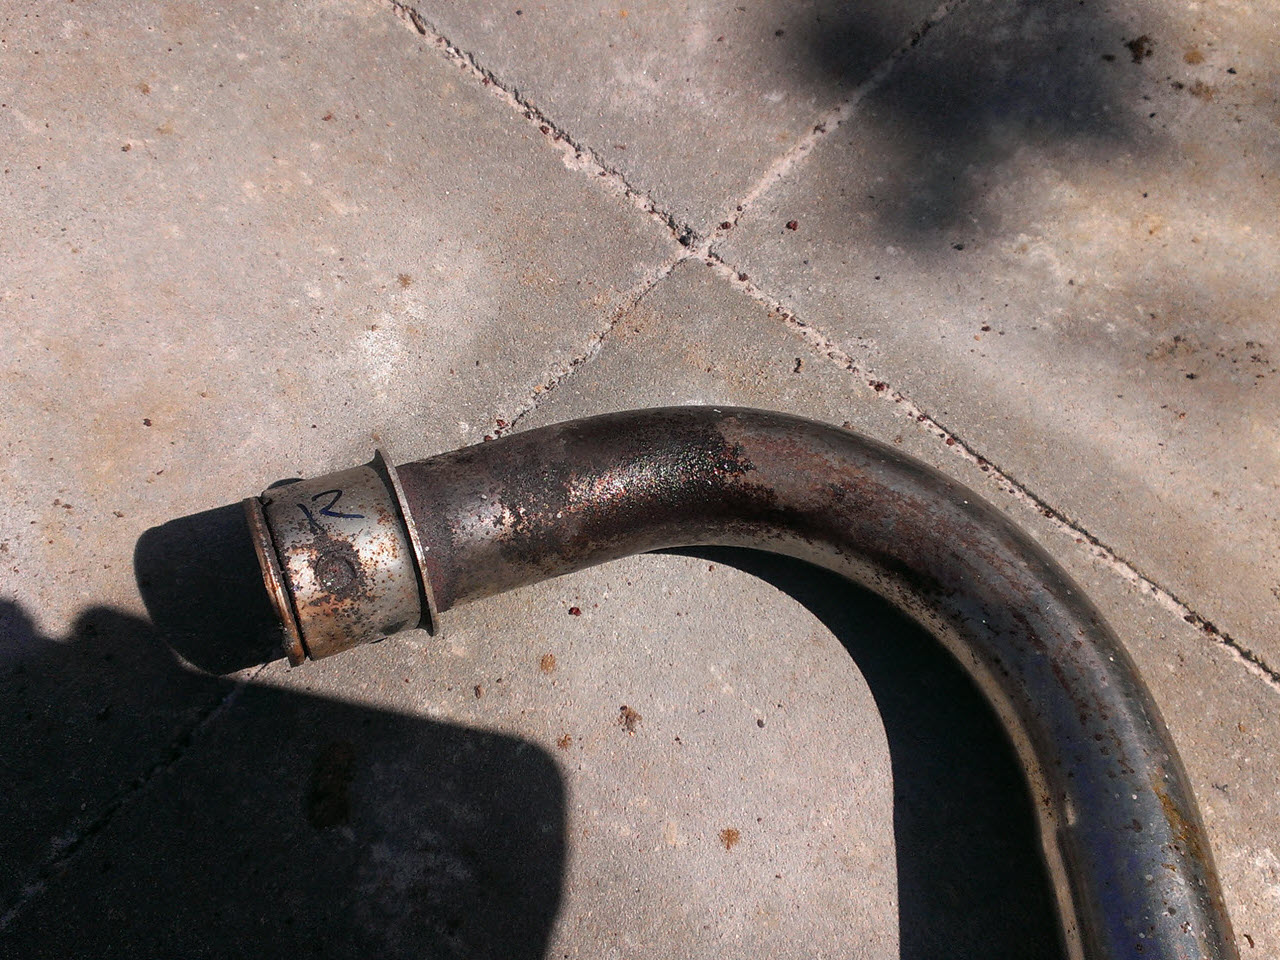
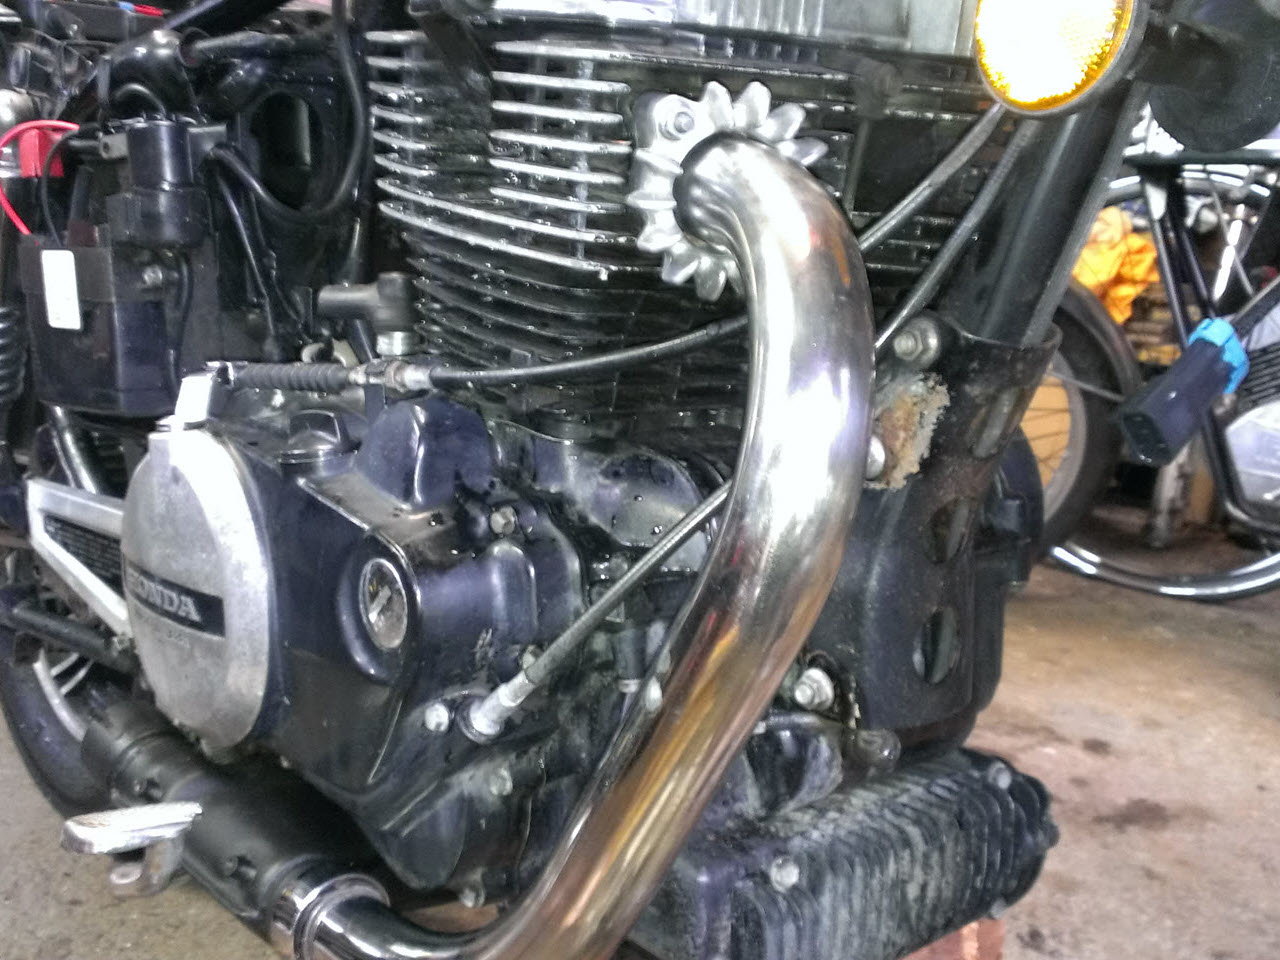
Downpipes and mufflers
Carburetors
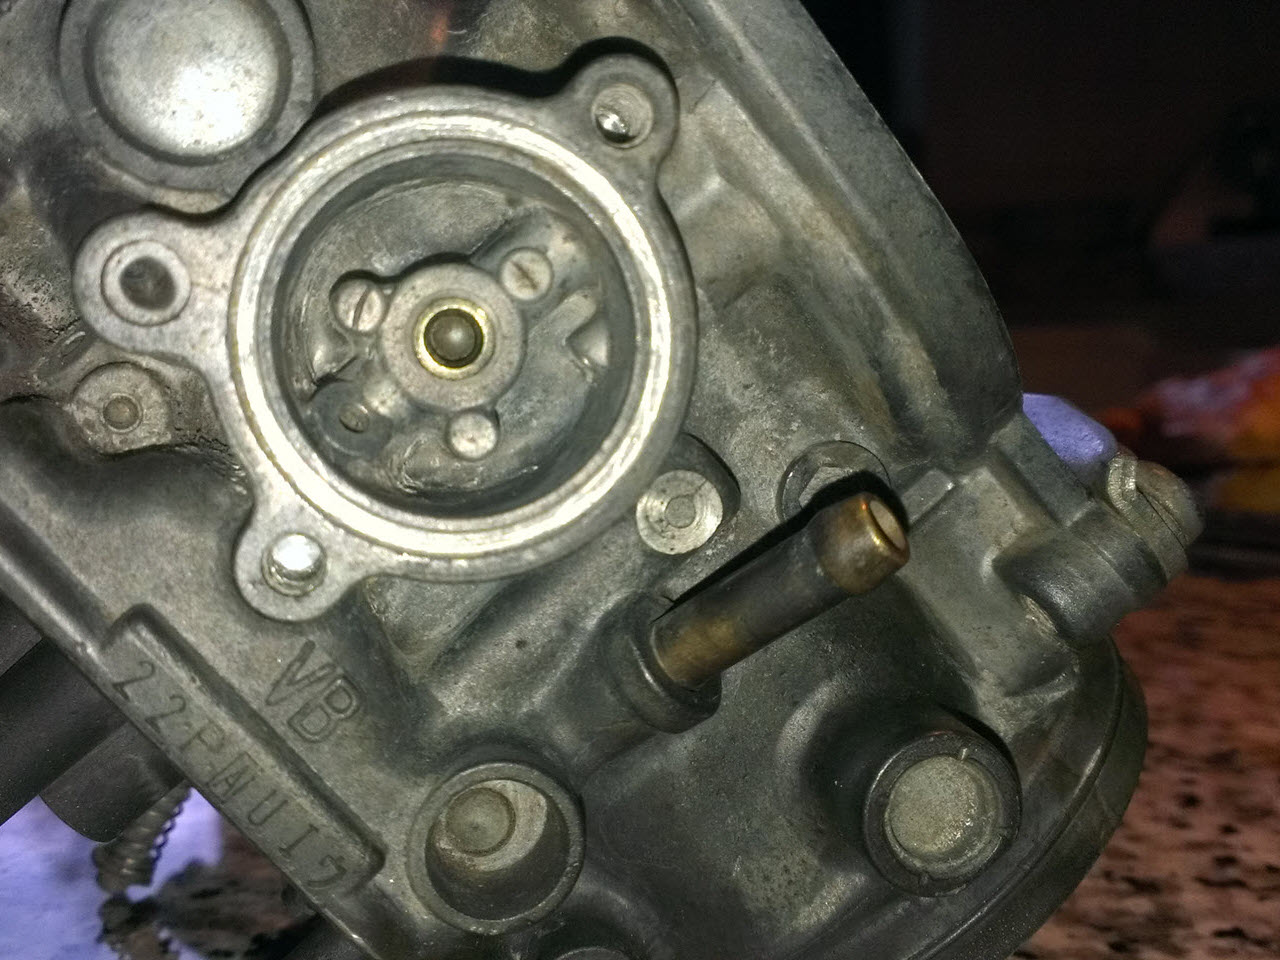
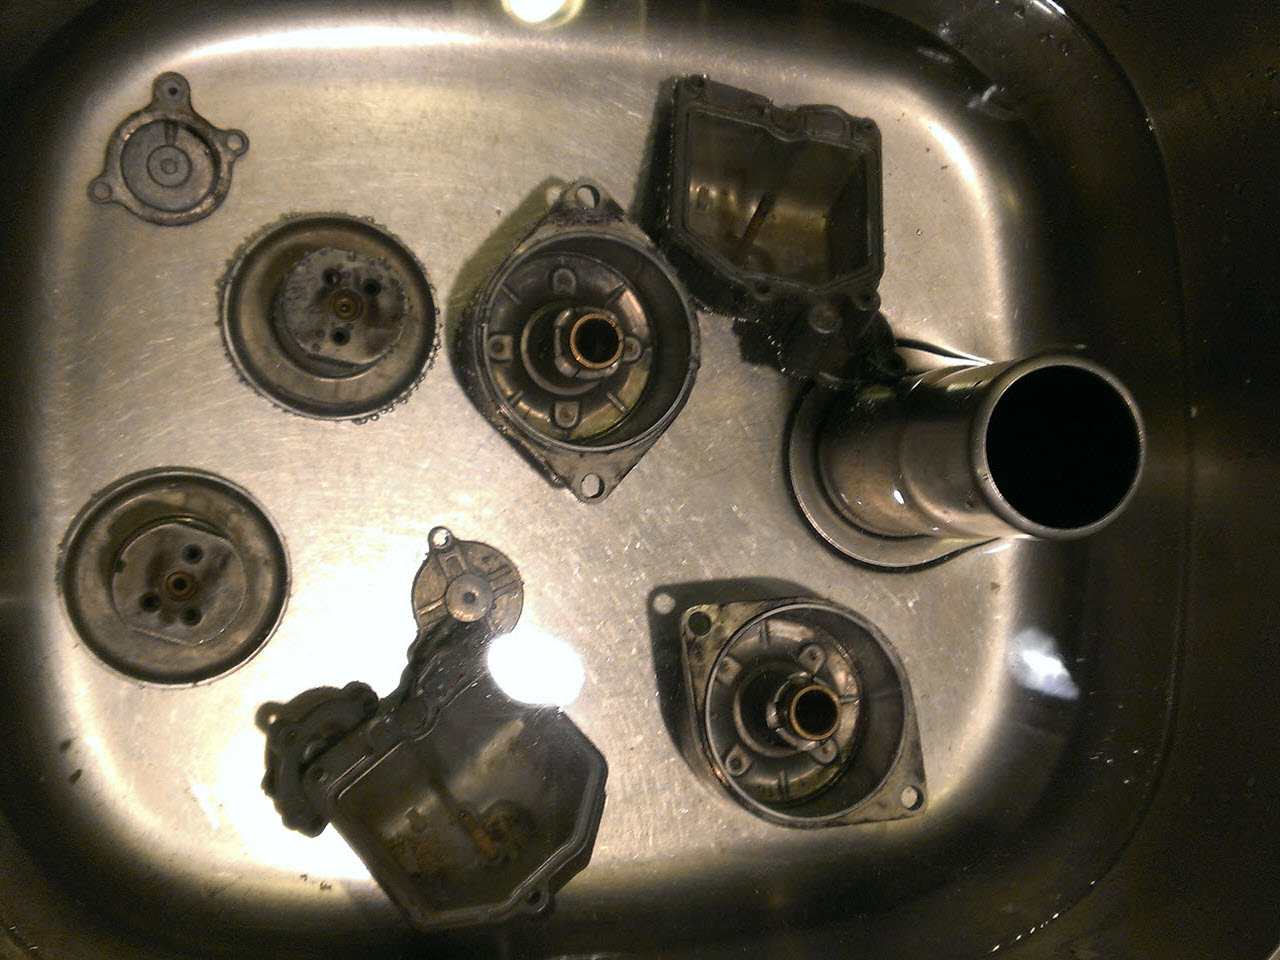
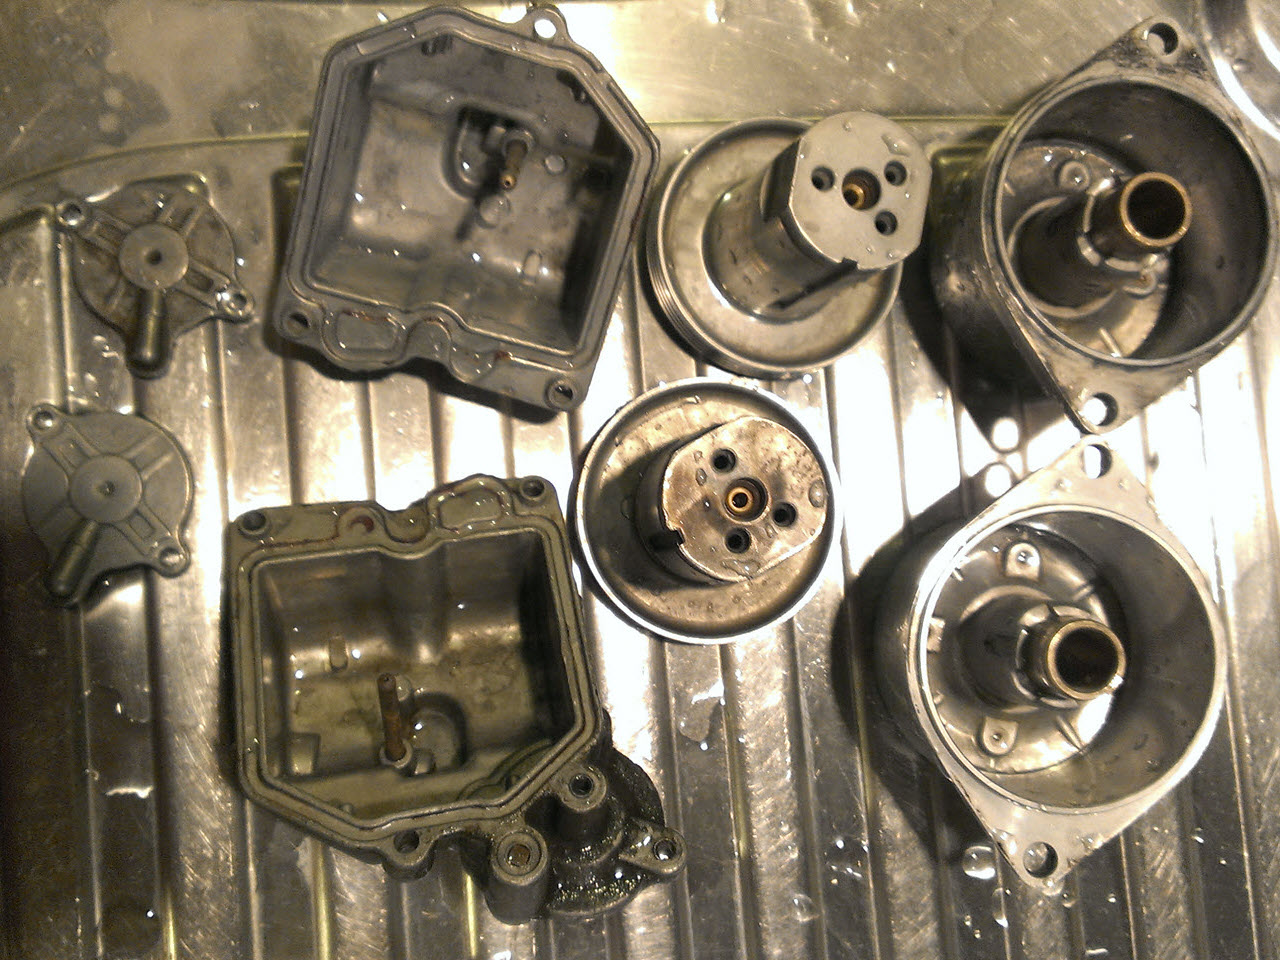
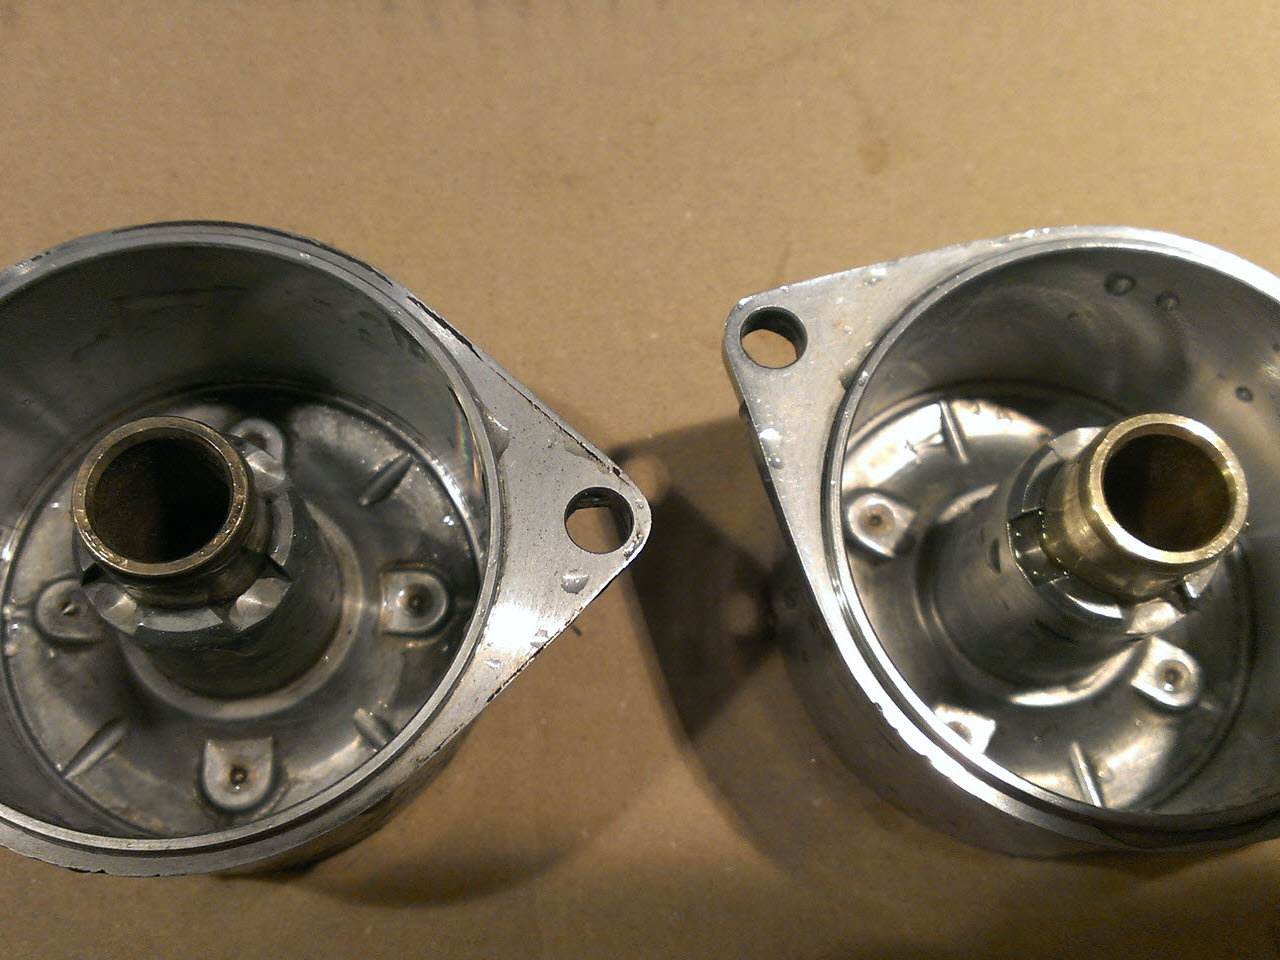
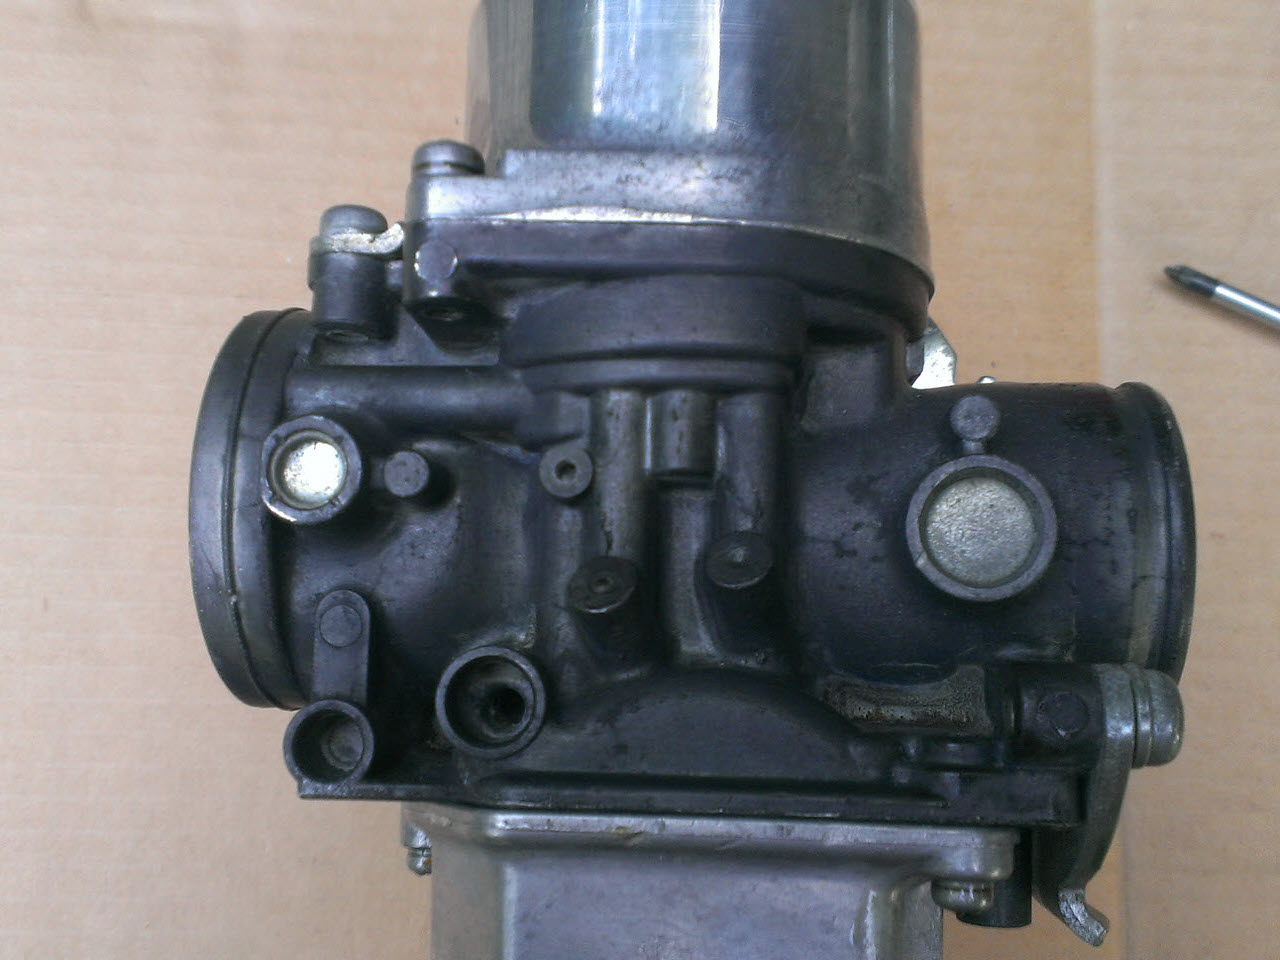
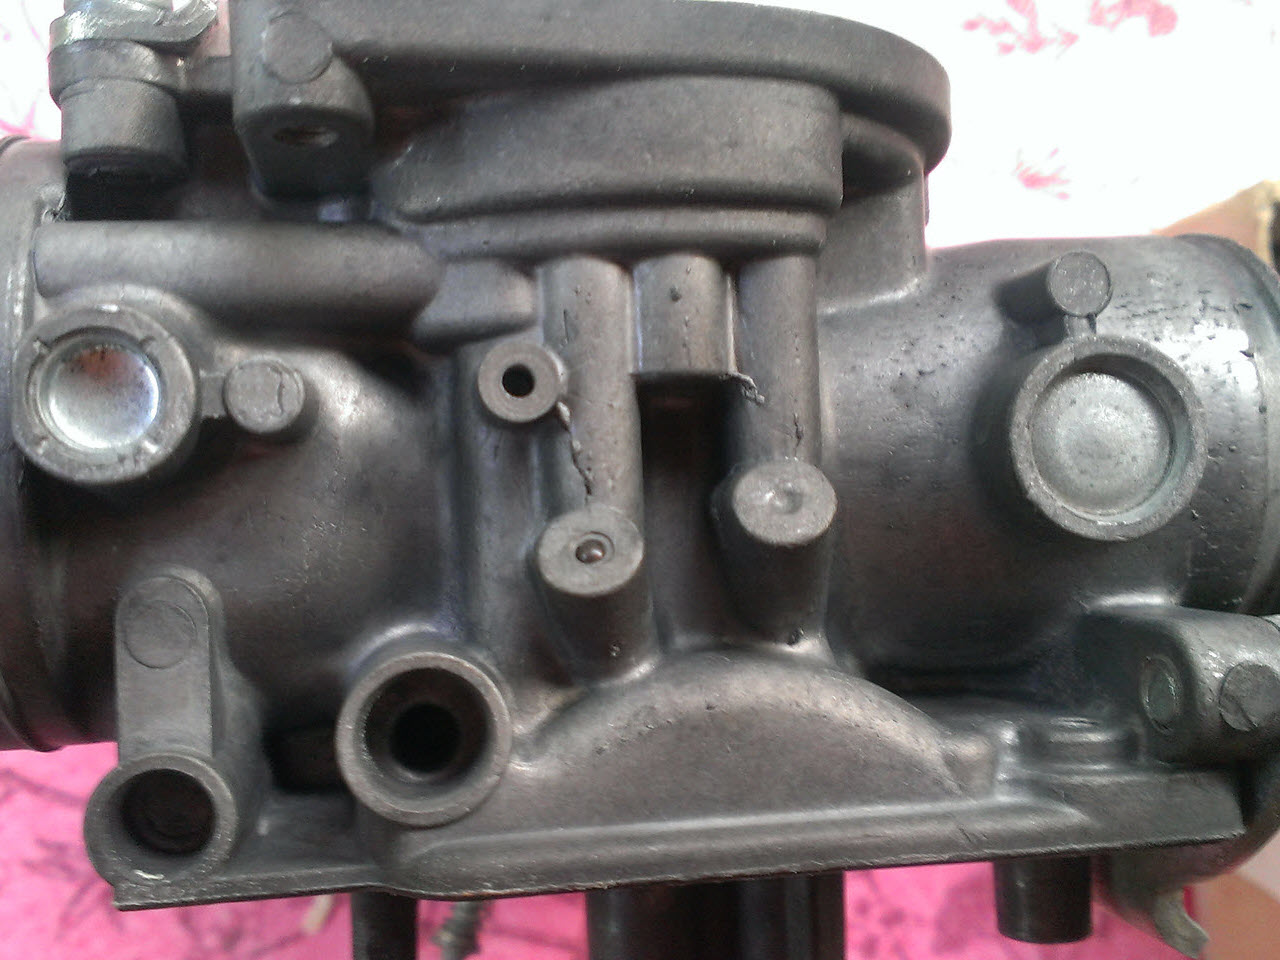
There are no real "before" pictures. The carburetors were dirty but functional, with slight oxidation on the steel parts.
In the first picture, note the way I took the carbs off the bike, with the boots still attached. These are actually meant to be left on, the carbs come out easily if they are tilted downwards, something I only learned later on.
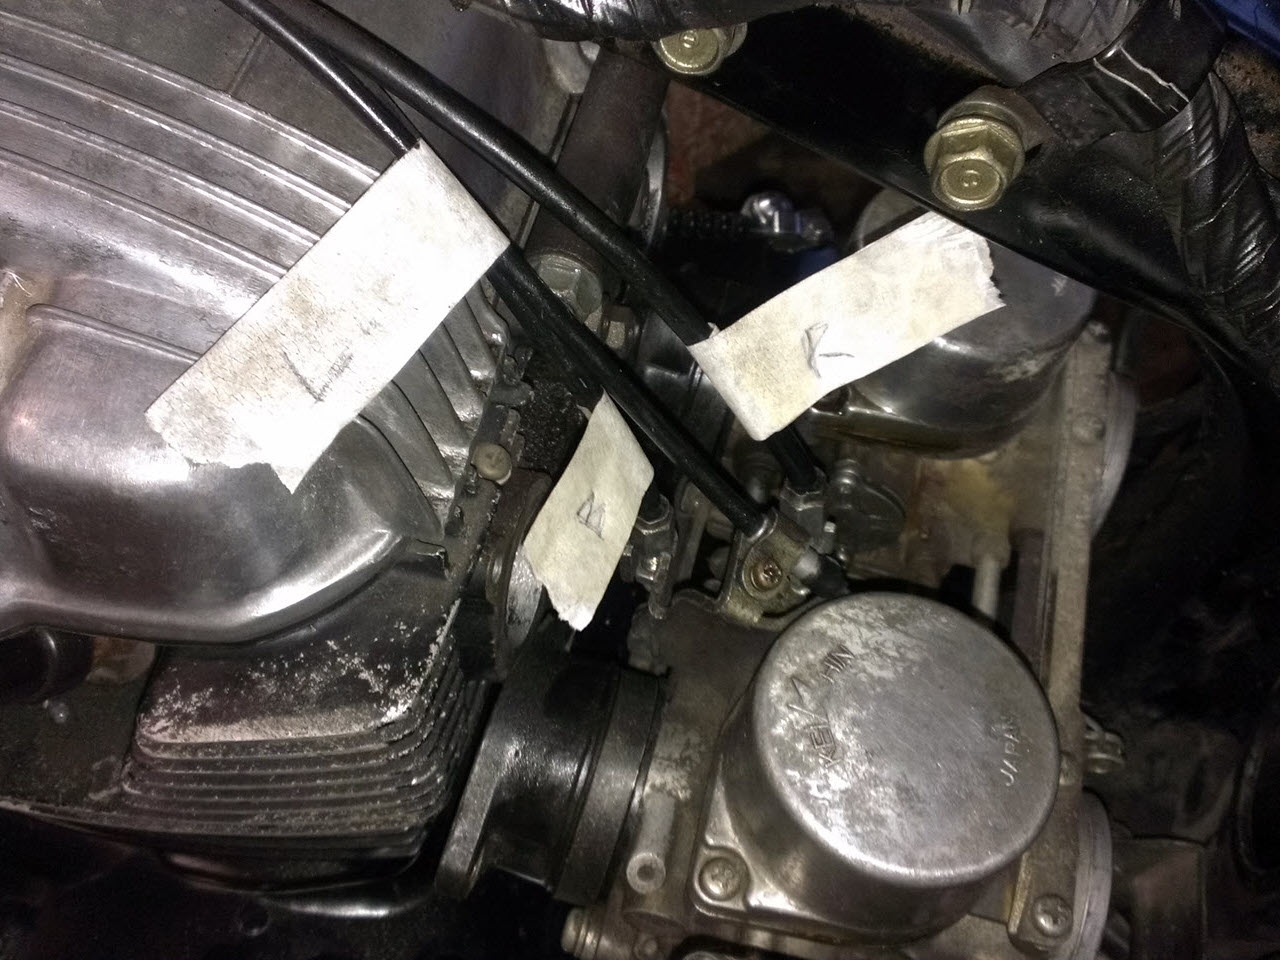
Here they are still on the bike, while I was labelling the cables, since I never worked with a push-pull system before.
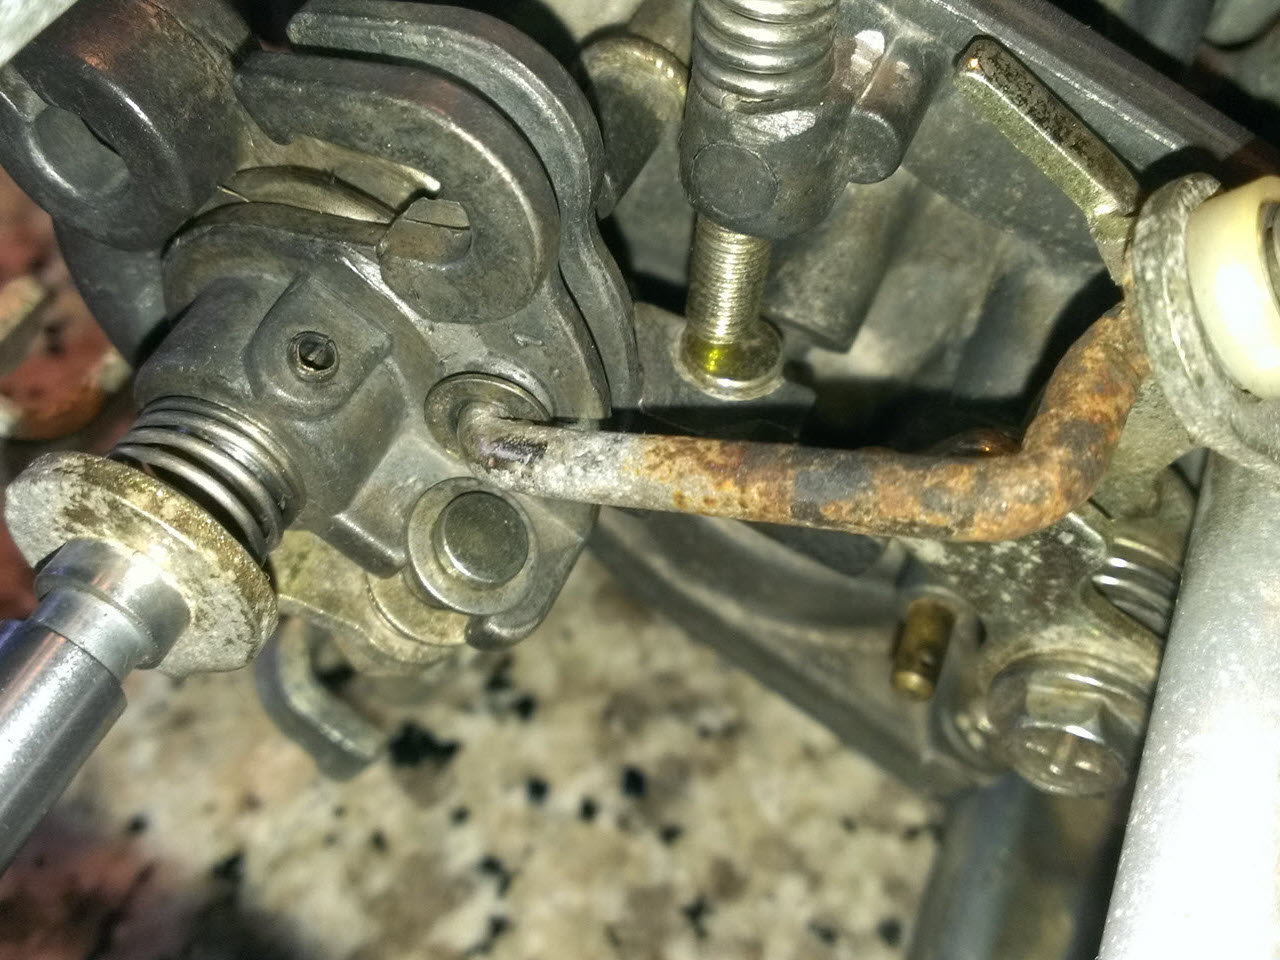
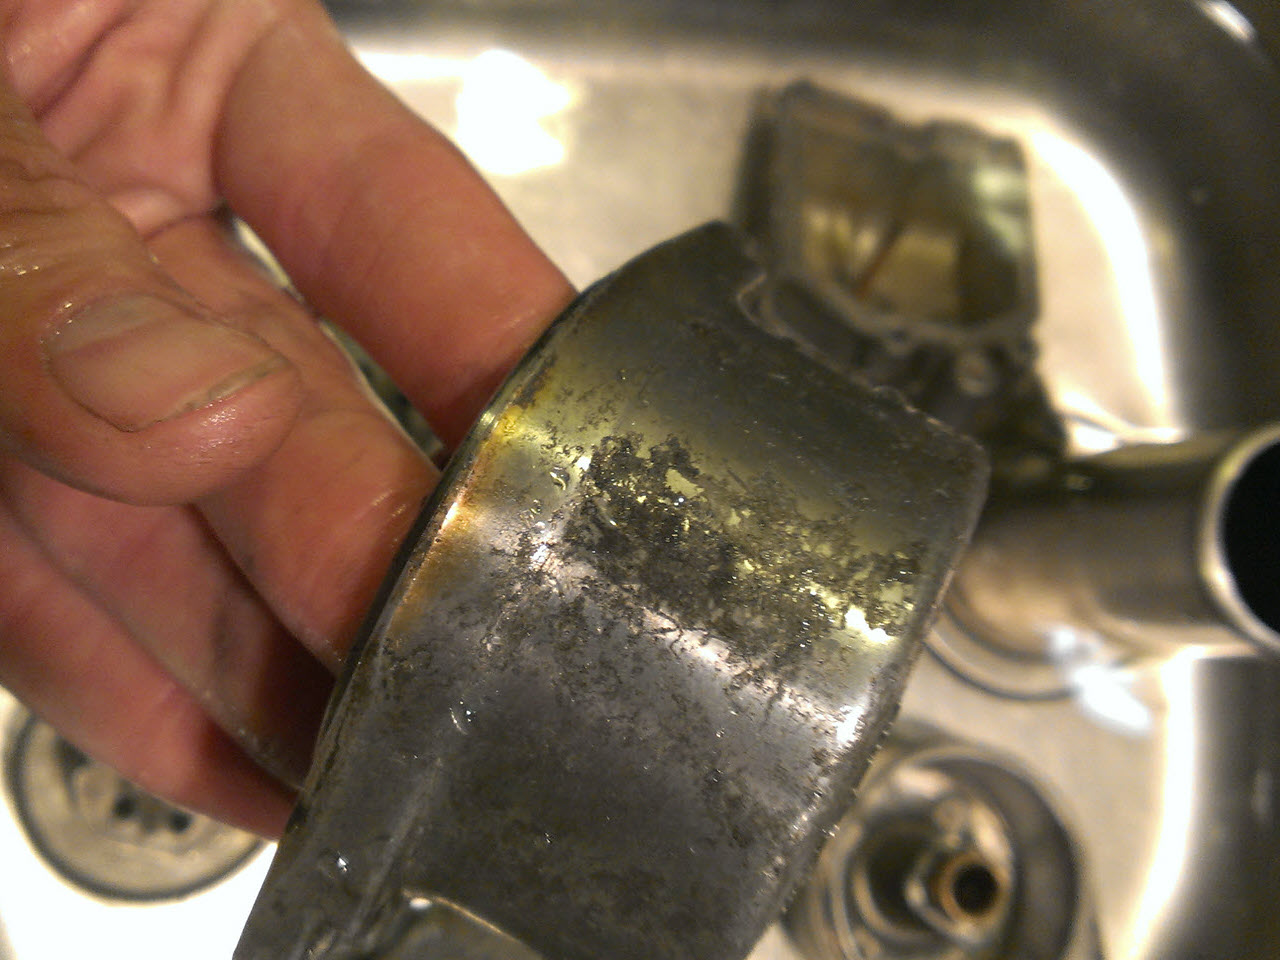
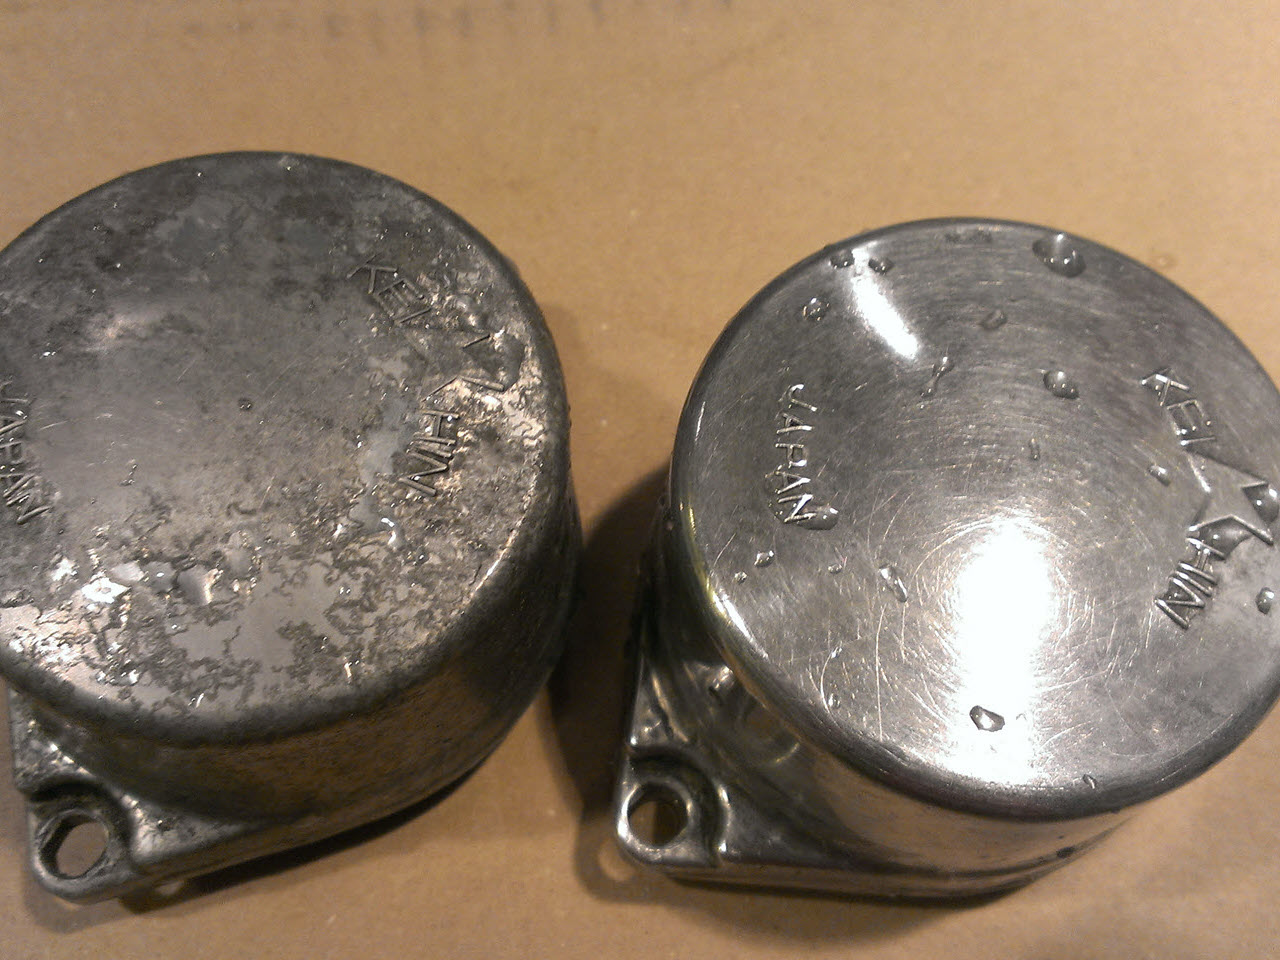
Some oxidation only became really apparent after the ultrasonic bath.. Most of it cleaned up nicely with a bit of steel wool though.
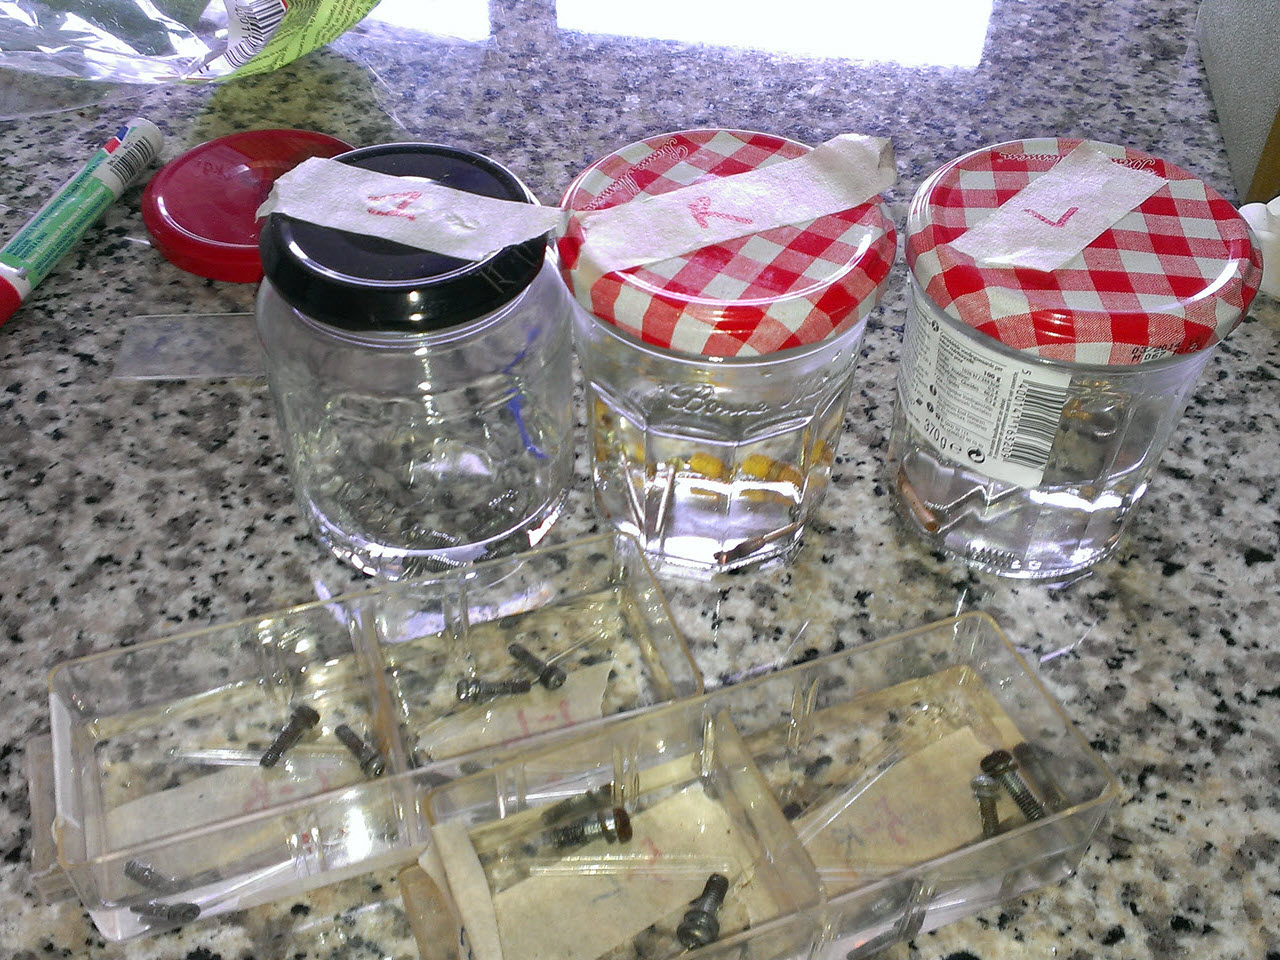
The parts that did not go into the ultrasonic bath, were cleaned in vinegar. A lot of elbow grease was used too.
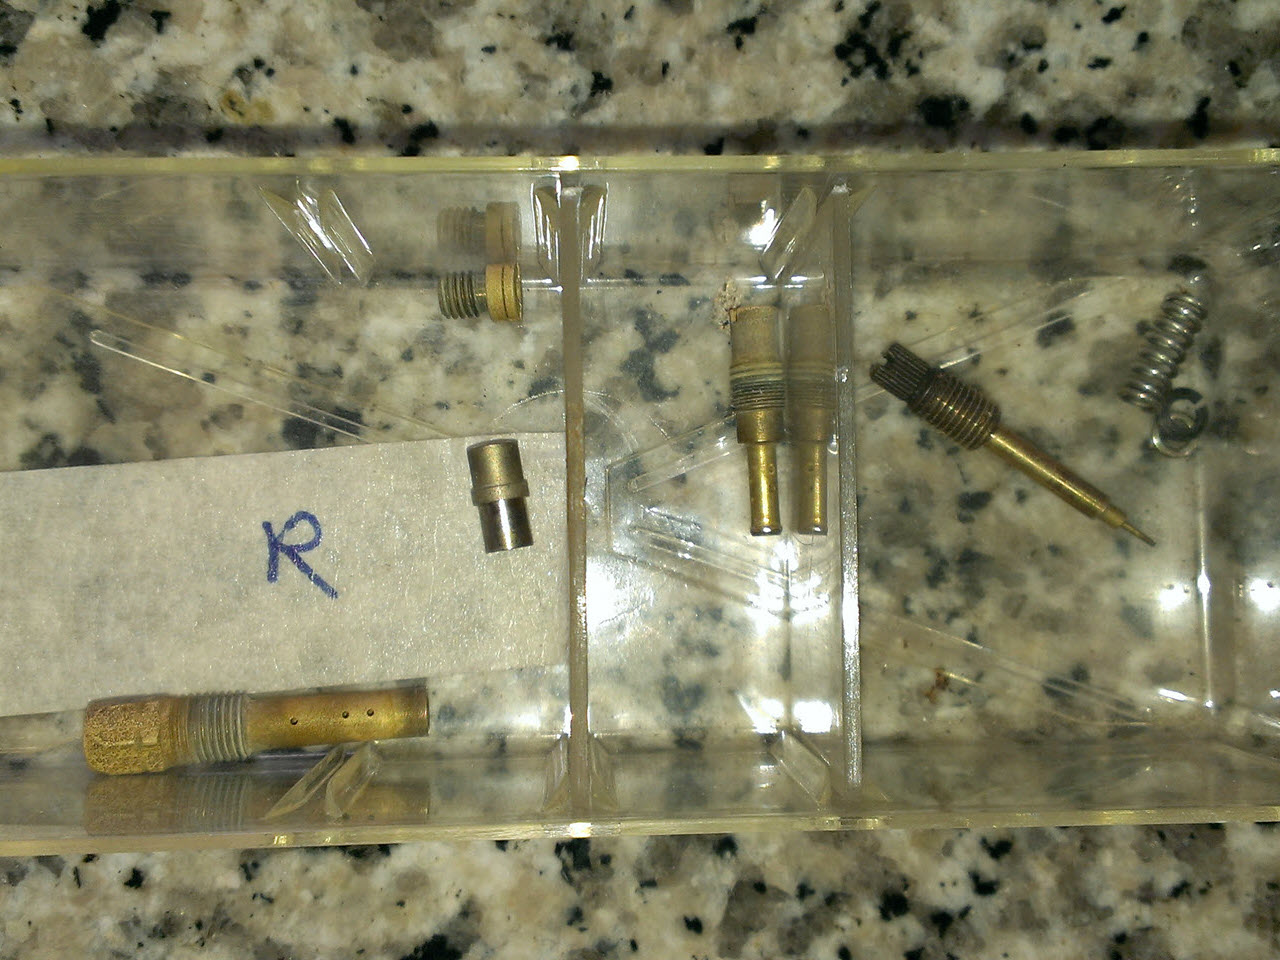
When I was happy with the cleanliness of the carbs, I replaced all gaskets, using Honda rebuild kits.
All JIS screws were replaced by stainless steel allen bolts. I unfortunately only learned about thread seizing and galling after I purchased the SS bolts.
To ensure I could take the carbs apart hundreds of times without ruining the threads on the carb bodies, I purchased "never-seez" and used it on all bolts.
I have thanked myself for that, the carbs have been apart at least 50 times since the initial cleaning.
Rubber boots
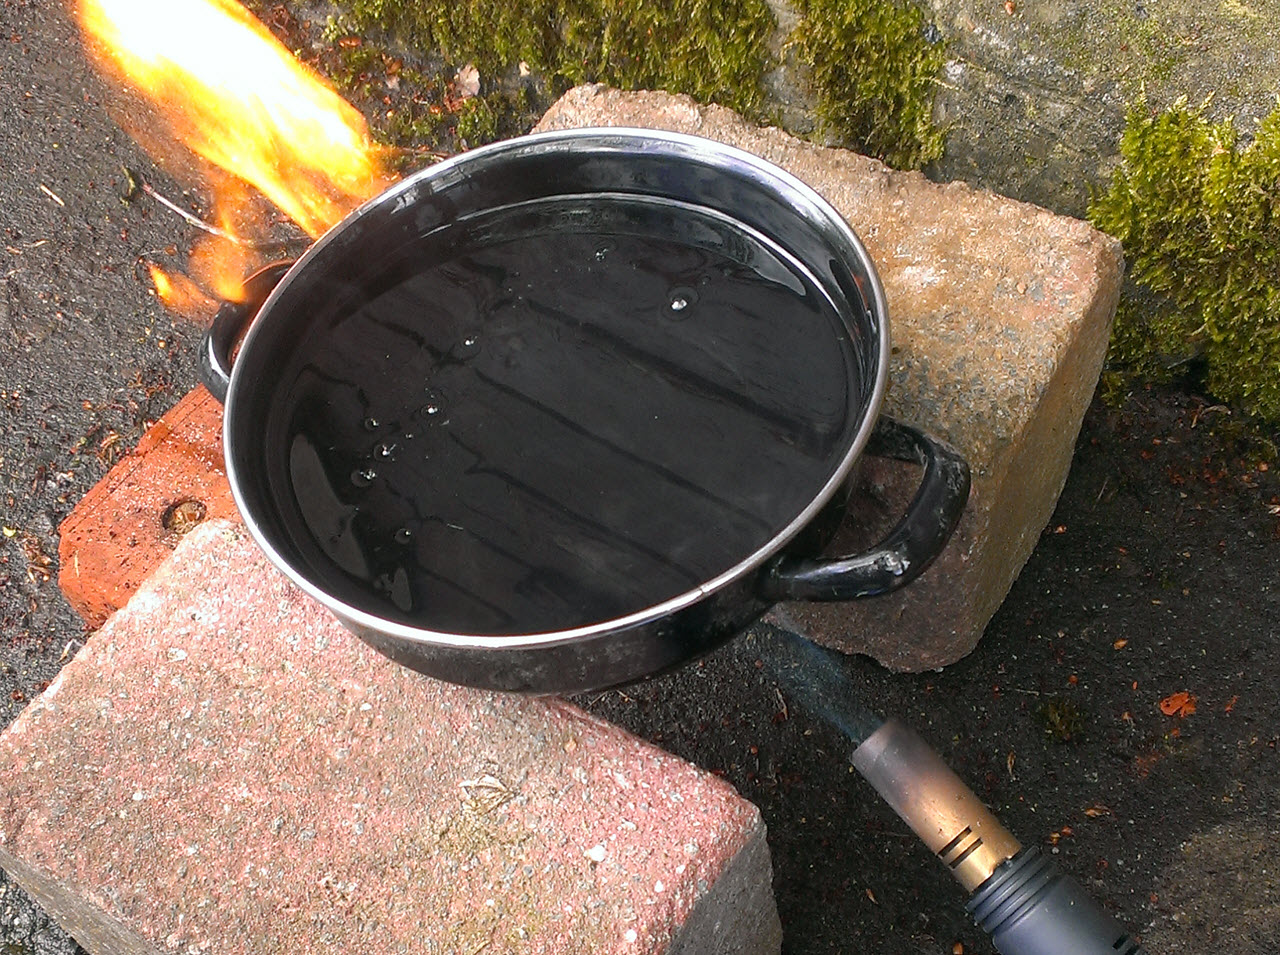
The rubber boots on the carburetors were in fair shape. In order to soften them up some more, and to preserve them better, I boiled them in glycerine and let them soak for several days.
This softened them up noticeably. They still look good and still are as pliable as right after the soak.
Forks
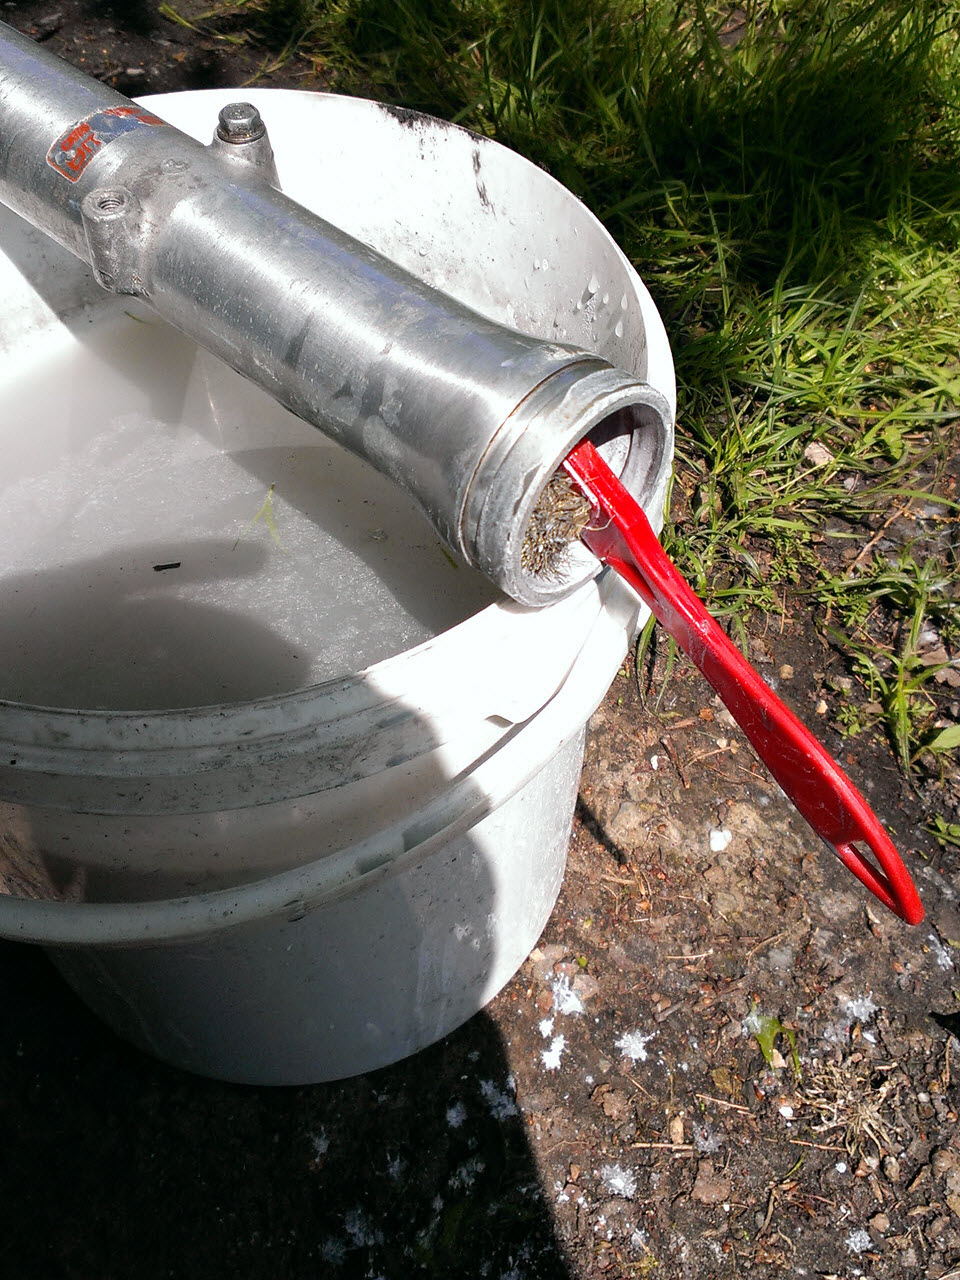
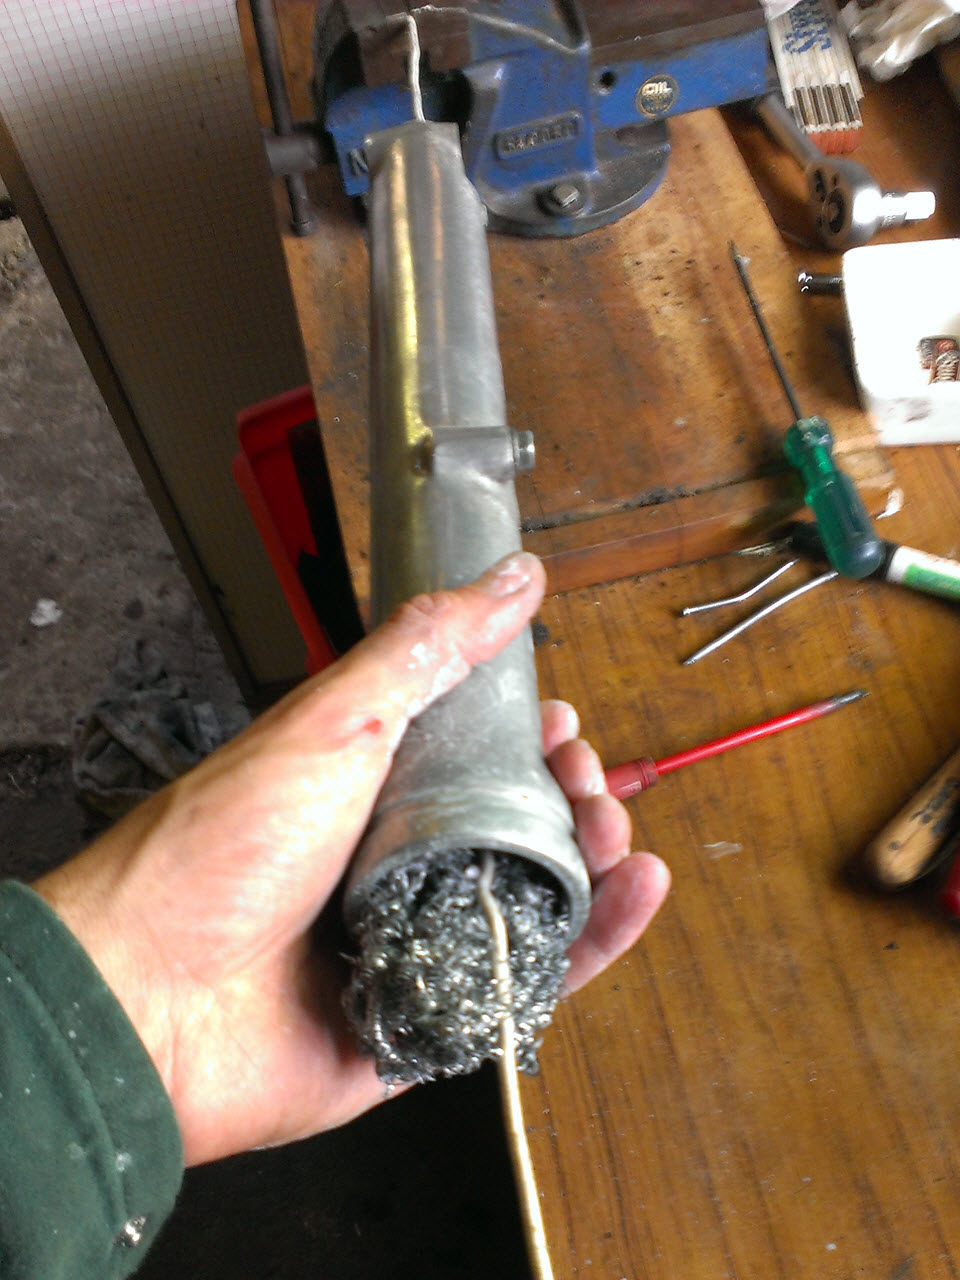
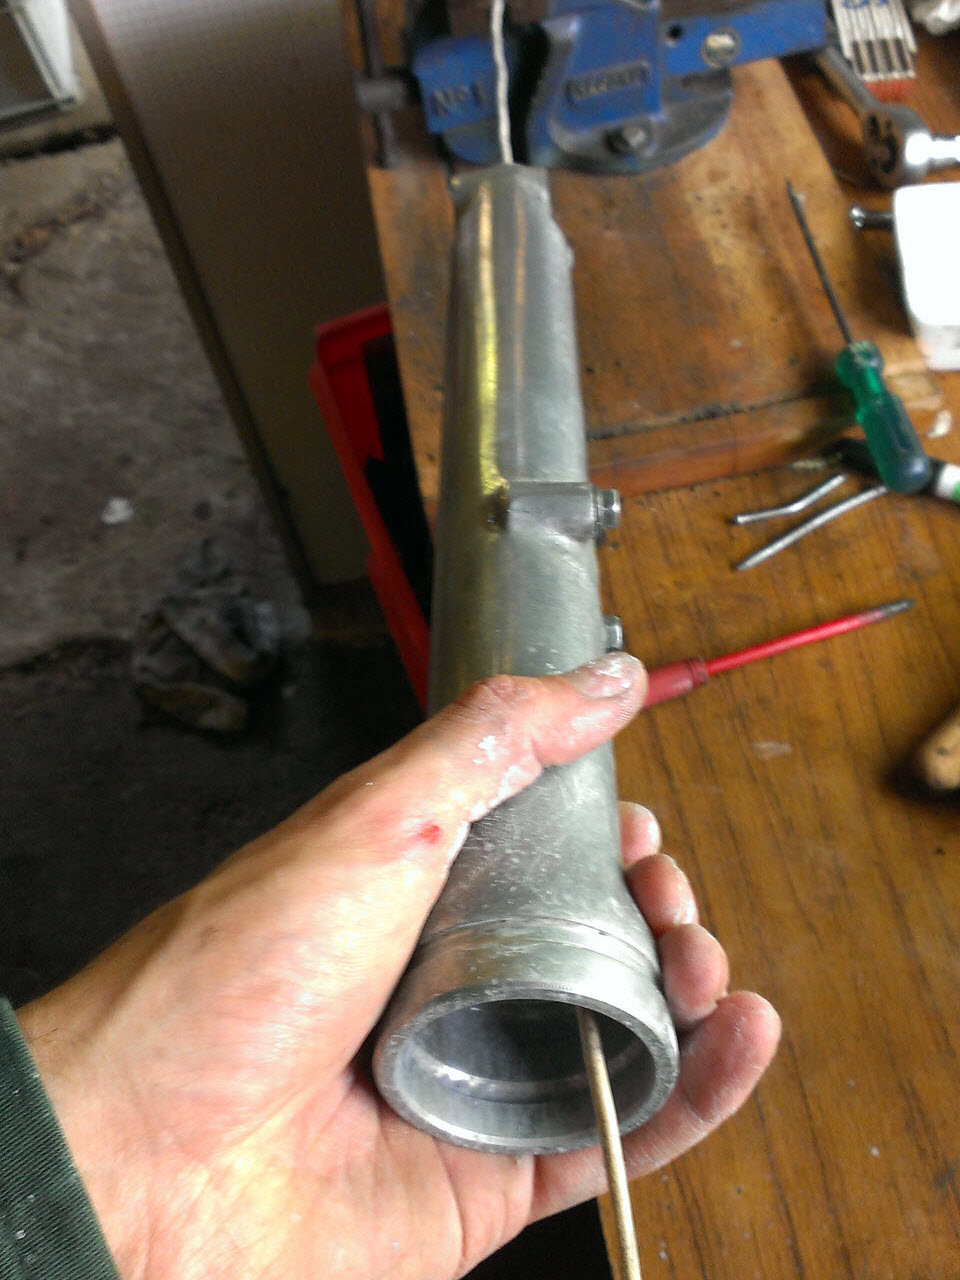
The fork legs and it's internals were in very good state, but had a bit of oil caking on the insides. I used wondersteen again, and stainless steel sponges to get the fork bottoms and damper rods cleaned up nicely. The sliders were just washed, to prevent excessive wear.
I bought a set of CX500 legs too, hoping I could use the non-air-assist fork caps, and stiffer springs, but since the forks have a different inner diameter, I could not use them. I did wash the bottoms, as they are identical to the Nighthawk's.
Maintenance
Maintenance is not done at fixed intervals (yet), but rather almost constantly. Since I am working a lot on the bike, it's pretty easy to do almost continuous maintenance. I tend to keep an eye on how well cables are lubricated, I spot leaks as they appear and wear or rust as it occurs.
