Stripping, snapping and torque
Clutch
As I started wrenching with old mopeds, I already had a fair share of snapped bolts behind me. Nothing better to teach you "sense of feel" then having to undo your own bolts later on, or having bolts snap on you. With experience gained, you do get a sense of feel for when a bolt or nut is just tight enough. This is however not a precise method for measuring torque.
Enter the torque wrenches. Together with the motorcycle, I bought two "mid-range" torque wrenches, Proxxon brand. Since every bolt's torque spec was listed in the Clymer manual, I was originally planning on correctly torquing every bolt. Due to laziness, I ended up doing most of the external bolts by feel, and only unpacked the torque wrench when I was working on the clutch. I did not want to F that up... Bad idea
As I was tightening the bolts on the clutch assembly, I though "man, this is really too tight". The Clymer said to use "33-37Nm torque" for the 10mm bearing cap bolts. I set my wrench to 30Nm and torqued everything to spec. A split second later 3 of the 4 bolt heads whizzed straight past me. 3 bolts were stuck in the pressure plate, rendering it virtually unusable.
I went in full-on damage control mode from there. I was lucky for the following reasons:
I used the pressure plate from the parts bike after vigorously cleaning it. Everything mounted nicely back after this. This would have been an (expensive) pain to resolve if I did not have that second bike.
In hindsight,
I later successfully used both of my torque wrenches for other important bolts, and did not experience any more failures.
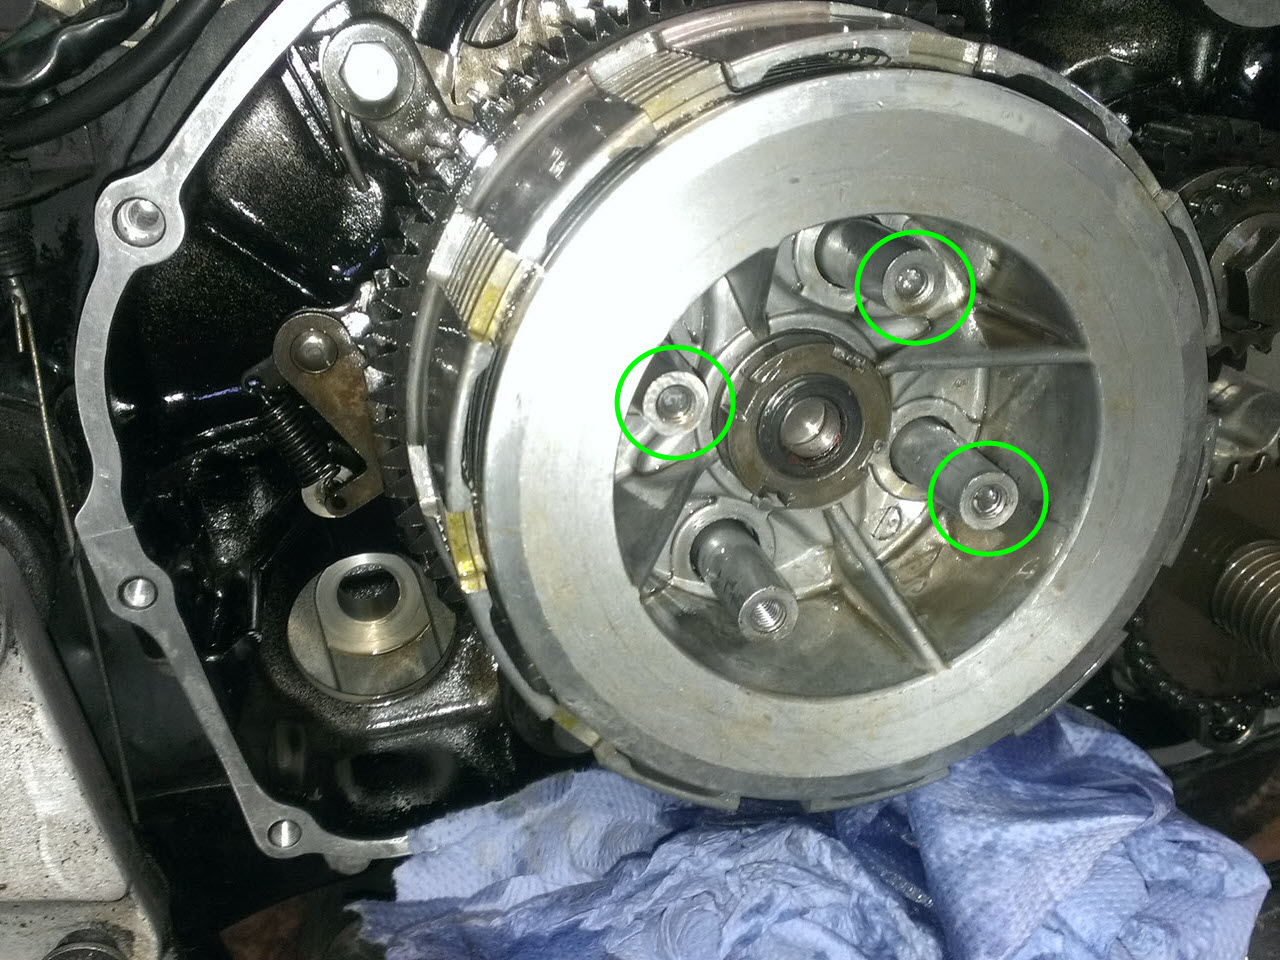
The 3 sheared bolts are indicated.
Forks
You can break bolts by tightening, on the other end of stupid, you can also strip them by trying to break them loose. The fork bottoms have a big hex head screw in the bottom, that holds the damper rod from the inside. A bolt that has been in a happy place for 30 years is not very willing to loosen up. I initially tried using a cheap "round head" hex key to try and get it out, unfortunately, this stripped the bolt head.
Enter "EZ-out" bolt extractors. I went to the local hardware store with my issue, and they provided me with this cheap and ingenious solution. You drill a small hole with a very hard drill bit, and then use these left-turning taps to grip the bolt. It's very handy, up until the point you break one of them inside the screw, which is exactly what I did. Forget everything you learned about diamonds, these things are harder. Once one of these gets stuck, it stays stuck. The only way to get it out is to try and drill through it, I spent many hours with the basic drill and several drill bits constantly drilling and pounding the bolt and stuck extractor, until the point that I was finally through it, and was able to pound the threaded portion of the bolt through the hole.
In hindsight,
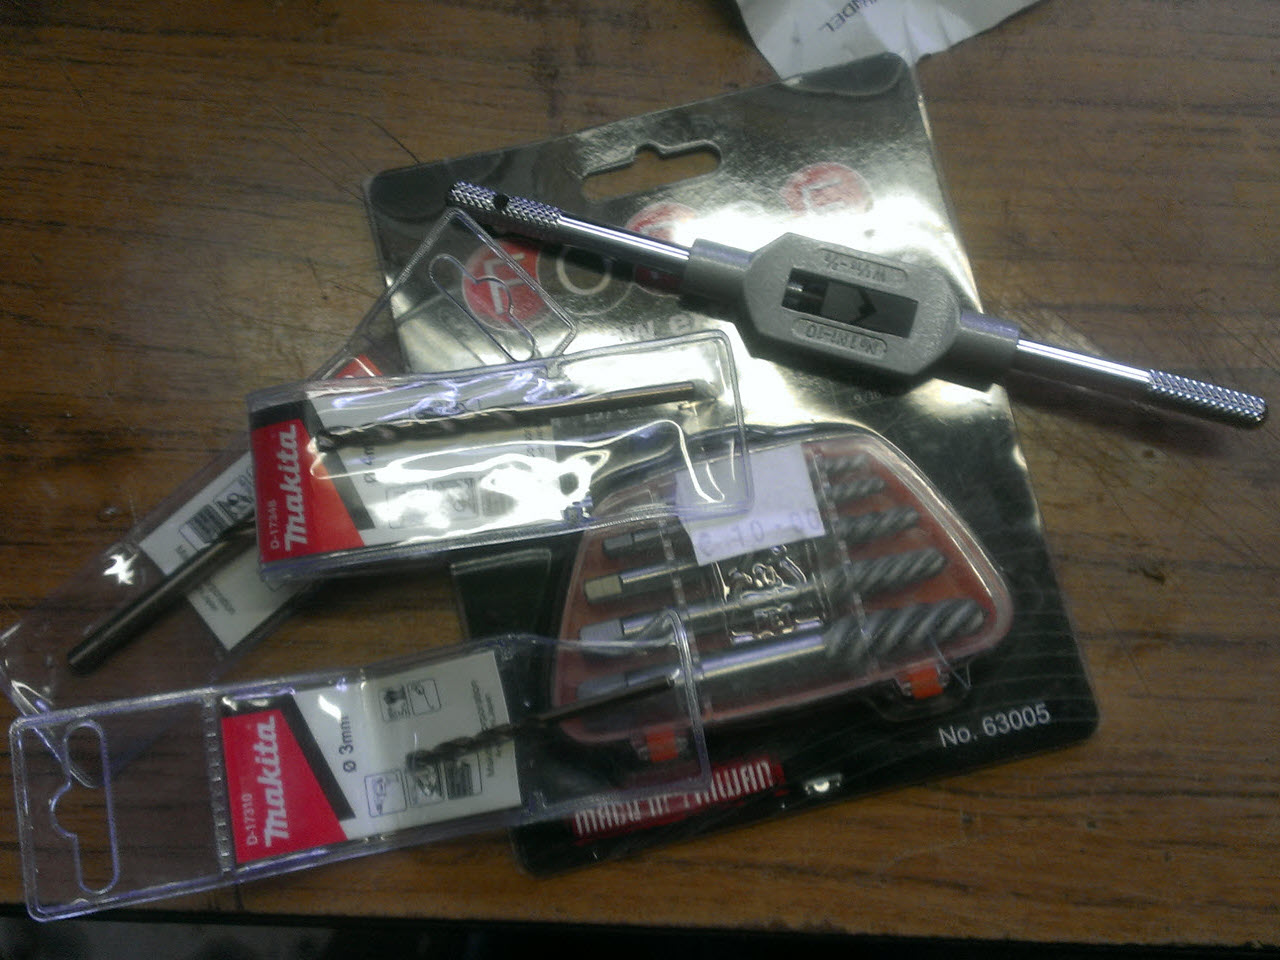
A nice addition to my toolbox
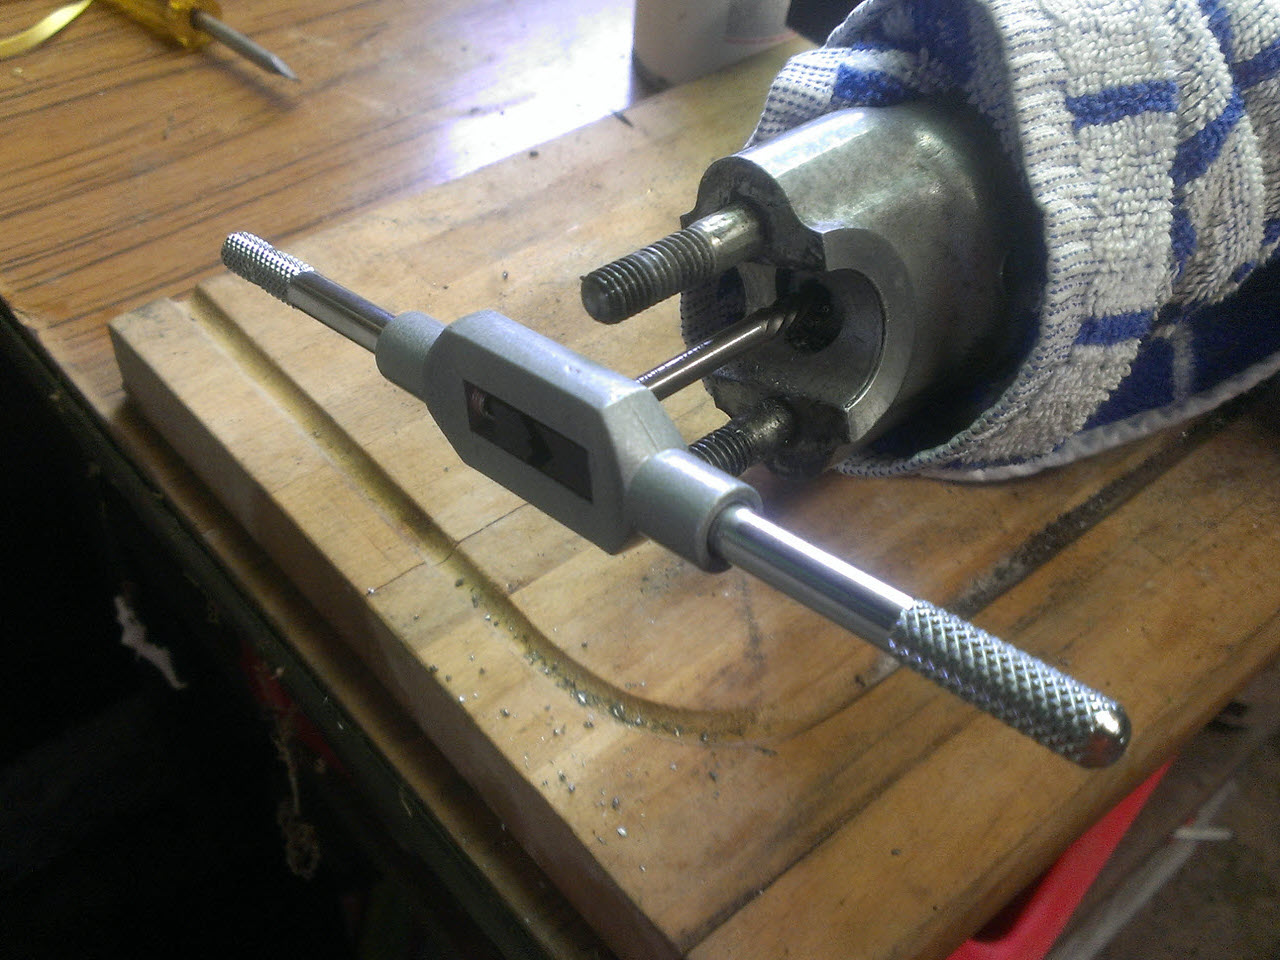
Everything is still going well here

FML

What was left of the bolt after it came out, I am keeping it as a trophy/reminder
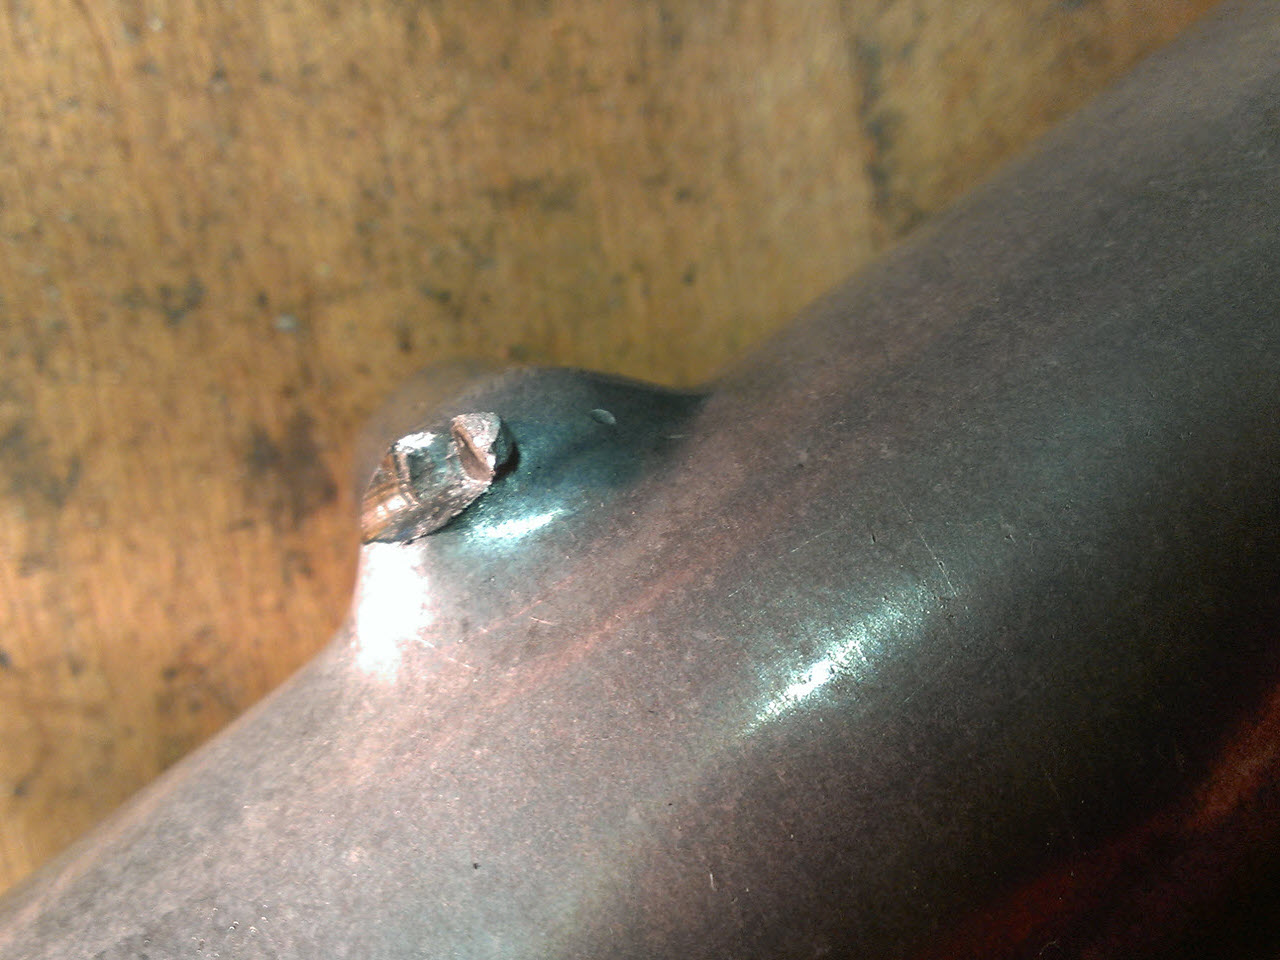
Unfortunately, I also managed to damage the fork leg in the vice, despite wrapping it in cloth, it got damaged while I tried to knock the bolt loose
Rotor bolt
There was a pretty big delay in the delivery of several parts, and due to the issues with stator fitment, there was no way to run, let alone start, the bike for several weeks.
In the end I had the ignition already installed, the map sensor, all of the wiring, and was just waiting for the revised stator to arrive. After consulting with some of the hondatwins members, I chose to try and run the bike without stator, so I could at least check if the ignition was functioning correctly, maybe tune a bit already. I temporarily connected the ignition pickups, and mounted the rotor. I tightened the rotor bolt good, but not to spec. After all, it had to come apart again in the very near future.
The bike started, and ran as expected, though a idled a bit rough. After revving it a bit, it halted with a rather terrible knocking sound coming from the engine. I misdiagnosed it as knocking, adjusted the ignition and tried to start again, which did not work. I feared damaged cylinders, or worse, but upon further review, the sound came from the rotor. The rotor bolt had worked itself loose when I was revving the bike, the rotor slid forward, and the woodruff key fixing the rotor in place was damaged. This prevented the rotor from properly seating on it's shaft. I was again lucky to have the parts bike. I waited until I had everything to reassemble the bike completely, and then used the woodruff key from the parts bike to mount the rotor securely in place. Used the torque wrench (which I learned to use in the meantime) to torque it to spec, and it has not come apart since.
In hindsight,

The damaged key
Measure twice, cut once...
Stator wires
I have sinned many times against "measure twice, cut once". Because of time constraints, stress or just because I wanted to move forward too quickly. Though I am learning, sometimes goofs still happen.
One of such things happened with the stator wires when I was installing the freshly rewound stator.
I was already extremely nervous because of the woodruff key, and because I really wanted to test the slew of mods that I did together and were all untested and never tried before. Hans, from Sevior, made it very clear that the wires from the stator should go directly to the regulator/rectifier, he even recommended soldering them instead of using the stock non-insulated connectors. I was upgrading to the new Shindengen unit, which comes with very big and very high rated Furukawa connectors, so using connectors would be fine. I installed the R/R unit in the stock R/R mounting location, installed the stator and measured the wires. What I missed was the orientation of the R/R unit. I measured the wires, and precisely cut them to go to the nearest connector, eliminating slack in the wiring. This was an issue, because I missed the fact that the R/R unit was facing me backwards, I was trying to connect the stator to the battery output connection of the R/R unit. I spotted my mistake on time, but by then the wiring was already cut and the connector was already crimped.
I know myself all too well, so I already had 3 spare Furukawa terminals in stock, but I had already butchered one. The only other solution was to cut the stator wires, and lengthen them. I could have joined some wiring in between by soldering (and hiding it in tape), but I chose to install another connector in-line. (Delphi, also rated for high volts and amps). This sufficiently lengthened the wires, and allowed me to connect everything the right way. It's still a bit of an eyesore for me, but at least this allows me to relocate the R/R unit more easily later on if I want to.
In hindsight,
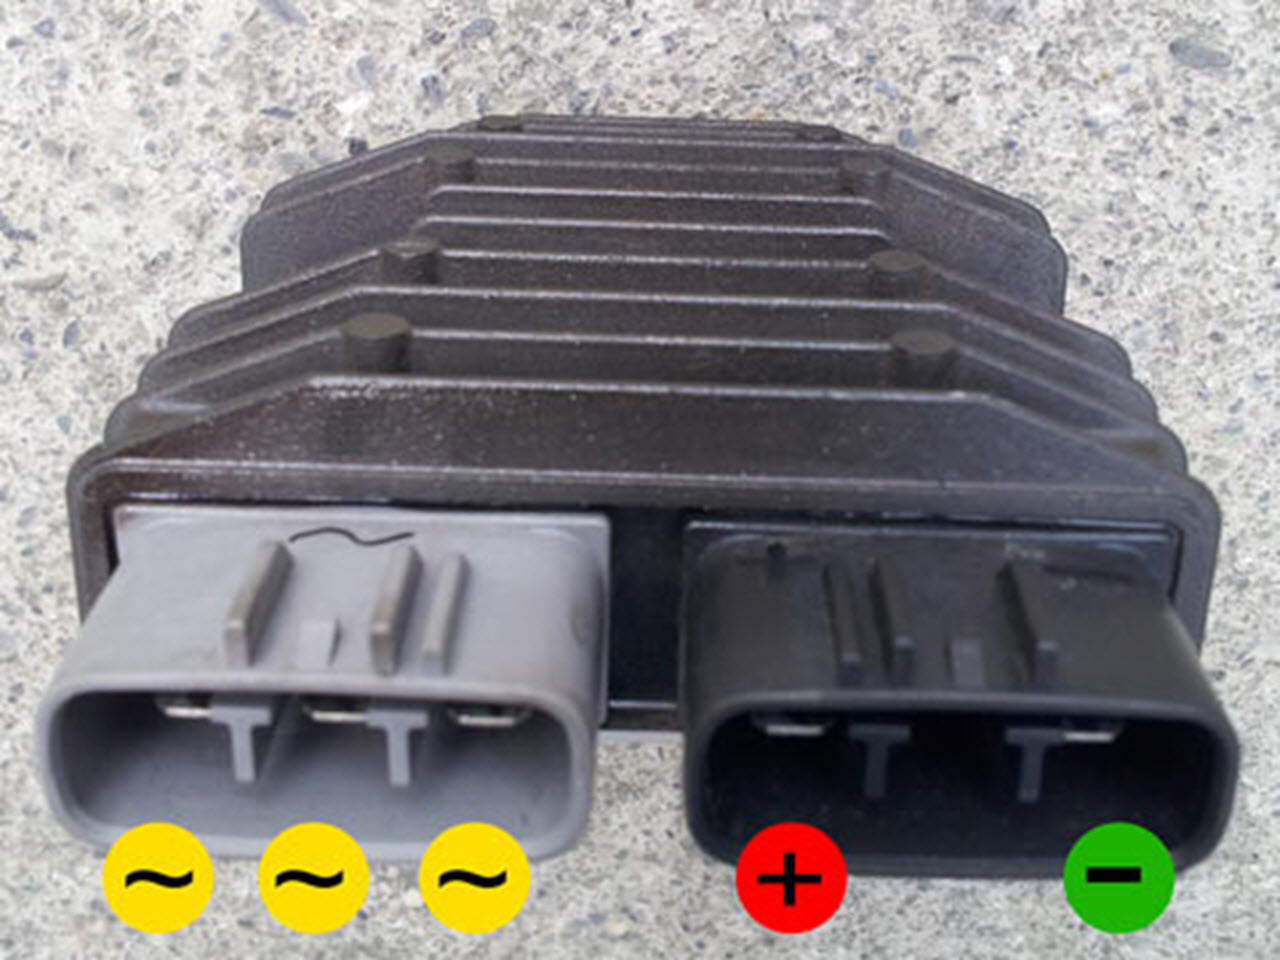
This is how the stator should be hooked up (pic taken from hondahornet.co.uk)
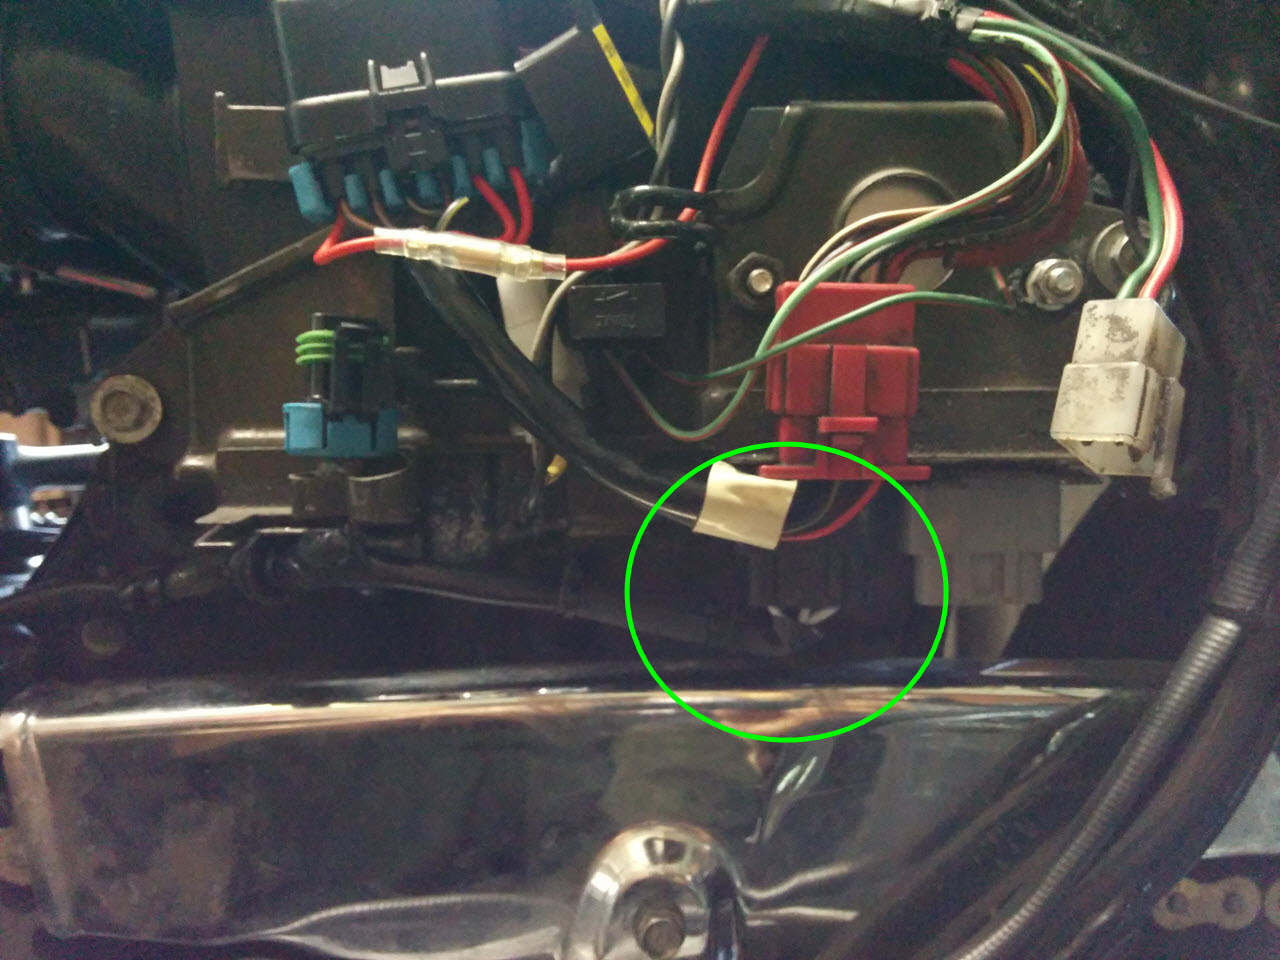
Can you spot the err of my ways? (Hint: it's circled in green)
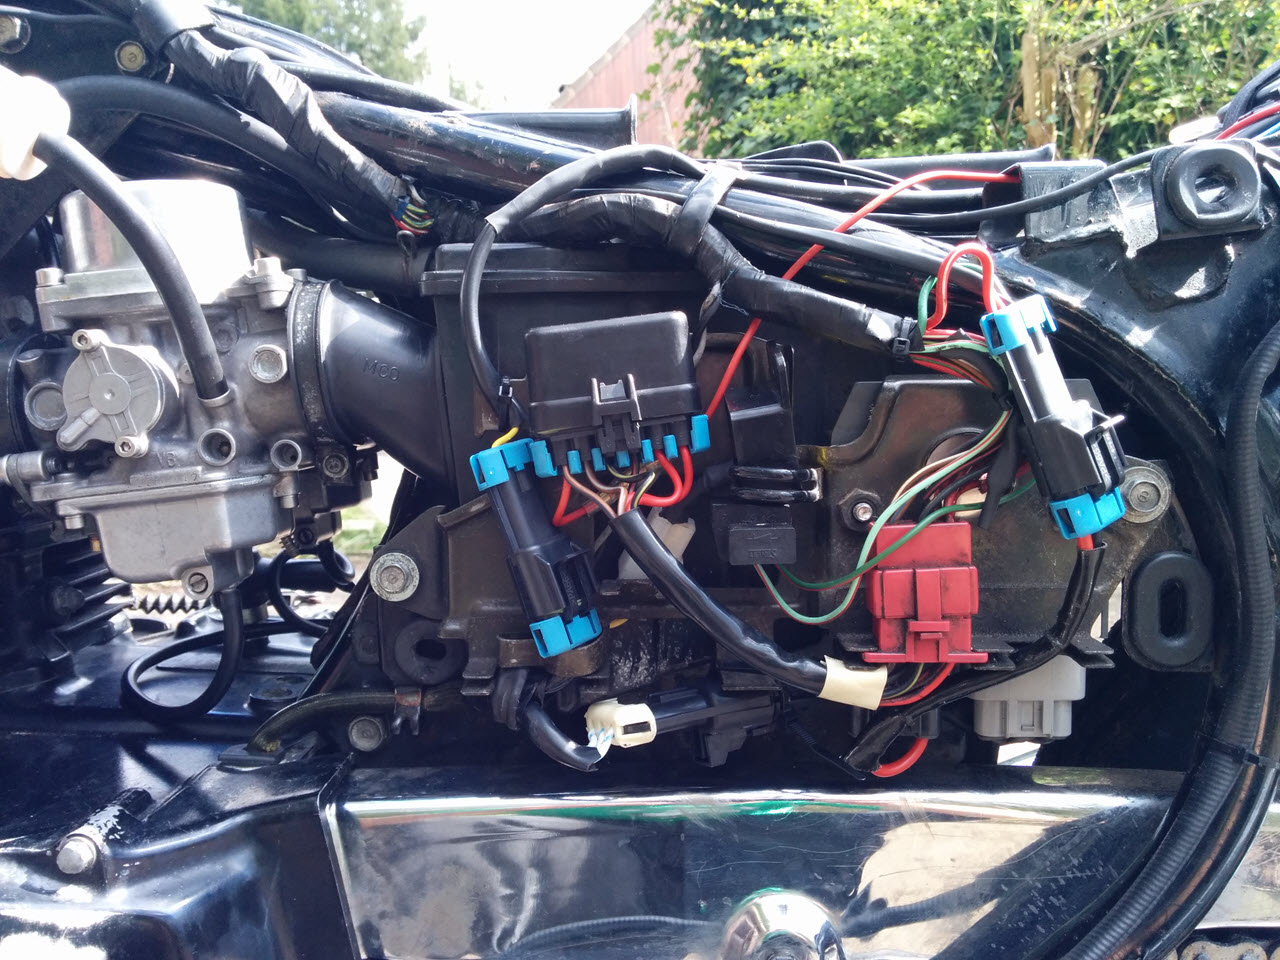
Seems messy, but is actually pretty neat. The other Delphi connectors are for the pickups, and to connect the R/R to the battery and main fusebox
Negligence
Plug gaps
I originally fitted resistor-type plugs. These contain a 5K Ohm resistor. The spark plug caps contain a resistor too, upping the total resistance to 10K Ohm. This was wrong, the old ignition system was made to function with 5K Ohm resistance. More resistance doesn't really break anything, but it resulted in a weaker spark (with a longer spark duration), which is bad for fuel economy and power.
As part of a bigger order with a parts company, I ordered a set of non-resistor plugs. Nippon Denso, because that was what they had in stock, and from what I could find on Google, reviews seemed favourable. I installed them straight out of the box. This was wrong. Having only ever used NGK and Champion plugs, with NGK being my favourite, I had become lazy. NGK plugs are 99% of the time correctly gapped out of the box. With the Denso plugs, however, the ground electrode was almost touching the center electrode. I managed to limp the bike all the way to the dyno tuner, and even managed to do several dyno runs with the plugs incorrectly gapped, before we noticed. All the way I was thinking that my ignition map and jetting were completely wrong. After gapping the plugs correctly, almost all issues vanished.
No picture, or even an "in hindsight" for this goof, but guess who's always checking his plug gap from now on?