Seat
Because of the shitty Belgian weather, converting the seat from a sponge to a sofa was a top priority. I took the seat to "Ozzy", a guy who specializes in refurbishing and recovering (motorycle) seats, and did a tremendous job. The top layer of the seat was in crap condition and the seams ripped when he tried to sew them. He advised against replicating the original pattern by sewing, as that would make the saddle leaky. He does not have the equipment to weld the seams like the original cover. So he improvised!
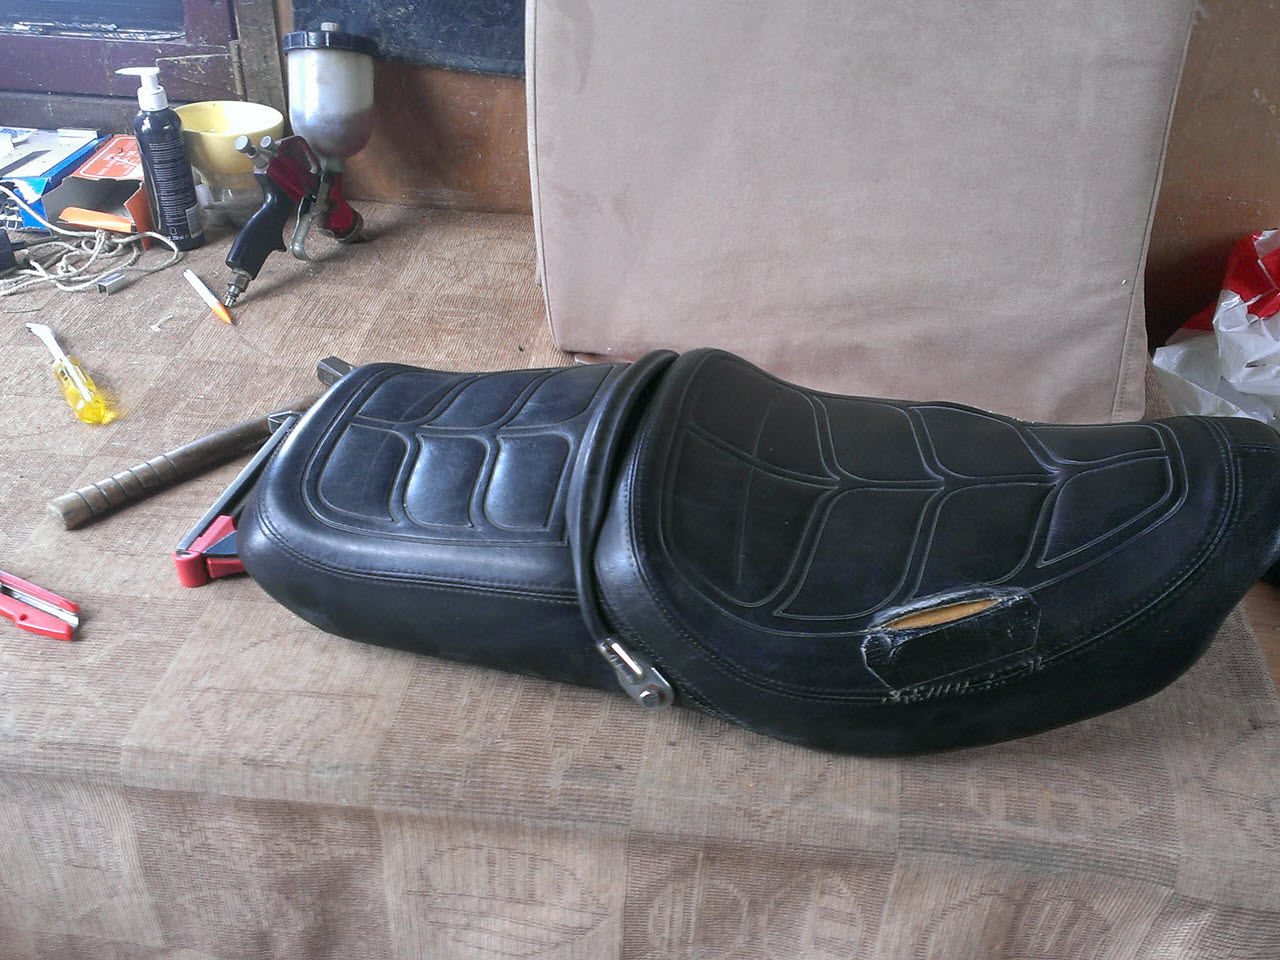
It looked okay on the outside but structurally, the cover was in a bad shape
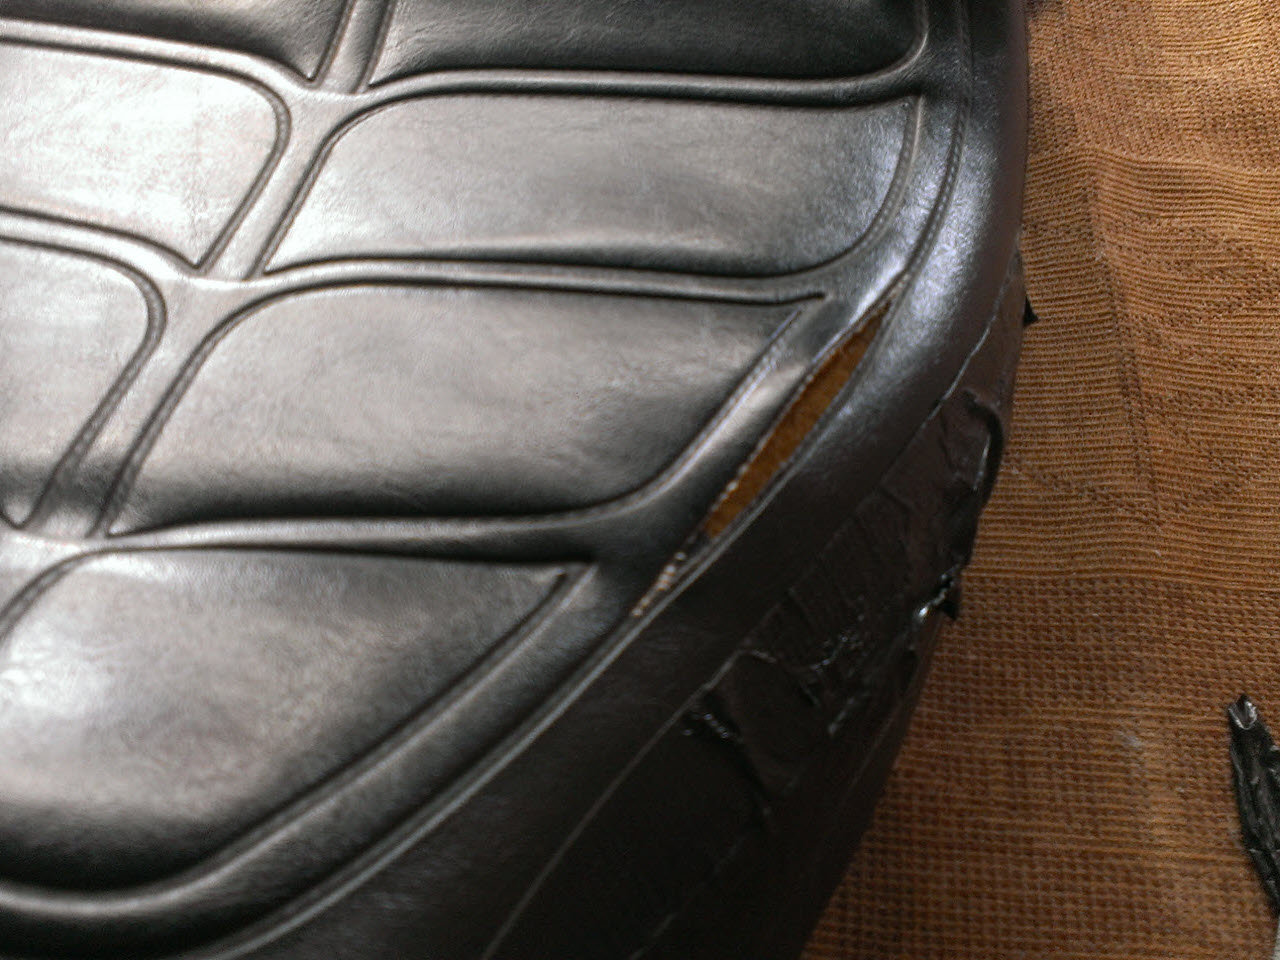
The seams were starting to tear
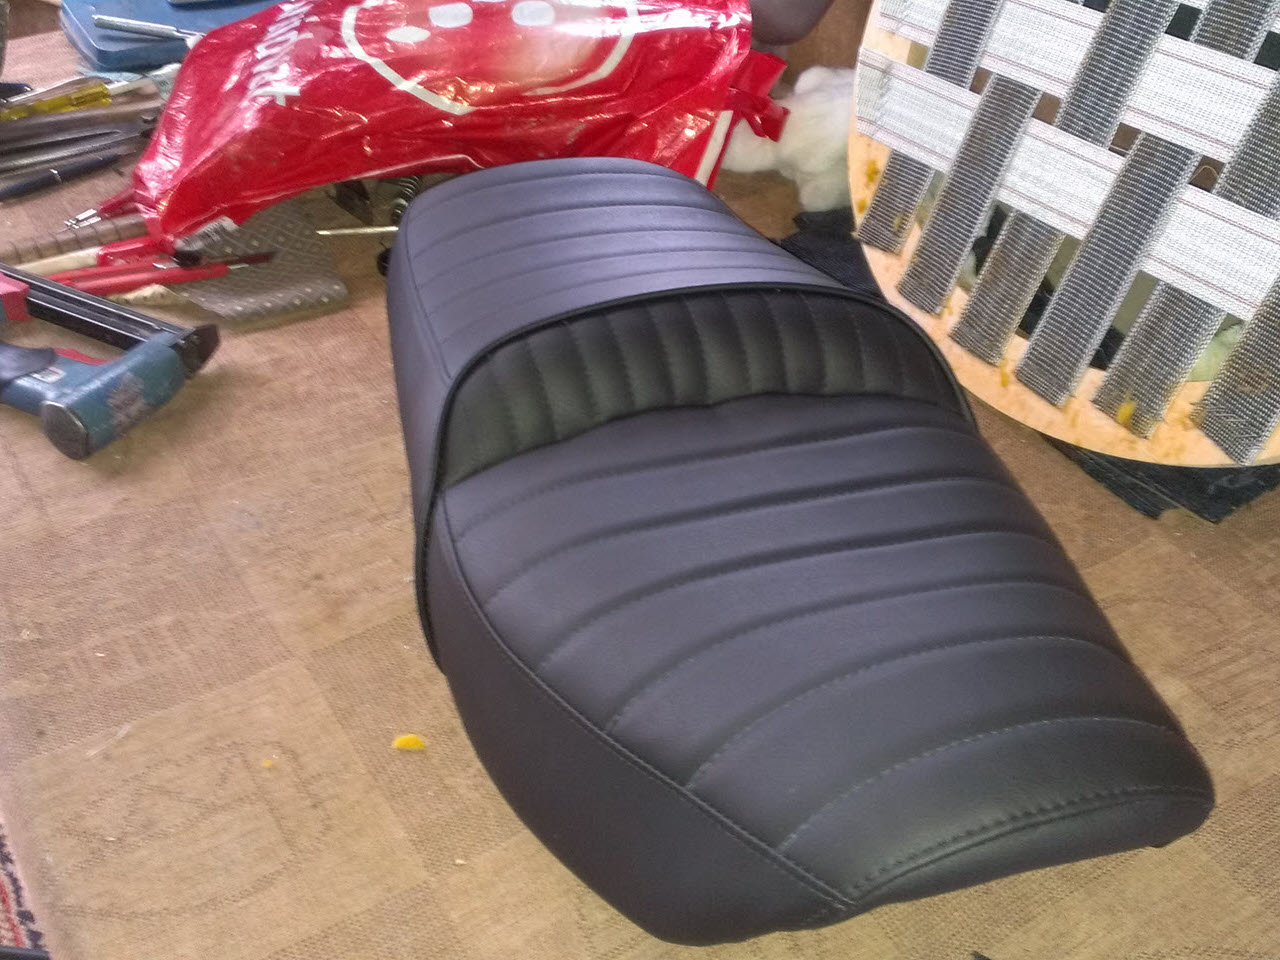
The improvised cover
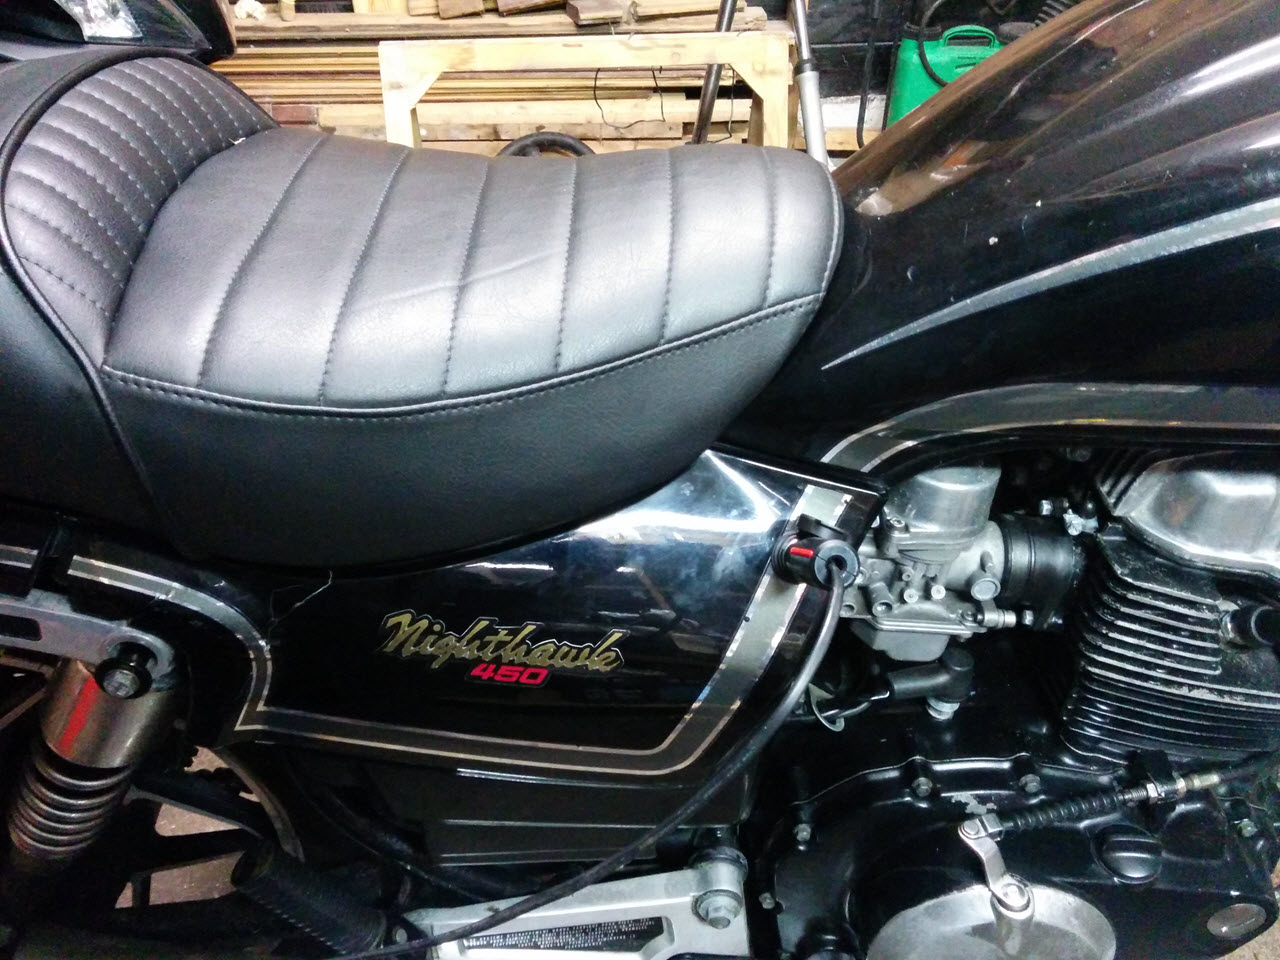
The logo was saved from the original seat
..And painted white with a tyre marker
Buell Pegs
Since both my girlfriend and I are quite tall, the bike felt cramped to us on long rides. Unfortunately the type of footpegs used on this bike are not too common. It's almost impossible to find lowered or adjustable footpegs that fit the bike, so I had to roll my own.
I stumbled across some Honda CBRXX rider that used Buell footpegs to lower their seating position. These pegs are a lot cheaper than most aftermarket lowered pegs, and almost straight swap for them. Not so for the nighthawk, unfortunately.
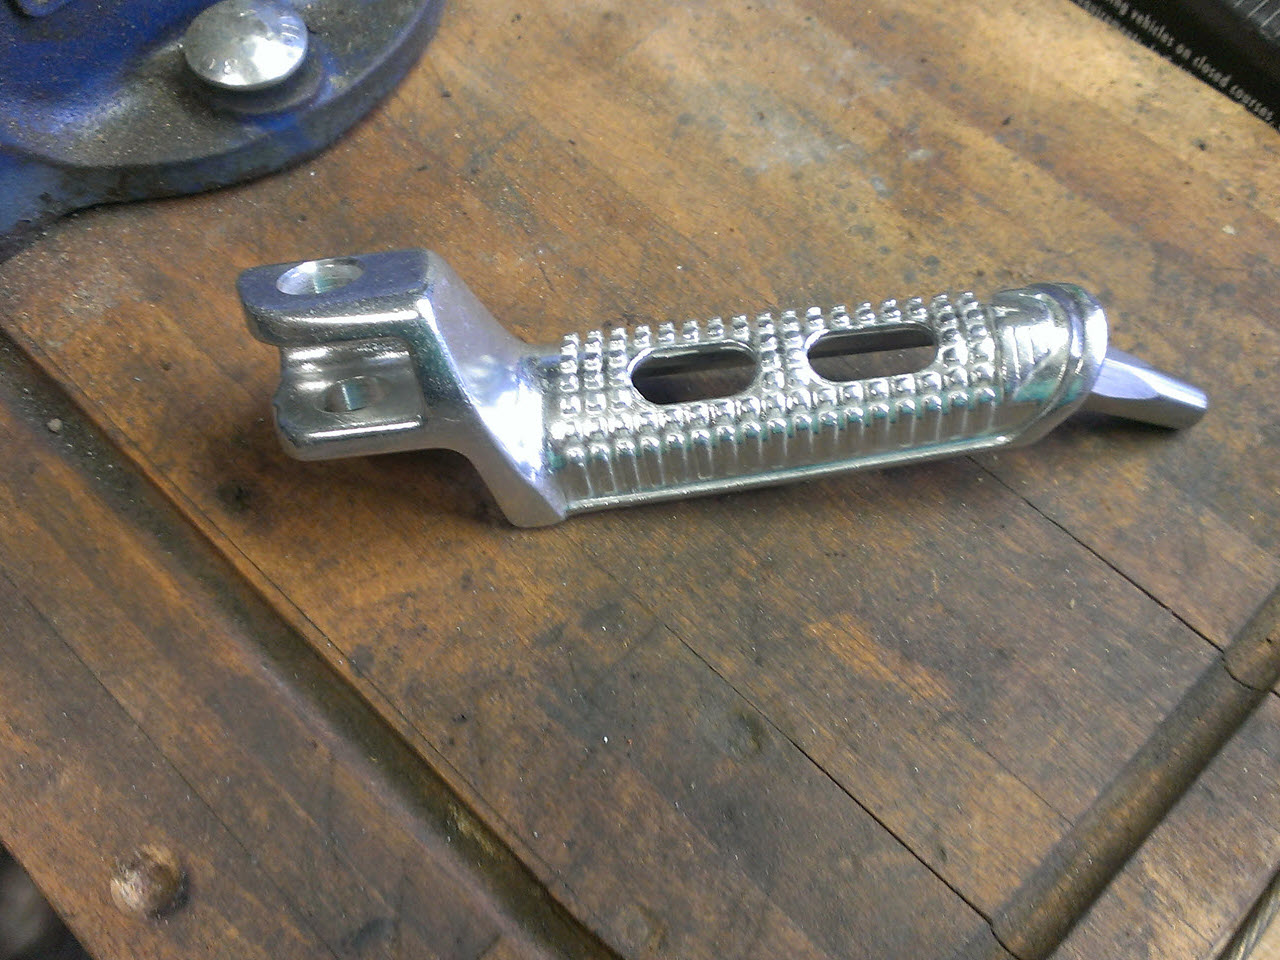
The stock buell pegs
I cut up the peg mounts from the parts bike to create a mounting system similar to that of the Buell
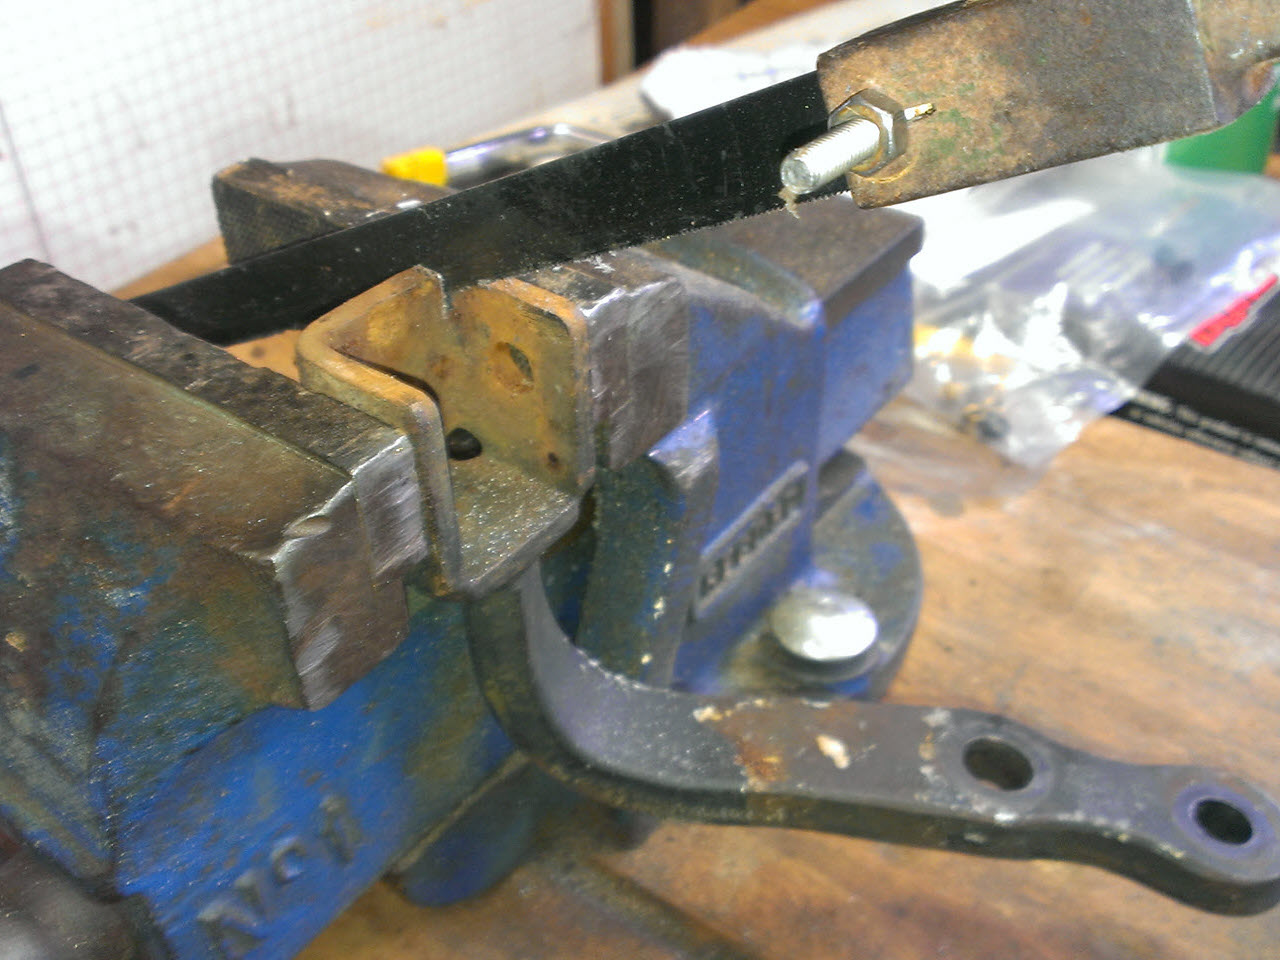
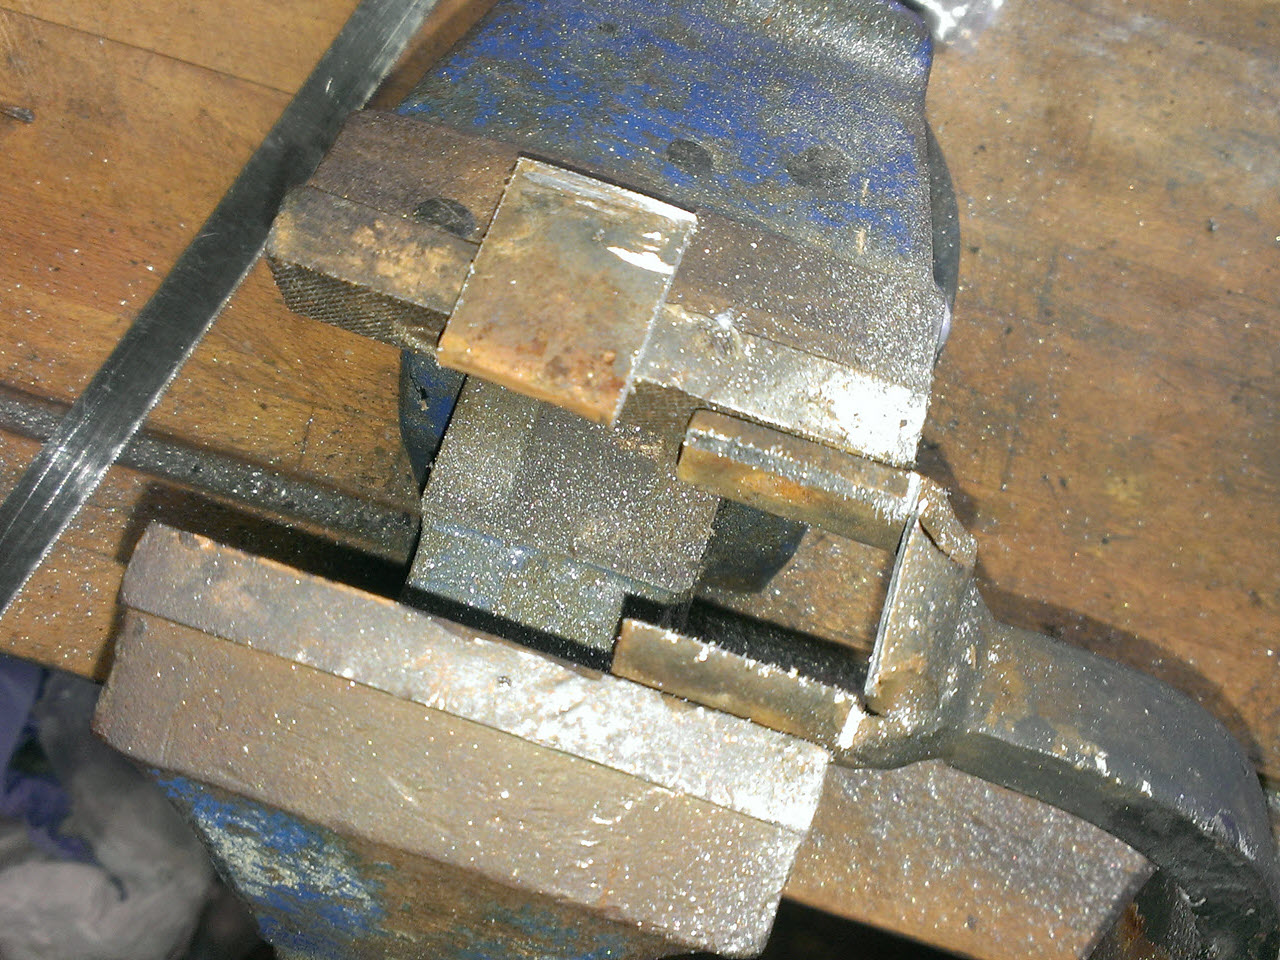
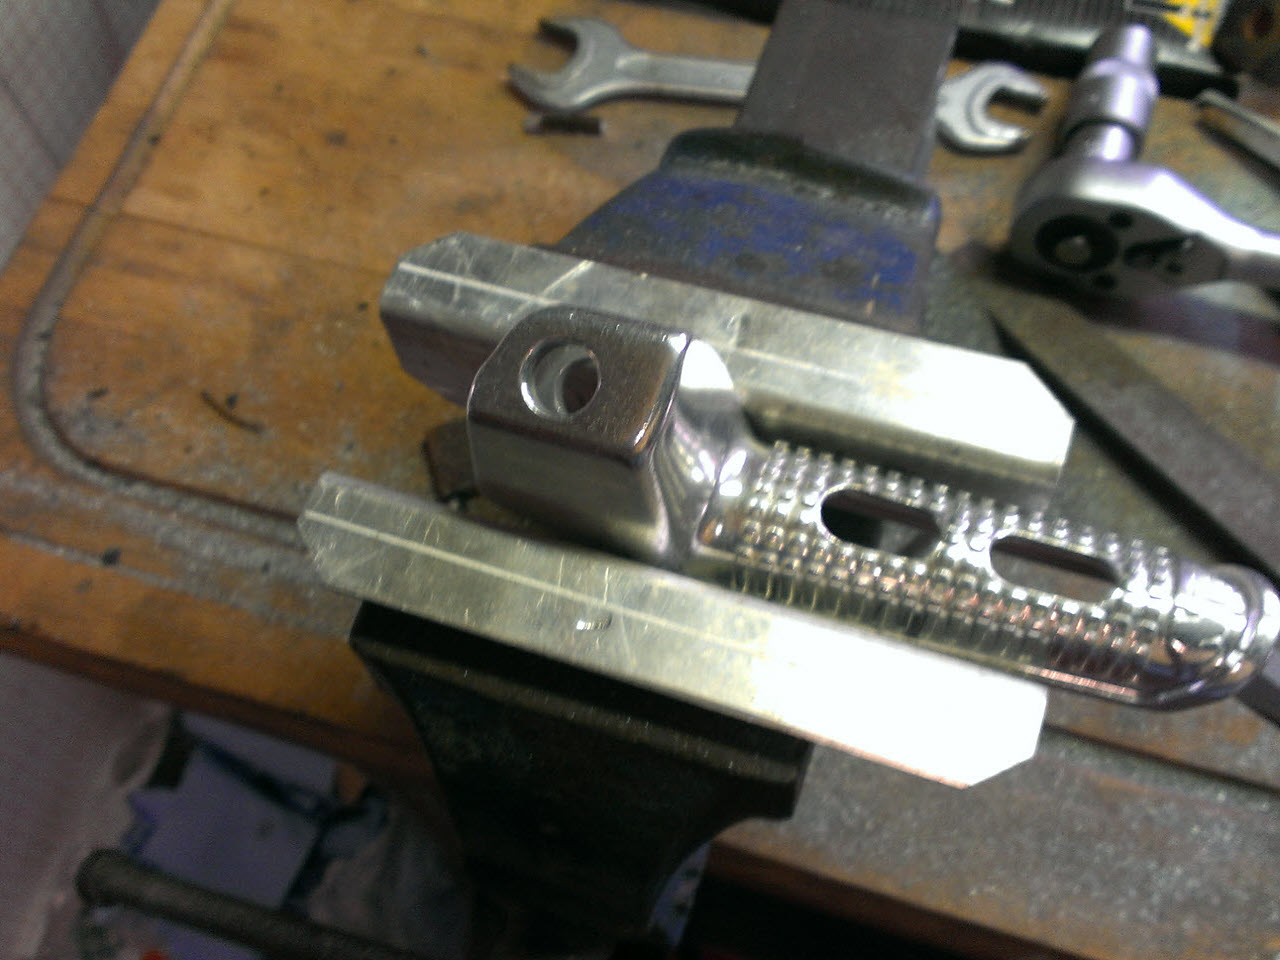
The sides of the peg mounting brackets were sanded down approx 1mm on each side
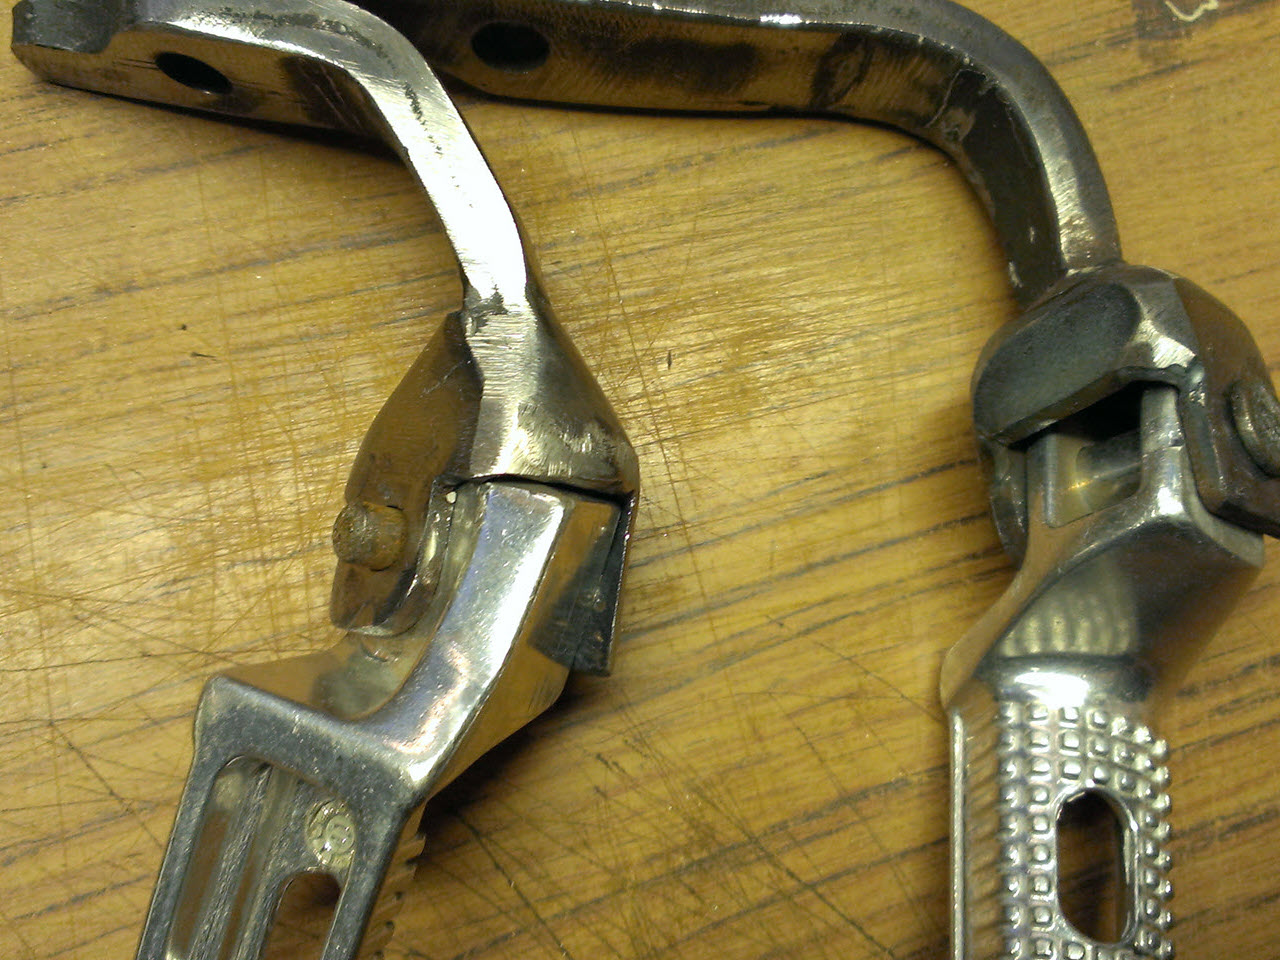
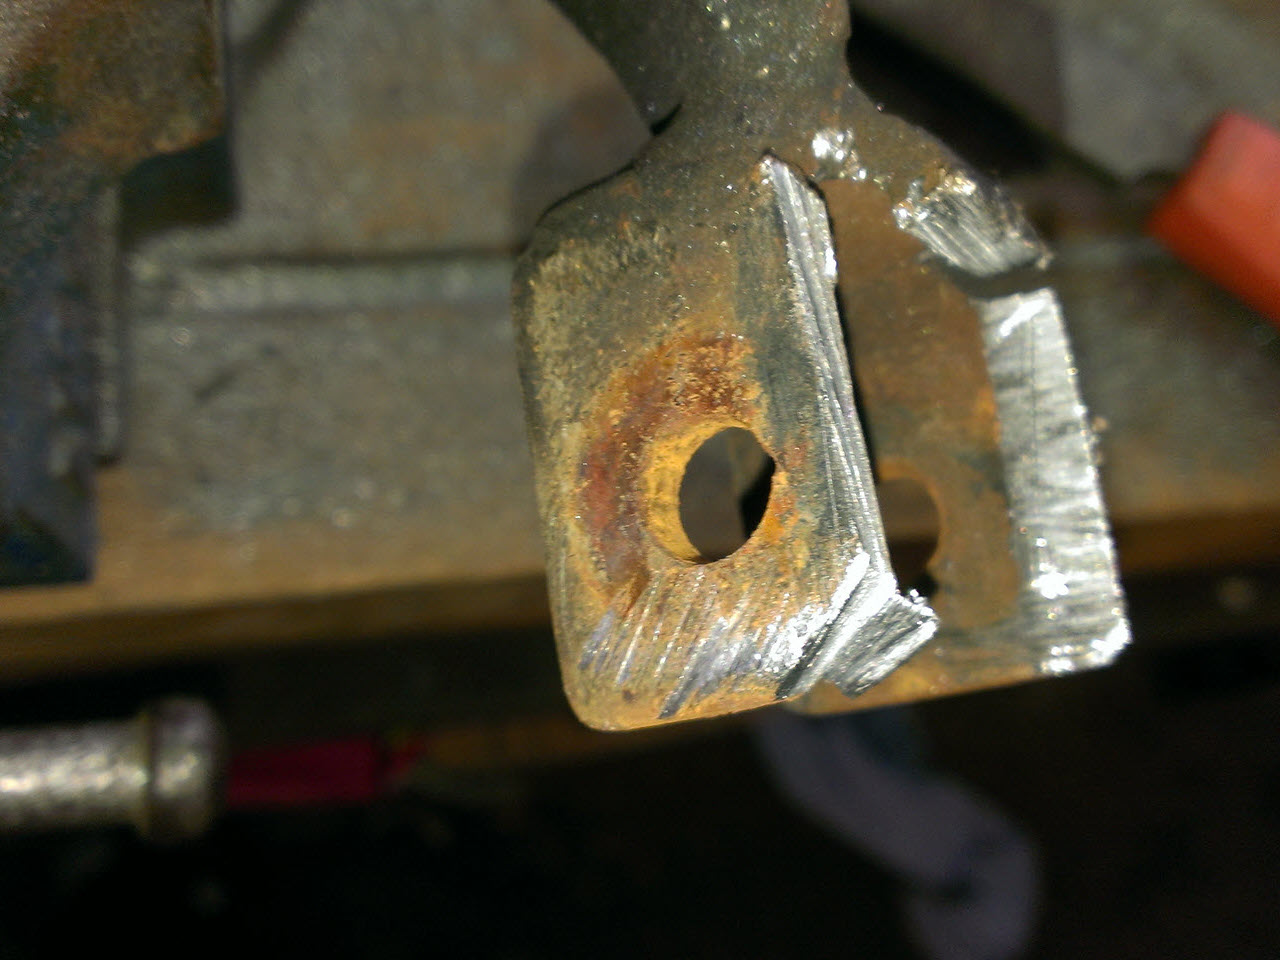
Detail of the welded pegs, (I did not weld them myself)
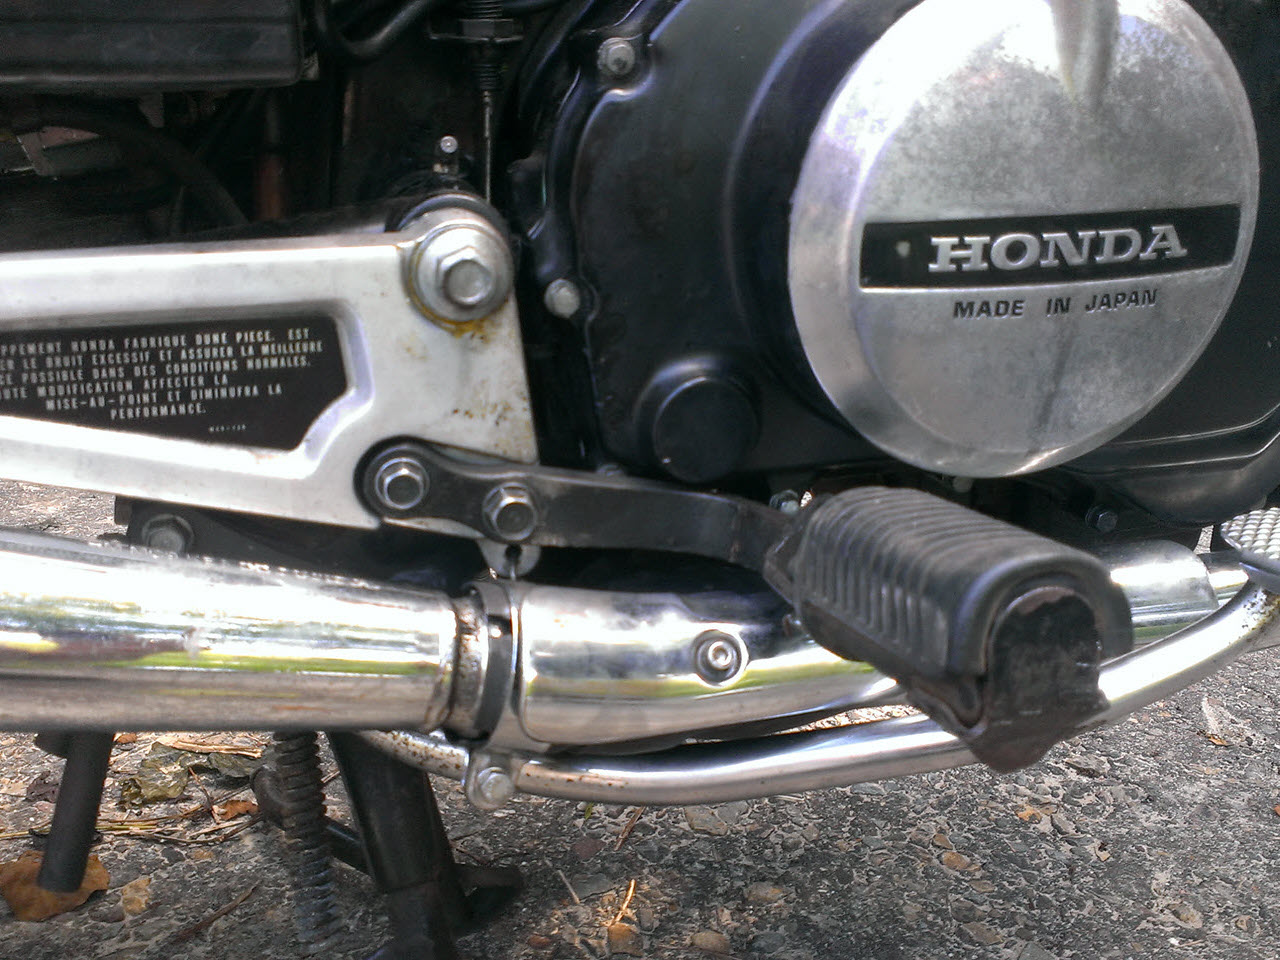
Before
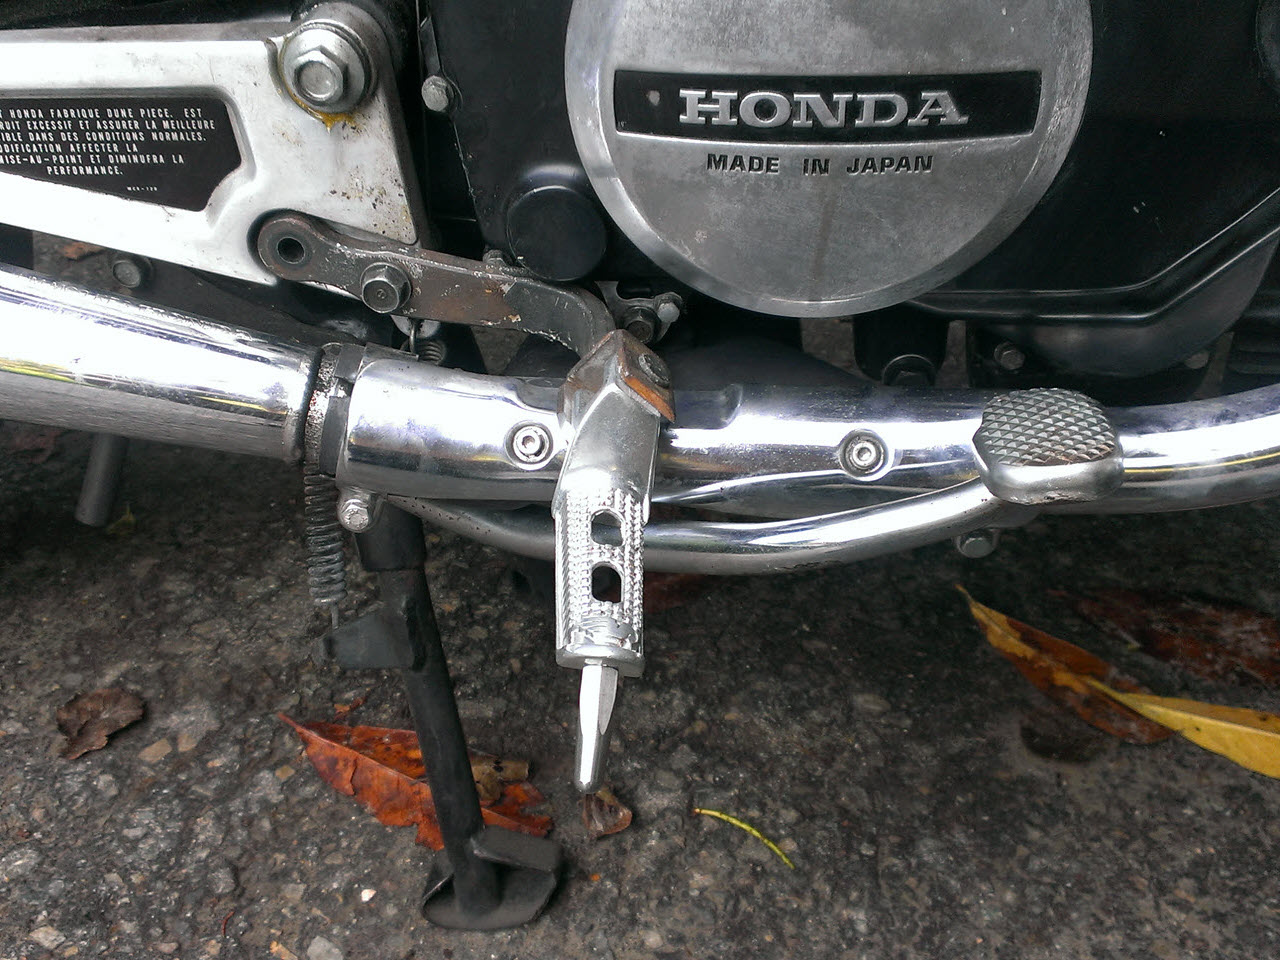
After, more than 2cm lower, a huge difference. Note that this was before welding
This setup does not seem to affect ground clearance, and makes a massive improvement in (tall) rider comfort, less cramping on long rides.
Luggage tie-down
Honda made a nice luggage rack for these bikes back in the day, but it's rare as hen's teeth. I also did not like the look that much. I added two tie-down points on each side of the bike, so a rollbag could be easily attached. This setup is stealthy but extremely practical. Combined with a set of rockstraps which are kept under the seat, the bike is always ready to transport stuff when it's needed.
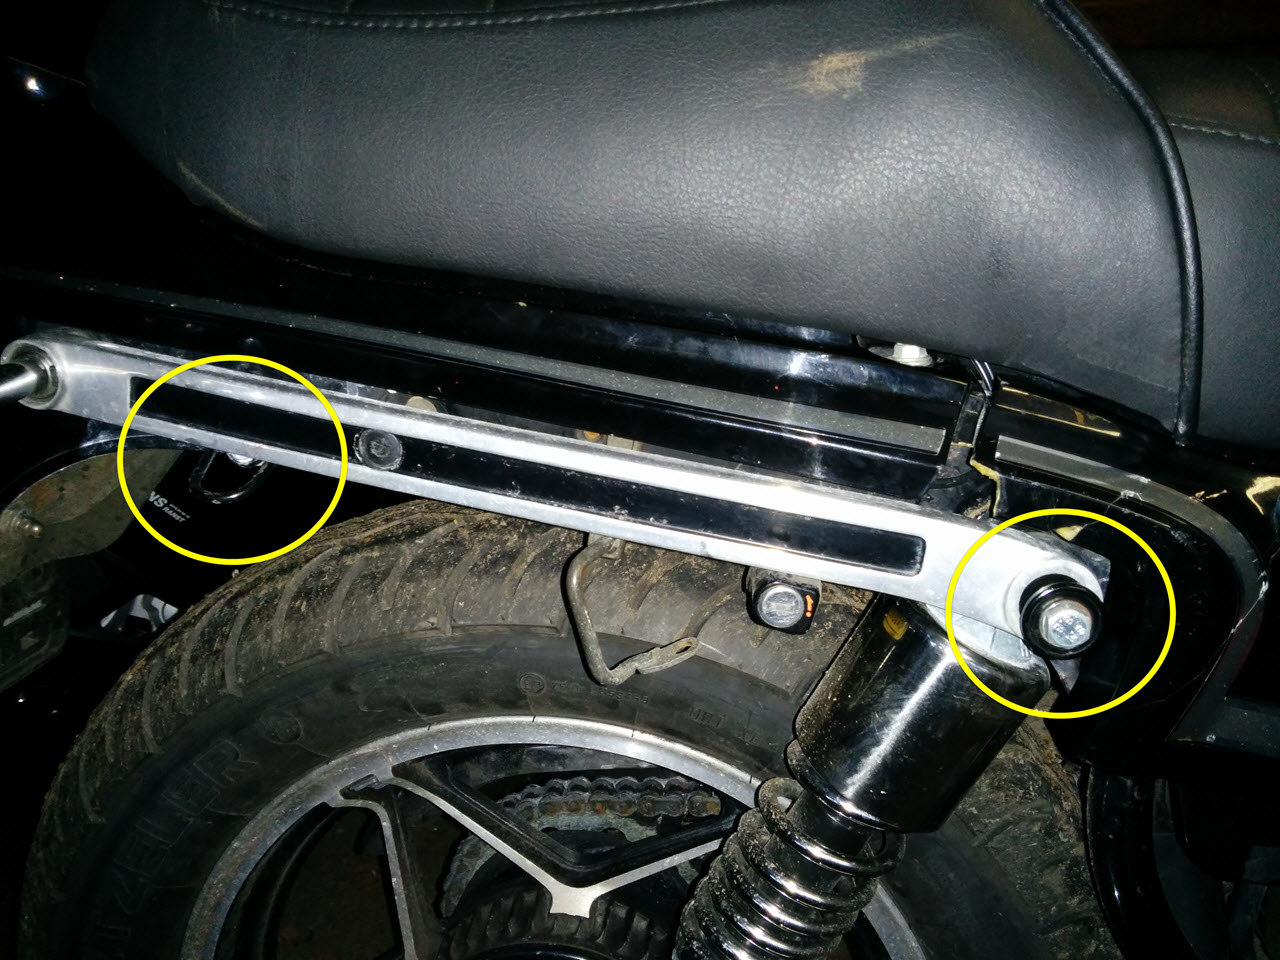
An overview with the tie-down points marked
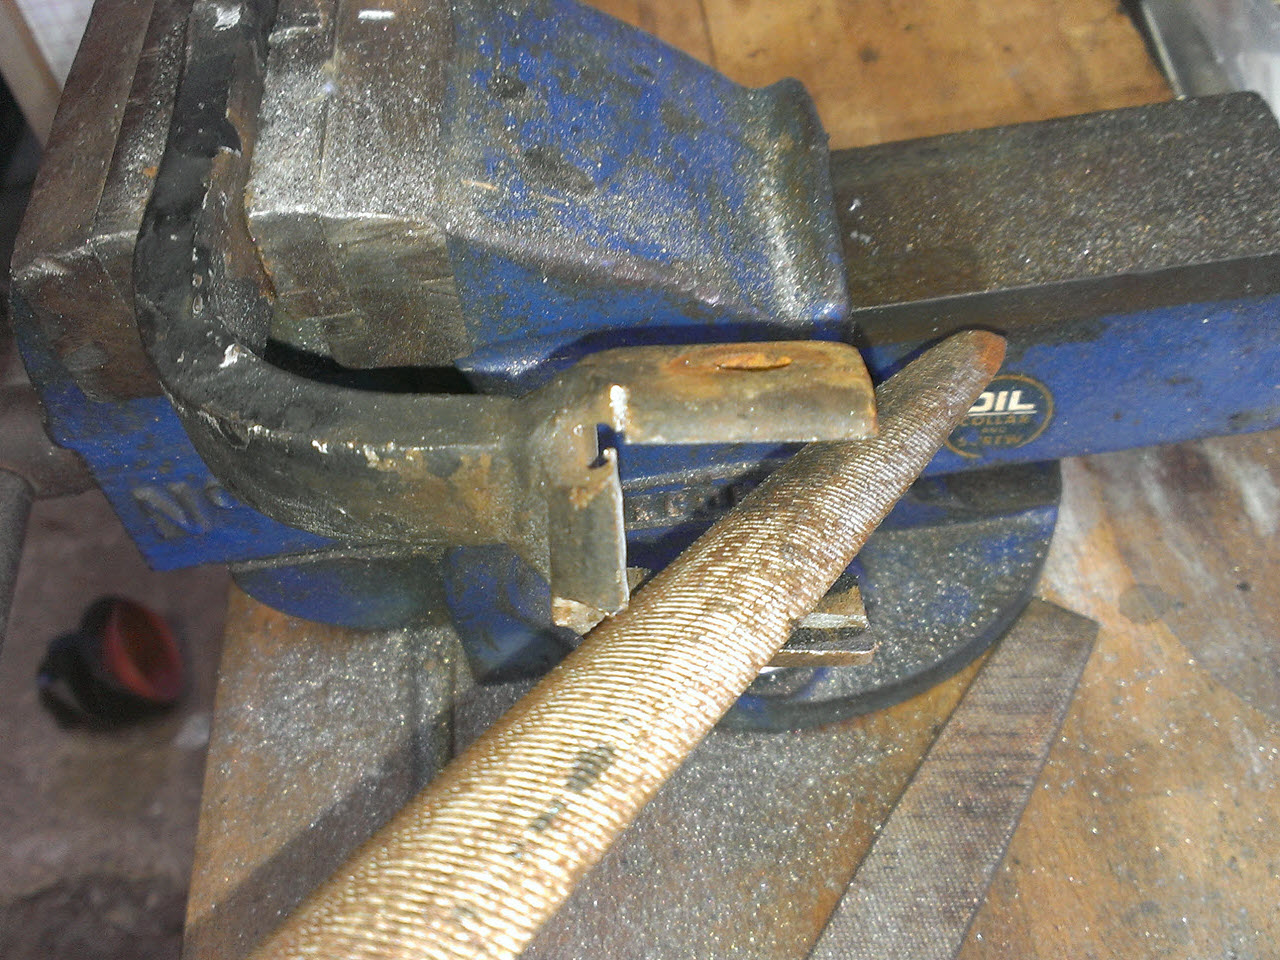
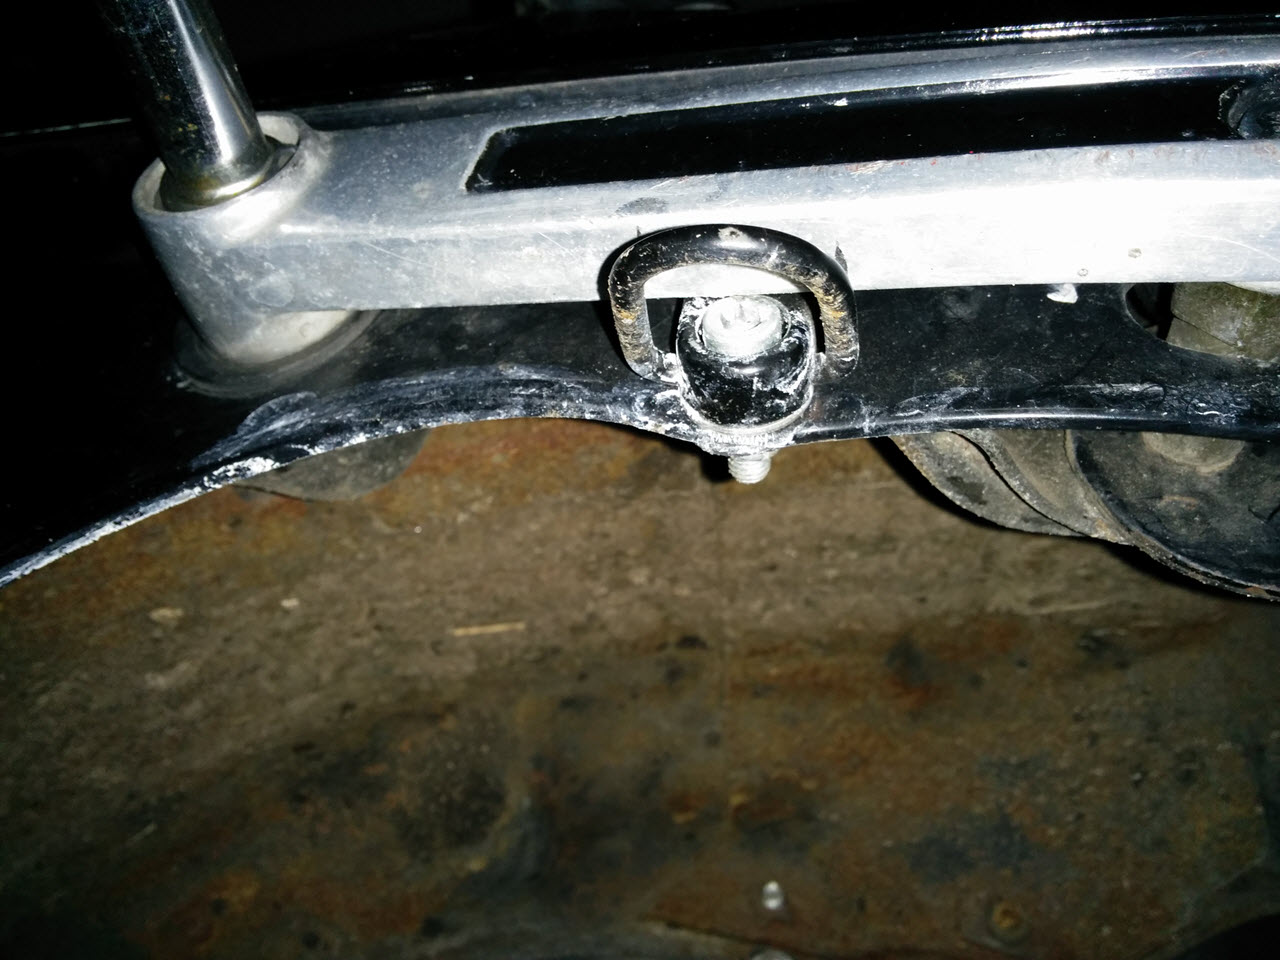
Front tie-down point. I had to decrease the diameter of the bottom 1mm so it would fit in the hole in the "rear grip bar"
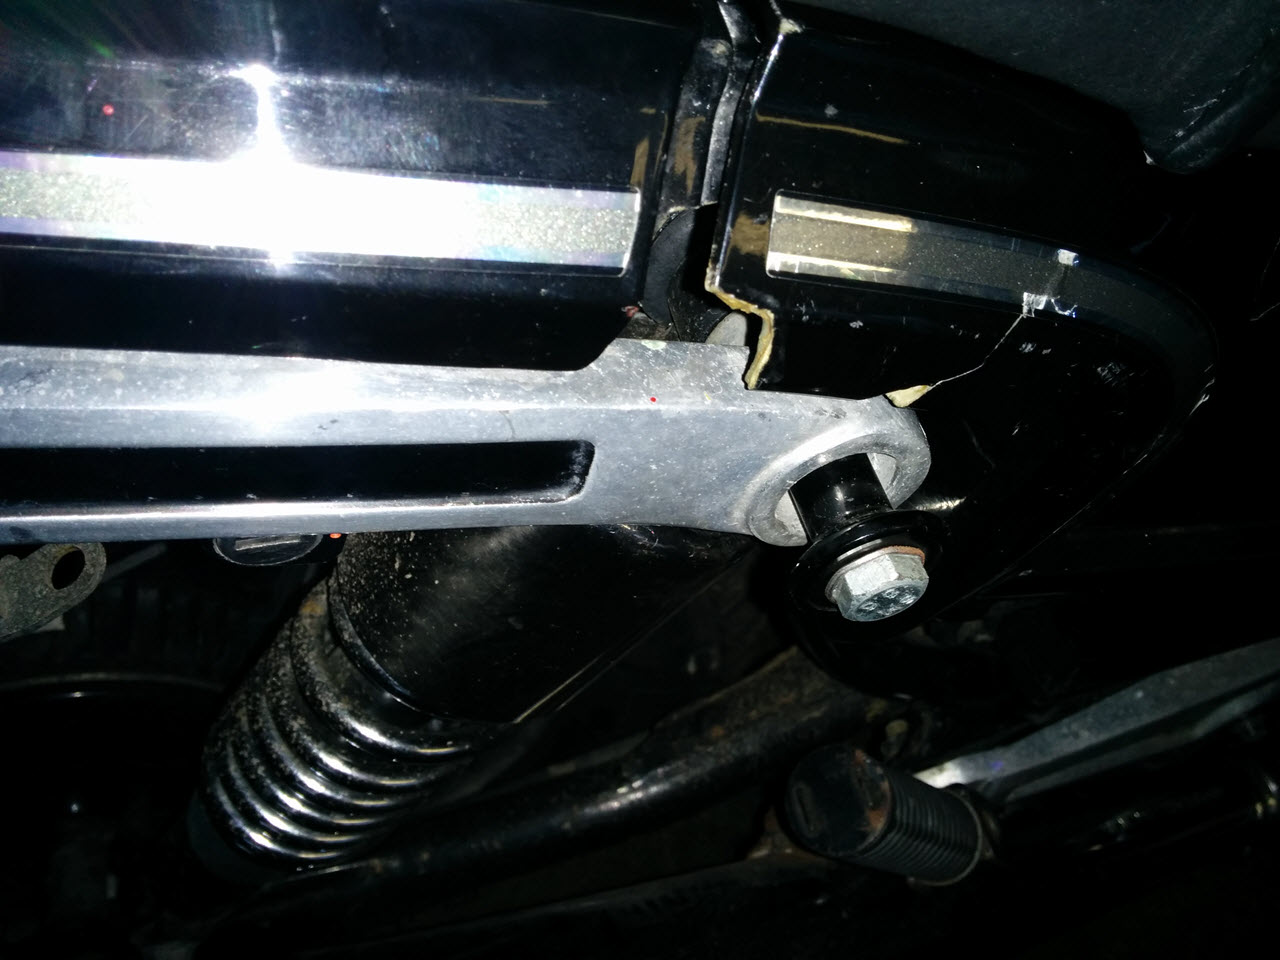
Rear tie-down loop. When stressed, thanks to leverage, the "rear grip bar" carries the force, not the mudguard
Powerlet Socket
The DIN/Hella/Powerlet type universal, weatherproof power socket is a common sight on many bikes. I added one on the right side panel, and connected it to unswitched power via the aux fusebox. This location is not 100% ideal (it can interfere with your right leg when putting a foot down), but when a 90° plug is used, suits just fine. It allows me to easily charge the bike when it's in the garage, or use a powered saddlebag or heated vest.
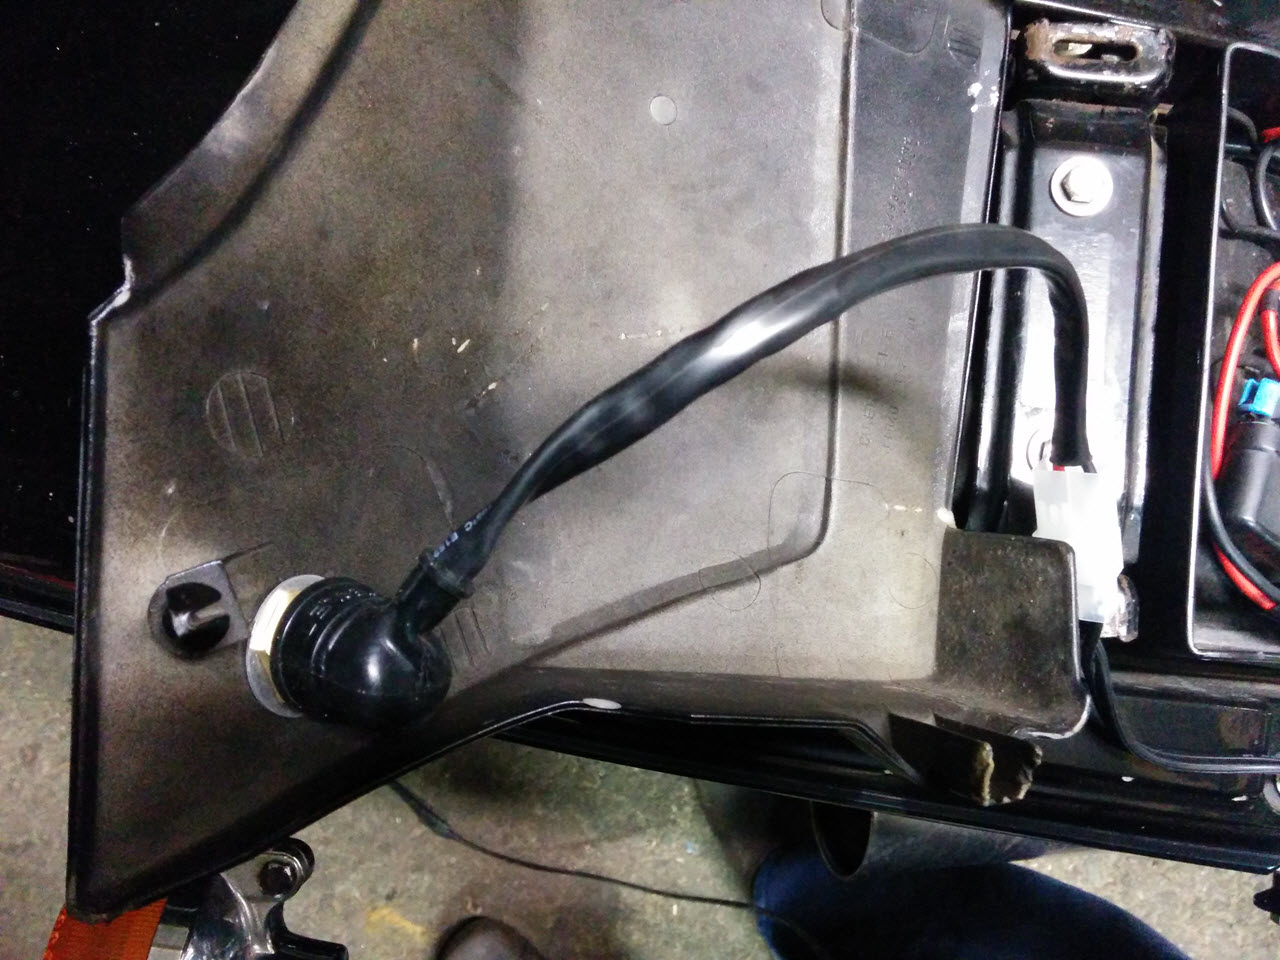
The back of the panel, there is a connector on the cable so I can easily take off the side panel
Front, I don't think it is too obvious